_1@2x.png)
Configuring the Edit Entry screen
The Edit Entry screen on the front end of your website is where either the Entry Creator or an Administrator can edit fields related to a specific entry in Gravity Forms.
Fields you add to the Edit Entry layout will be editable from the front end.
Prefer to Watch the Video?
Allowing Logged-In Users to Edit Their Own Entries
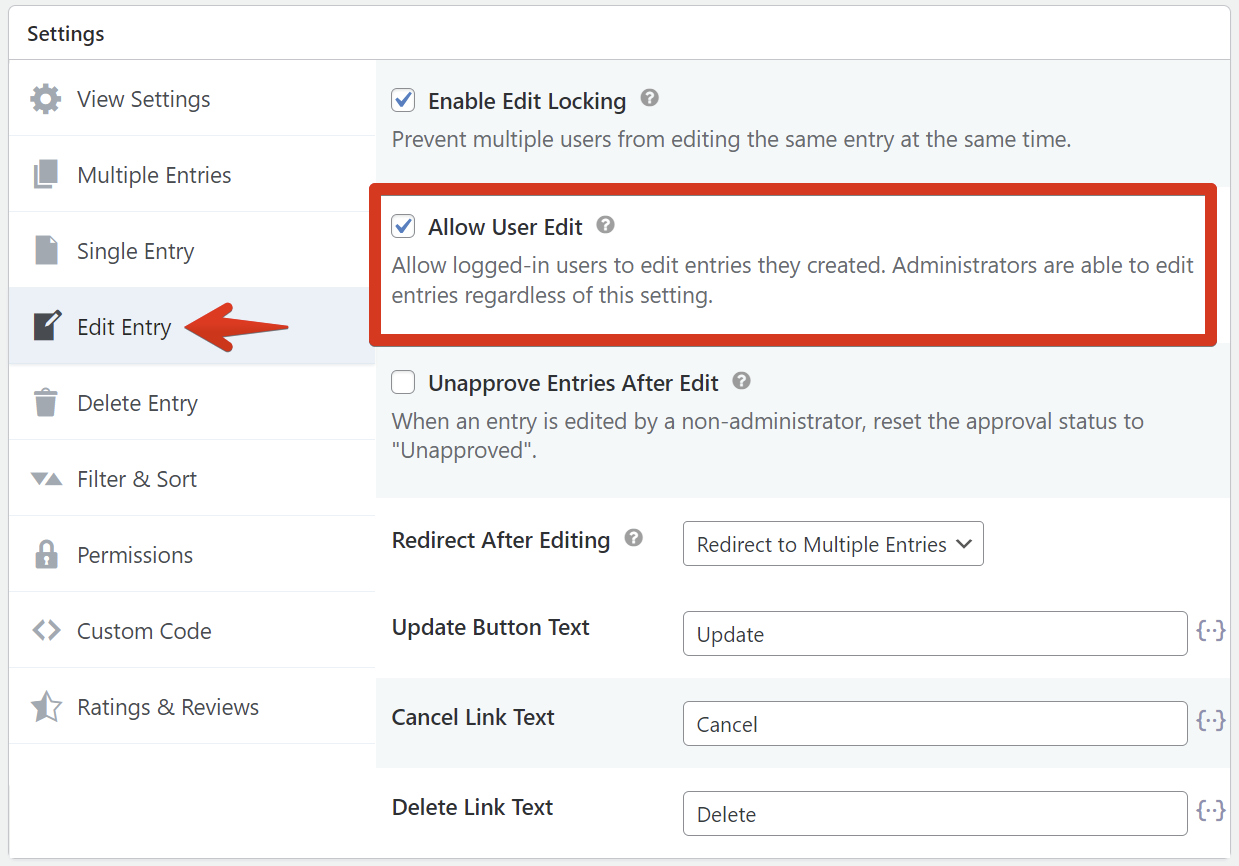
To allow logged-in users to edit their created entries, edit your View and scroll down to the Settings meta box. Click on the Edit Entry tab on the left and check the box that says "Allow User Edit".
If the box is not checked, only Administrators and users who have access to editing Gravity Forms entries in the WordPress Dashboard can see the Edit Entry links and edit the entry.
Configuring the Edit Entry Layout
Follow the steps below to configure the Edit Entry screen and allow users to edit their entries on the front end.
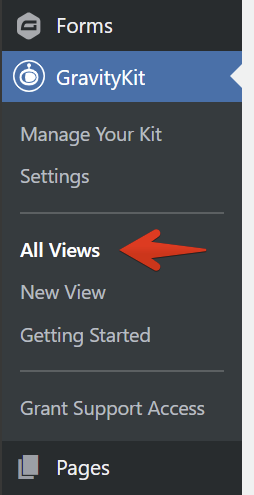
1. Go to All Views
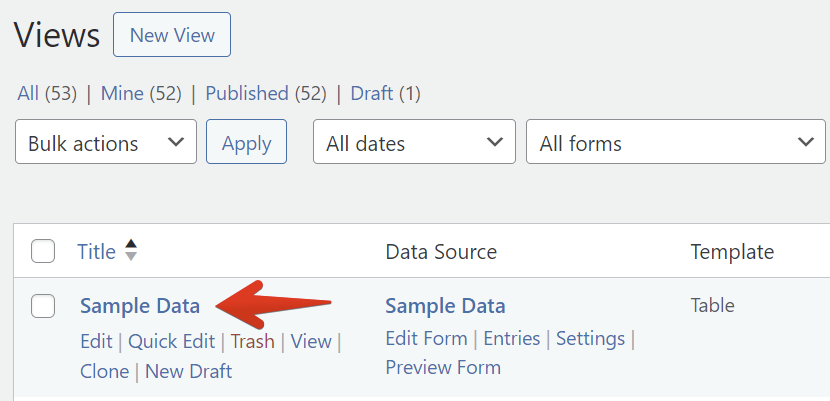
2. Click on the View you would like to Edit
3. If your View doesn't already have a “Link to Edit Entry” field, add one
Before you can start configuring the Edit Entry screen, you need to add a link to the Edit Entry page inside your View. You can add a link to the Edit Entry screen on the Multiple Entries page or the Single Entry page
3.1 To do this, click Add Field in the zone where you want the Edit Entry link to appear
3.2 Type to search for "Edit Entry" or scroll down to "Link to Edit Entry" and click on it

3.3 You can configure link text and other settings by clicking on the gear icon

Okay, now that we've added a link to the Edit Entry Page, let's configure the Edit Entry layout.
4. Click on the Edit Entry Layout tab

You will see an empty configuration screen:
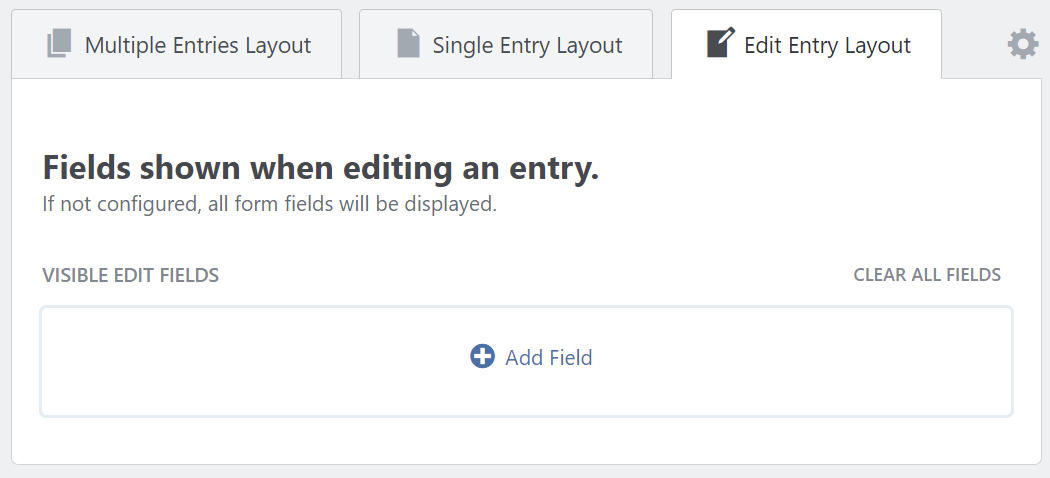
When the Edit Entry Layout configuration is empty, all form fields will be displayed as editable. If the Edit Entry tab is configured with fields, then GravityView will only show these fields on the Edit Entry page.
Important! Some special rules apply to this section: How does Edit Entry handle hidden fields and field visibility settings?, and Conditional Logic on the Edit Entry page.
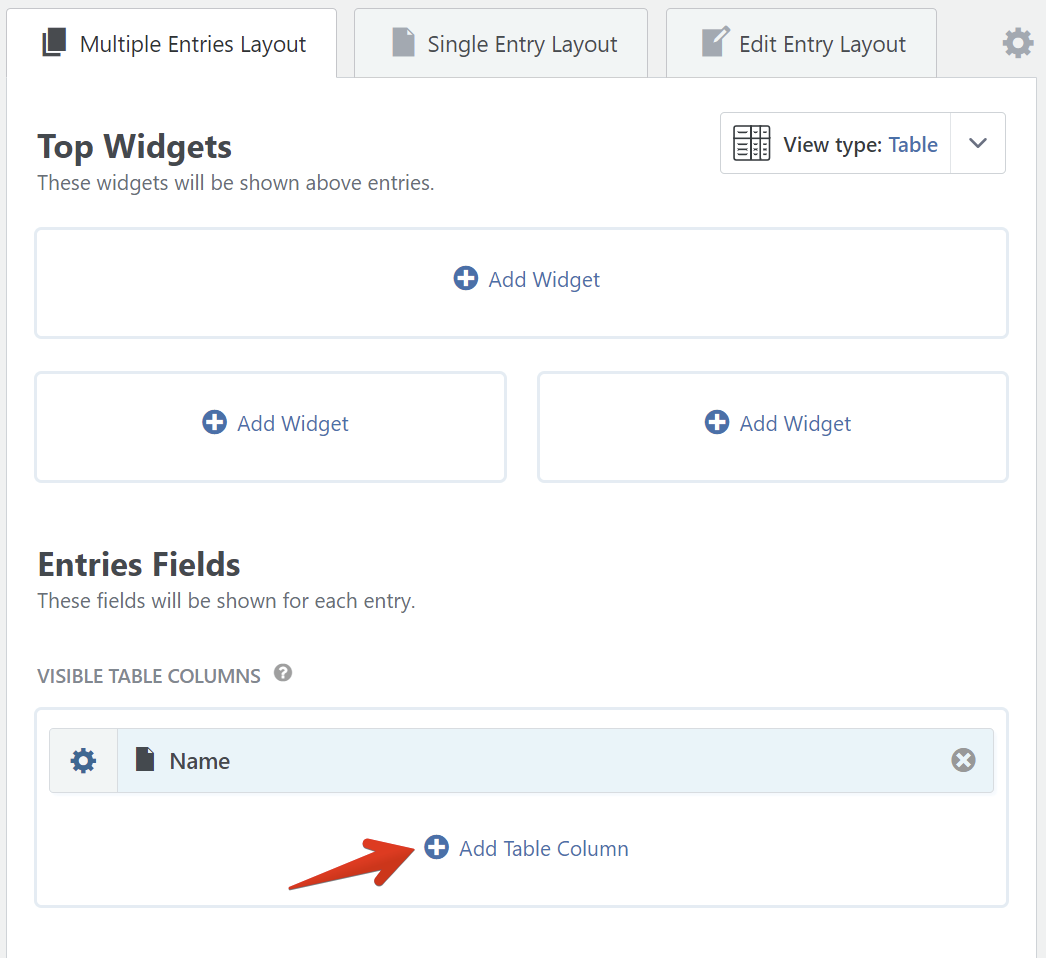
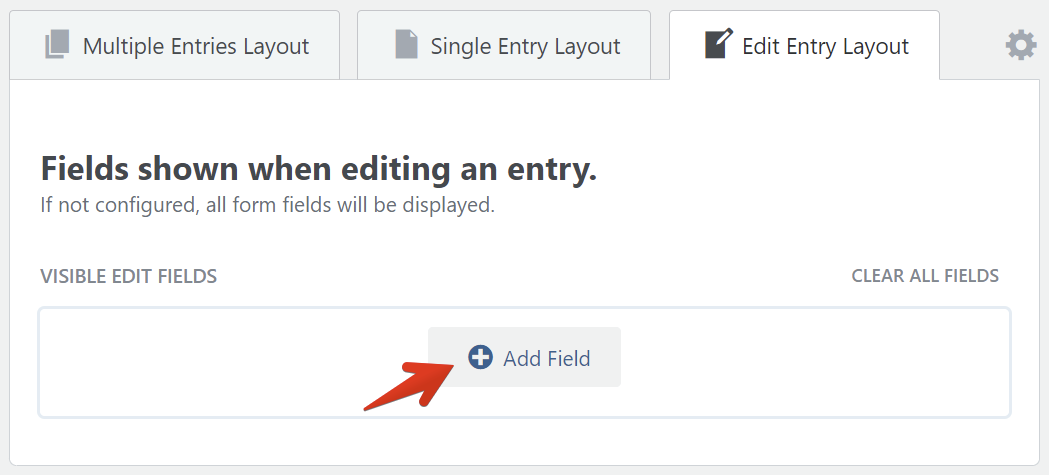
5. Click the "+ Add Field" button to add an editable field.
6. Click on different fields to add them to the configuration
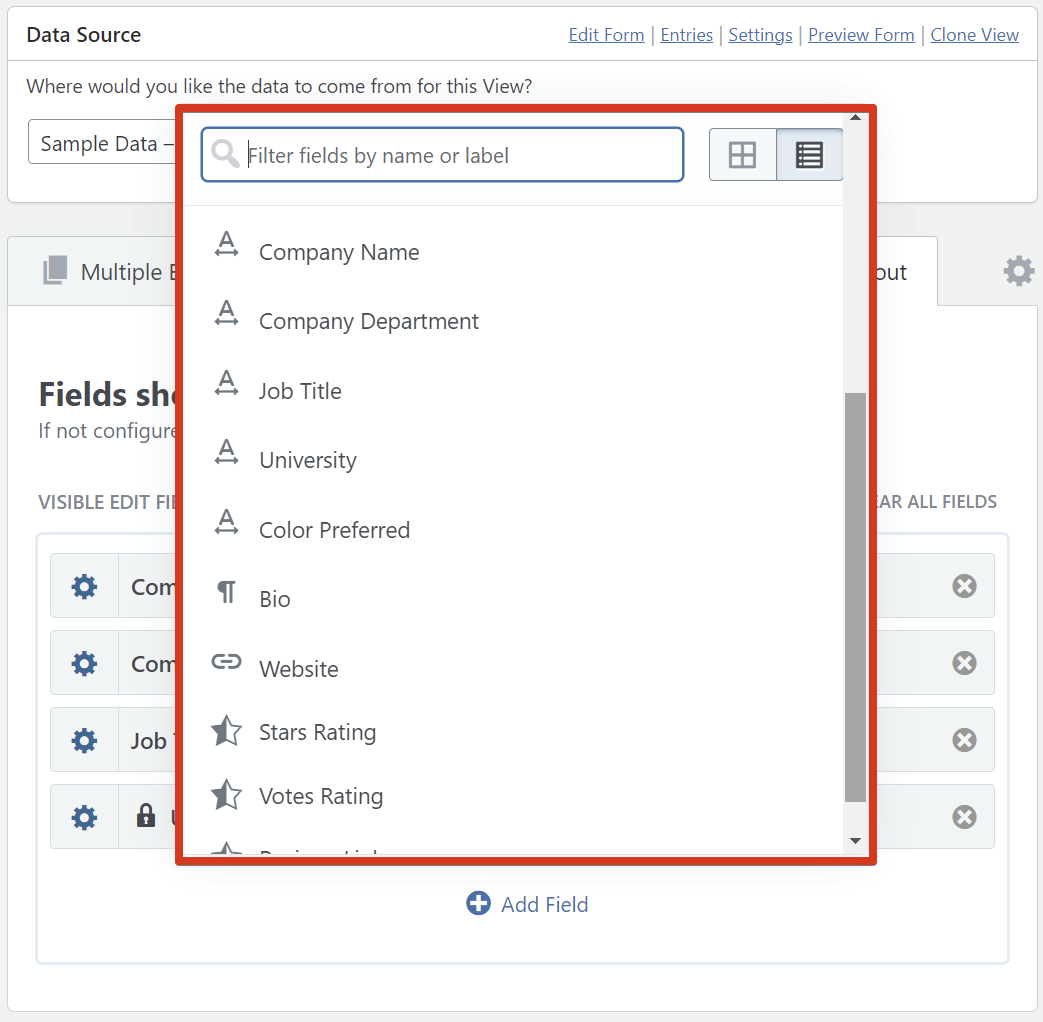
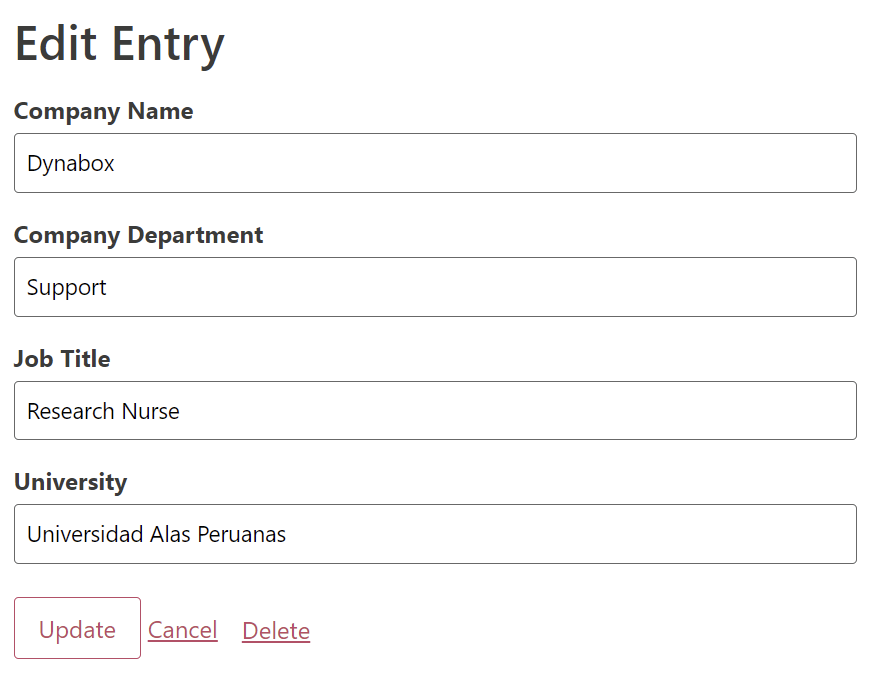
In this example, we have added four fields.
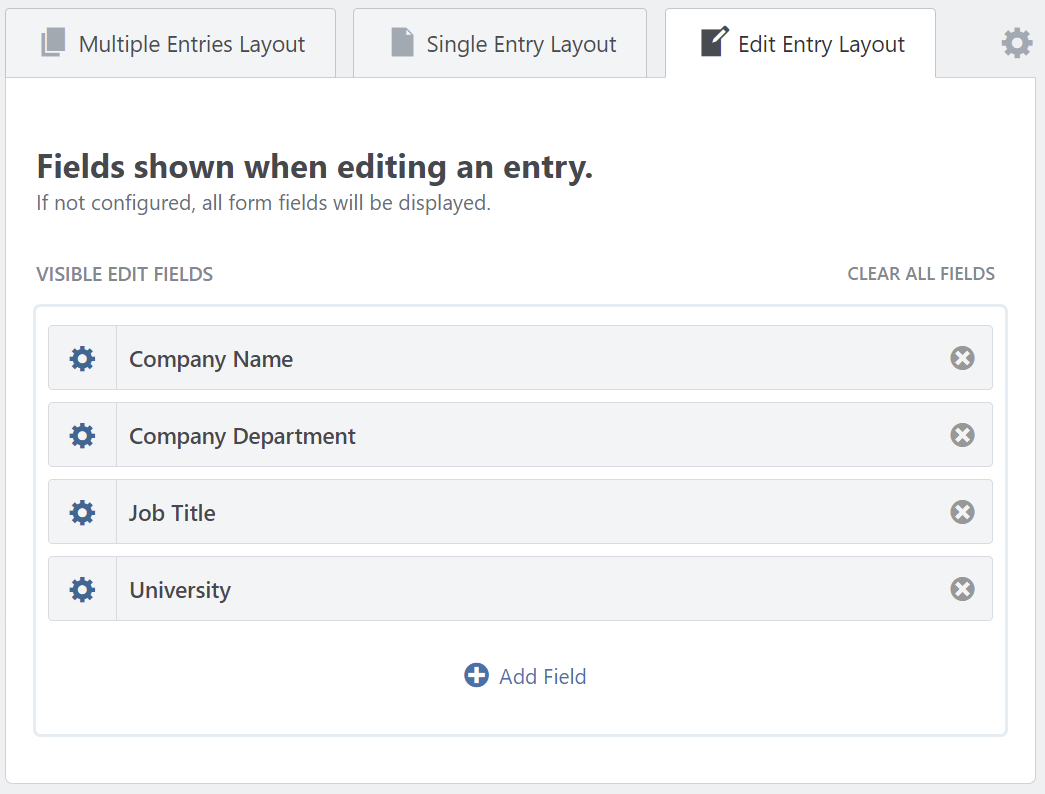
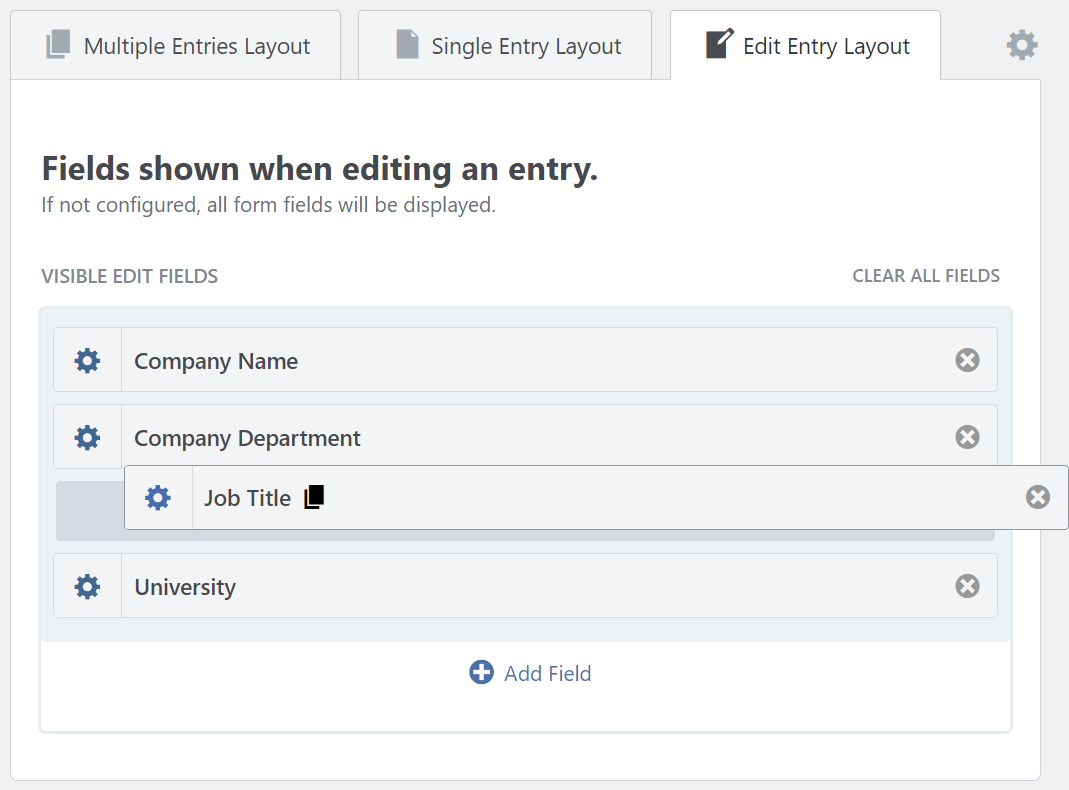
You can drag and drop the fields in the order you desire
7. Limit field editing capabilities
If you want to limit field editing capabilities for individual fields, click on the gear icon and choose an option from the "Make field editable to" dropdown.
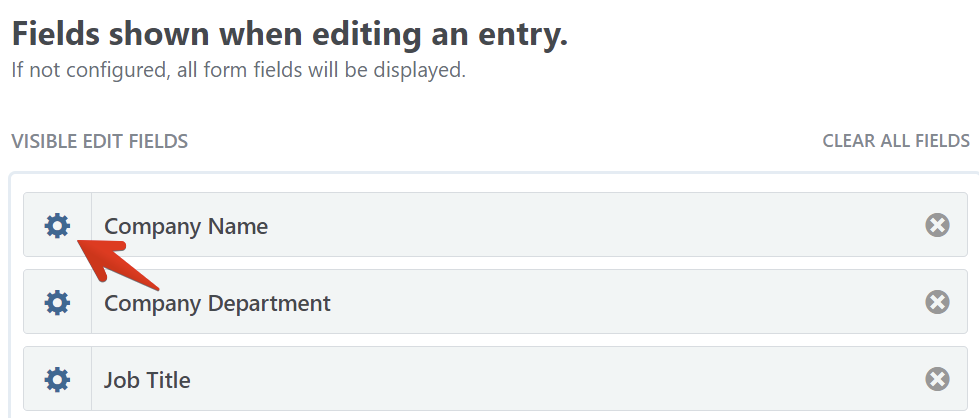
For example, select Administrator to restrict editing to Administrators only.
This is helpful if you have "Allow User Edit" enabled but you don't want to allow the editing of a field by the user who created the entry. In this example, Administrators will still be able to edit the field in the Edit Entry screen.
8. Update the View
That's it! Now that everything is configured, update your View.
Open your view on the front end to test the Edit Entry configuration
Let's take a look at the Edit Entry functionality.
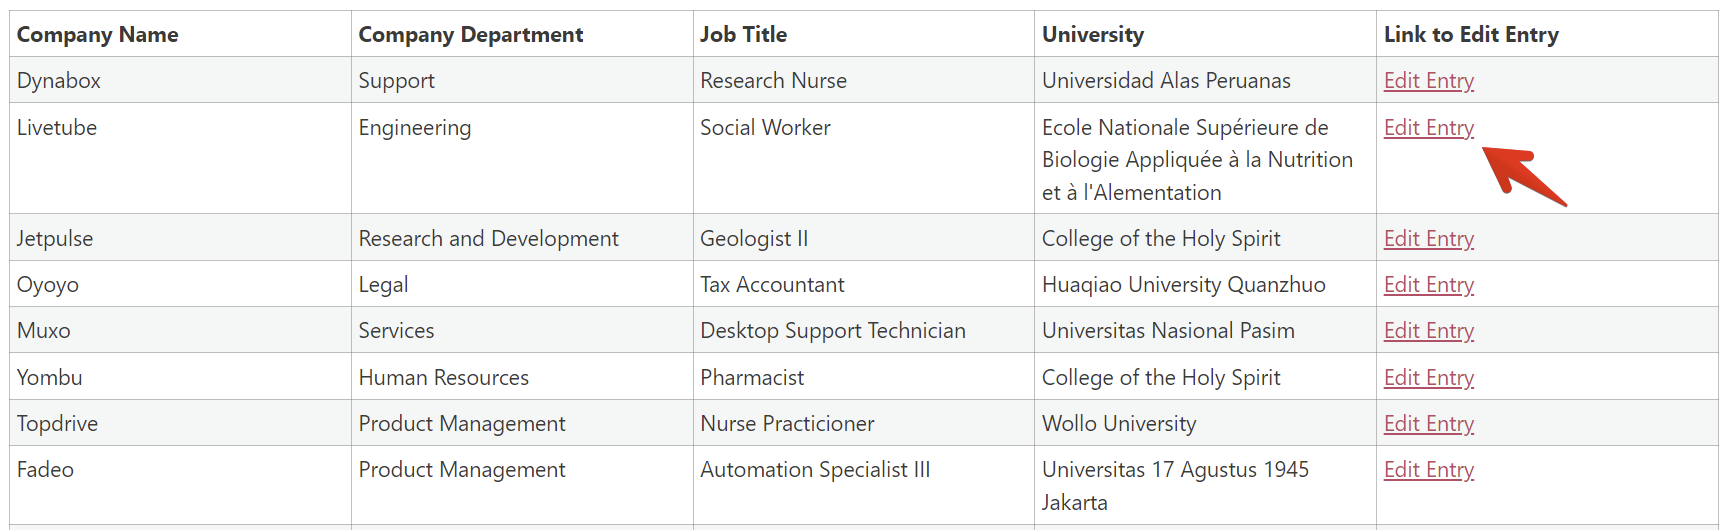
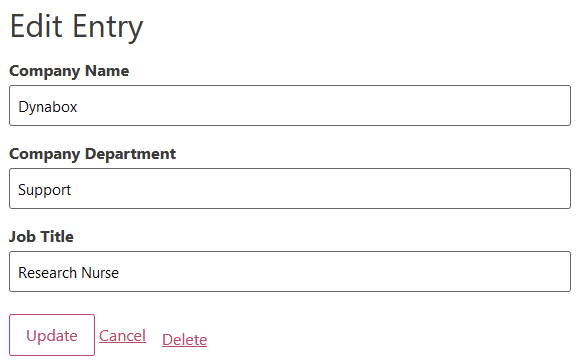
What administrators see
All the fields are visible in this screenshot because we're logged in as administrators.
What the Entry Creator sees
The Entry Creator won't see any fields that are limited to Administrators only (Step 7). In this example, the University field is not visible.