Creating an Entry Moderator role
There are situations where an entry moderator role is required without allowing users to access the dashboard. In this article, we'll create a new WordPress User Role that permits any user in this role permission to edit any entry on a View.
This will allow a user within this role to edit and delete any entry, not only the ones they created, so make sure you want to do this!
1) Install and Activate the Members plugin

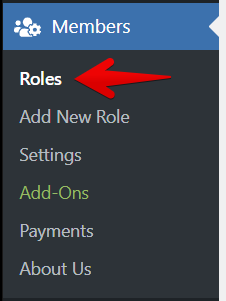
2) Click on "Roles" page under the Members menu
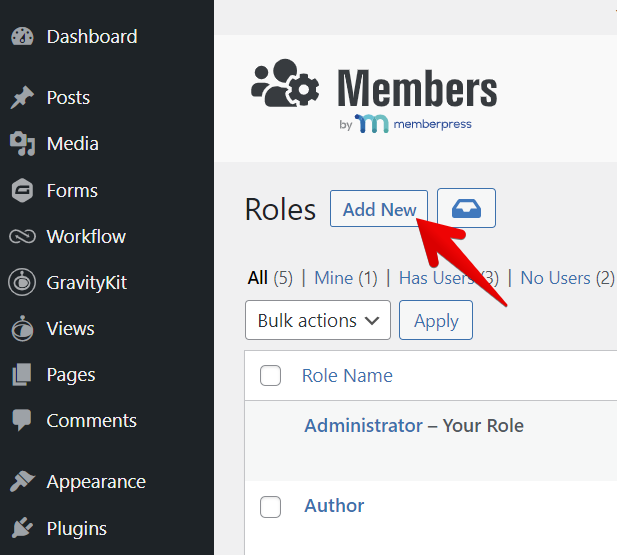
3) Click the "Add New" button next to Roles
4) Give the new Role a name
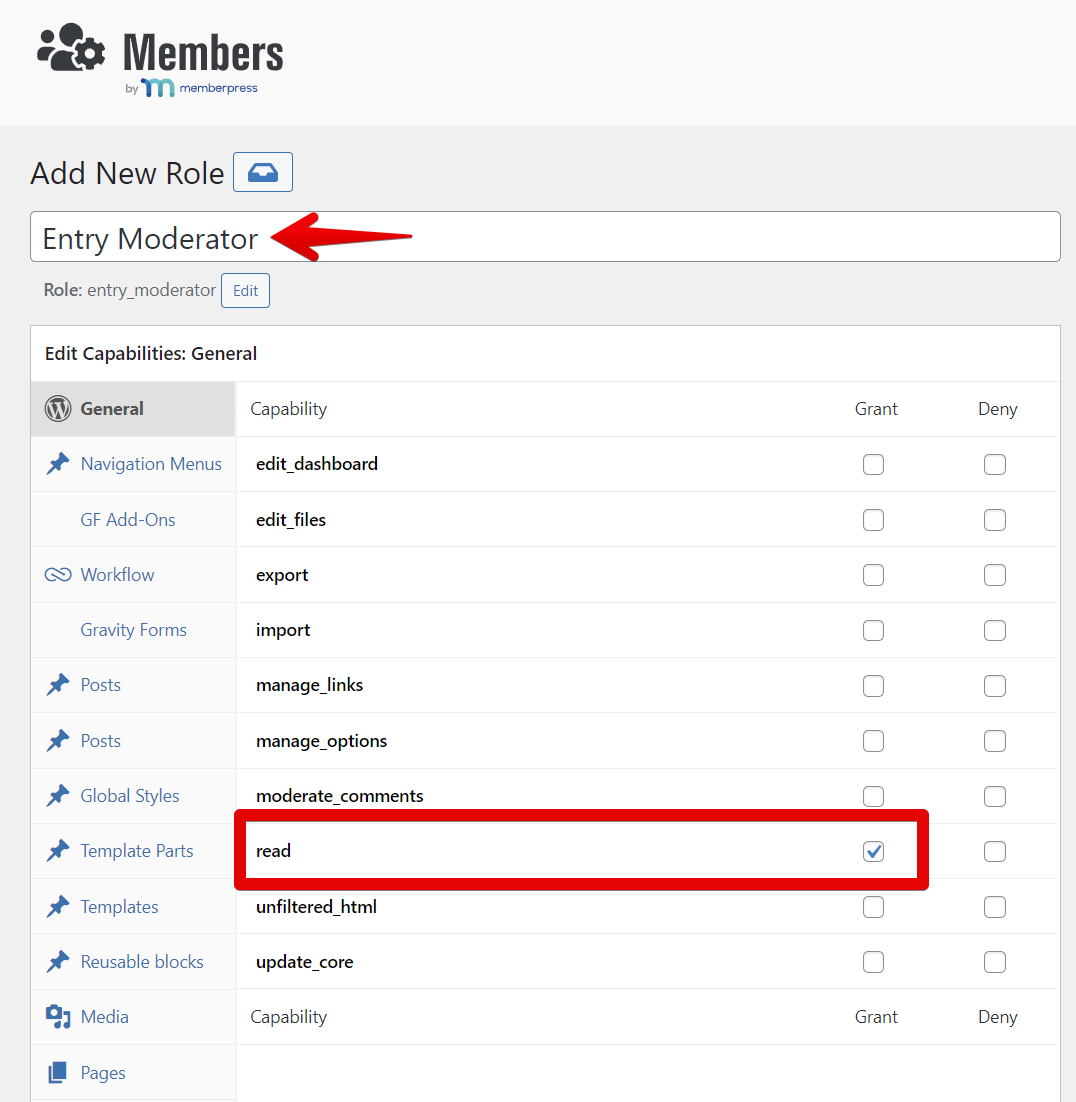
Ensure that the most basic capability necessary to all roles, the read capability, is checked.
In this example, we've named the role "Entry Moderator".
5) Add the necessary Gravity Forms capabilities
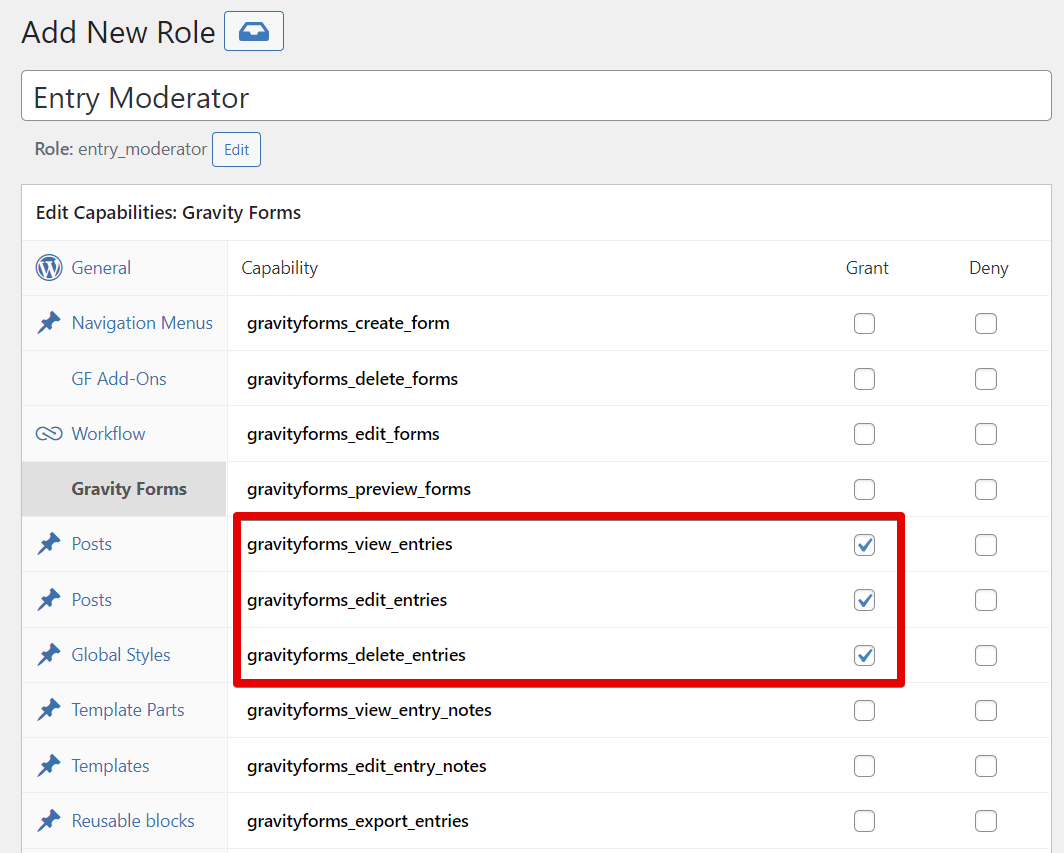
There are a lot of capabilities to choose from. At the very least, you're going to want to allow the user to have the gravityforms_view_entries , gravityforms_edit_entries . If you want them also to be able to delete entries, you'll want to enable gravityforms_delete_entries as well.
Note: If you want this role also to be able to manage Entry Approvals, please enable the gravityview_moderate_entries capability as well.
6) Add the role by clicking "Add Role"
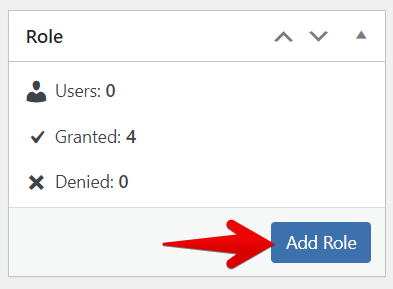
Now you've got the Role set up, we need to assign the new role to an existing user.
7) Go to the Users menu and click All Users
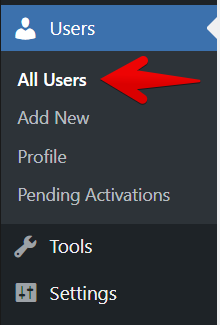
8) Click the user you want to add the moderation role

9) Under "Roles", check the newly-created "Entry Moderator" role
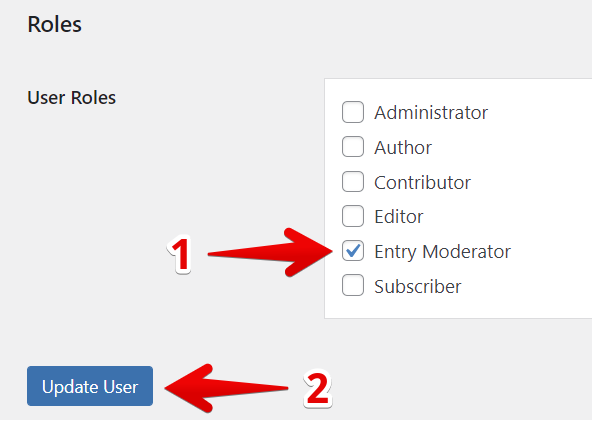
Make sure to hit the "Update User" button to save the user settings.
And that's it!
Now the user will be able to view, edit, and (if you enabled it), delete any entry.
_1@2x.png)