User Edit: Allowing Users to Edit Their Own Entries
TL;DR: To enable user edit on a View in GravityView, edit your View and check the box that says “Allow User Edit”. Then, add a Link to Edit Entry field and configure the Edit Entry Layout. Finally, save your View by clicking “Publish”.
In GravityView, you can allow users to edit entries that they create. Follow the steps below to enable the Edit Entry feature for any given View.
Note: Administrators can edit all entries because they have the gravityview_full_access and gravityview_edit_others_entries capabilities. Learn more about modifying user capabilities.
Prefer to Watch the Video?
1. Enable User Edit on Your View
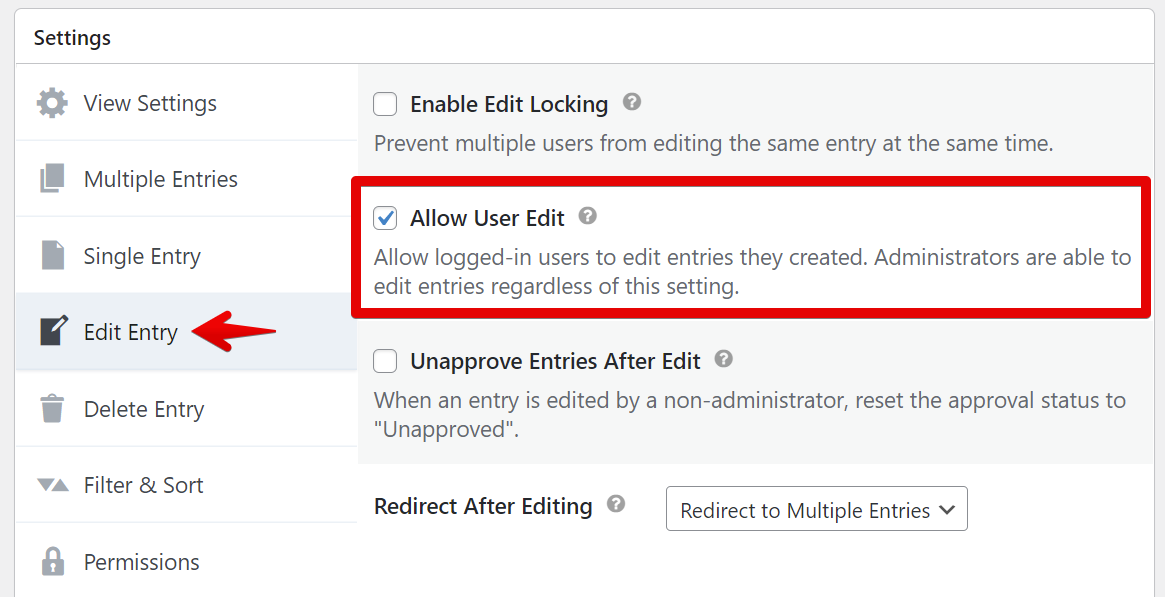
Edit your View in the WordPress dashboard and scroll down to where it says “Settings”. Next, click on “Edit Entry” in the left-hand menu and check the box that says “Allow User Edit”.
If you want to re-approve entries after they have been edited, check the box that says "Unapprove Entries After Edit".
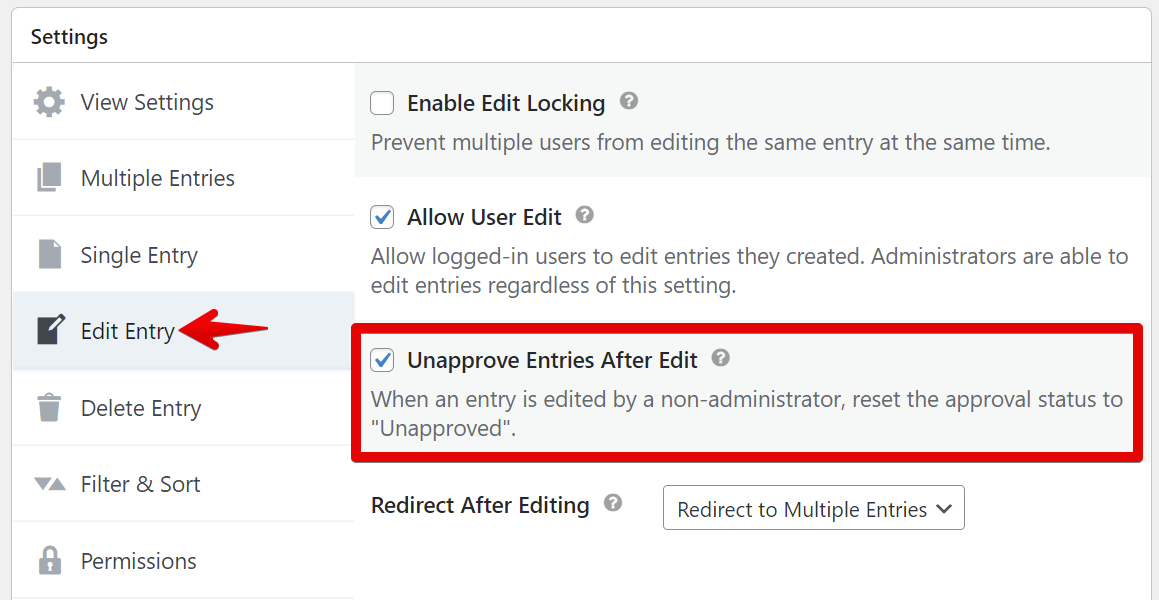
If an administrator edits an entry, the approval status will not be reset.
For more guidance regarding entry approval, read Approving or rejecting entries in GravityView.
2. Add a “Link to Edit Entry” Page
Next, you need to add a link to the Edit Entry page, where users will be able to edit fields that you specify.
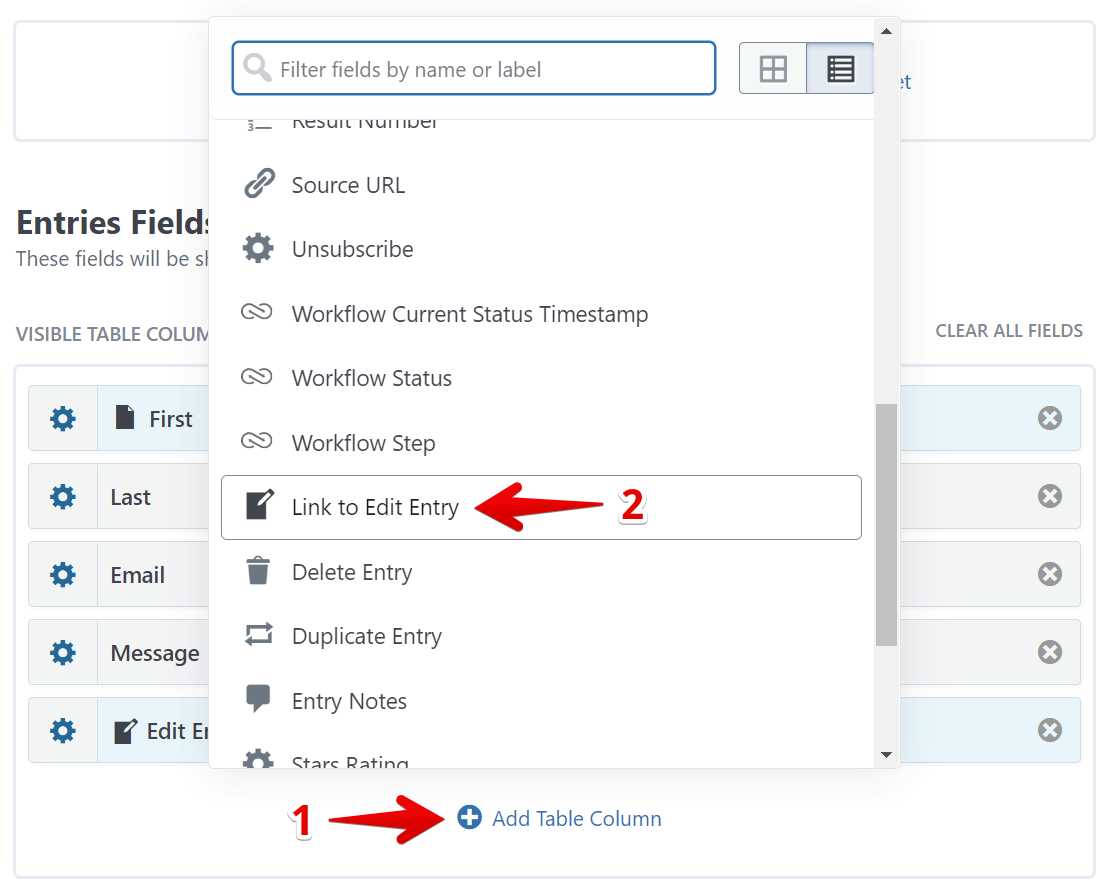
To do this, click the + Add Field button and select the “Link to Edit Entry” field. This inserts a link into your View that allows users to edit entries they created.
Note: The edit entry link will only be visible to users who have permission to edit that entry. If a user did not create the entry, they will not be able to edit it. Likewise, logged-out users will not see the “Edit Entry” link.
Optional: Modify the Link Text
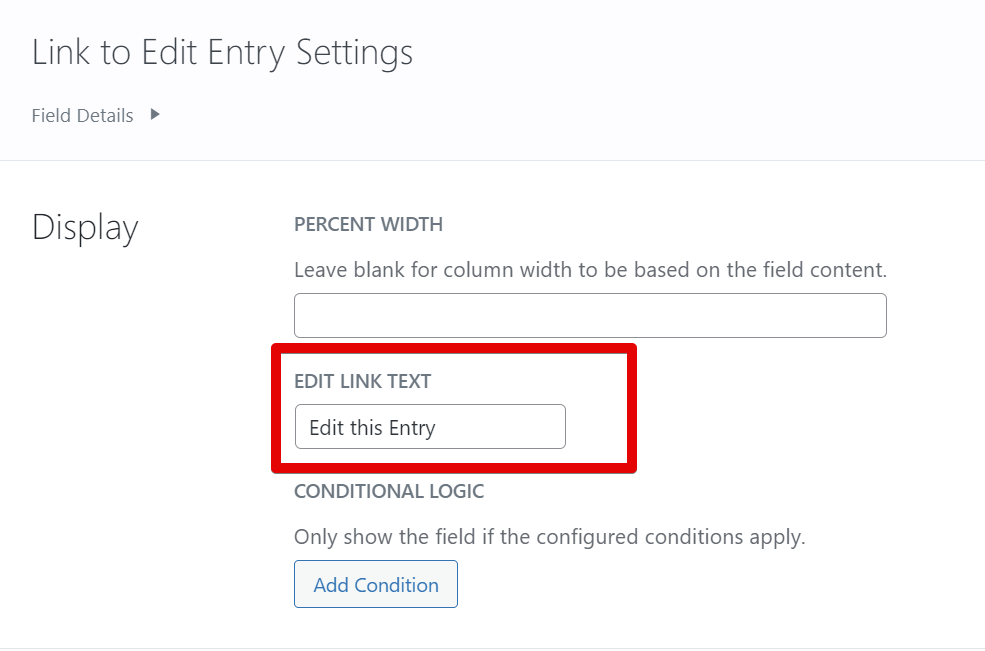
By default, the Edit Entry link text says “Edit Entry”.
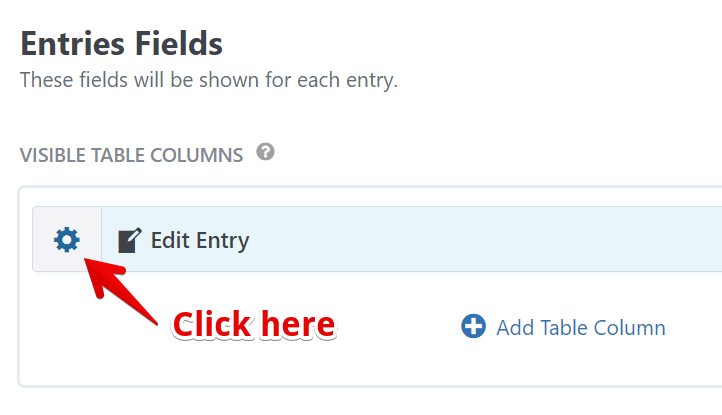
If you want to change the Edit Entry link text, you can do this by clicking on the gear icon and entering your new link text into the box that says “Edit Link Text”.
3. Configure the Edit Entry Layout
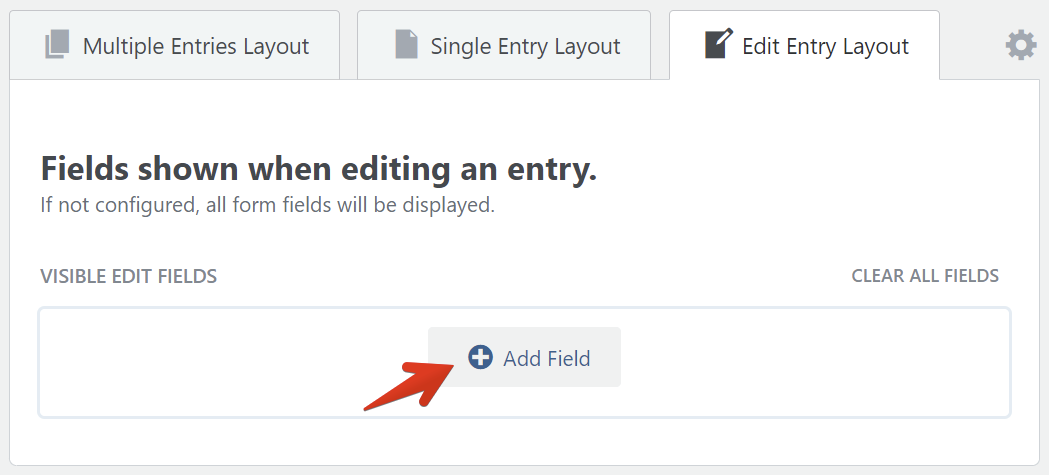
The final step is to configure the Edit Entry Layout. All fields added to the Edit Entry Layout will be editable.
Note: If the configuration is left blank, all fields will be editable.
First, click on the Edit Entry Layout tab.

Next, click the + Add fields button to add fields to the configuration.
For more information about configuring the Edit Entry Layout, read Configuring the Edit Entry Screen.
4. Save Your View
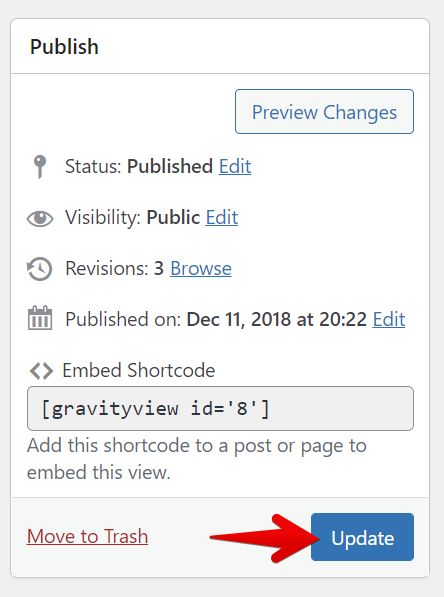
Once you’ve enabled user edit on your View, added a link to the Edit Entry page, and configured the Edit Entry Layout, save your View by clicking “Publish”.
Check Out Your View on the Front End
Logged-in users will now see a link to edit entries that they created.
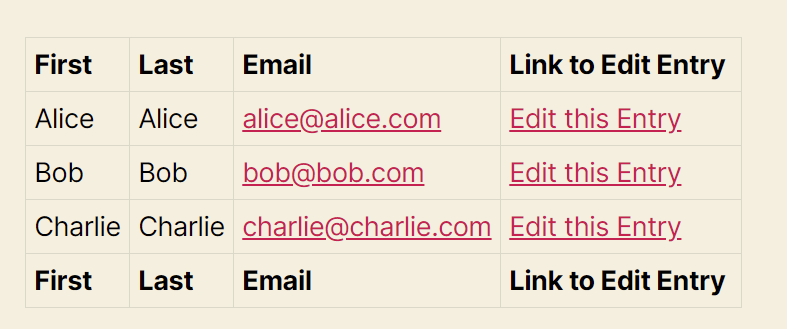
Logged-out users will not be able to see the Edit Entry link.
Note: Any user who can edit entries inside Gravity Forms will be able to edit entries. If you want to limit this capability, you can use the Members plugin to restrict the "gravityforms_edit_entries" capability.
_1@2x.png)