_1@2x.png)
GravityView allows you to manage entry approval from the front-end of your site. In this article, we will show you how to manage entry approval from the Gravity Forms Entries screen.
Managing entry approval in the Gravity Forms Entries screen
Prefer to Watch the Video?
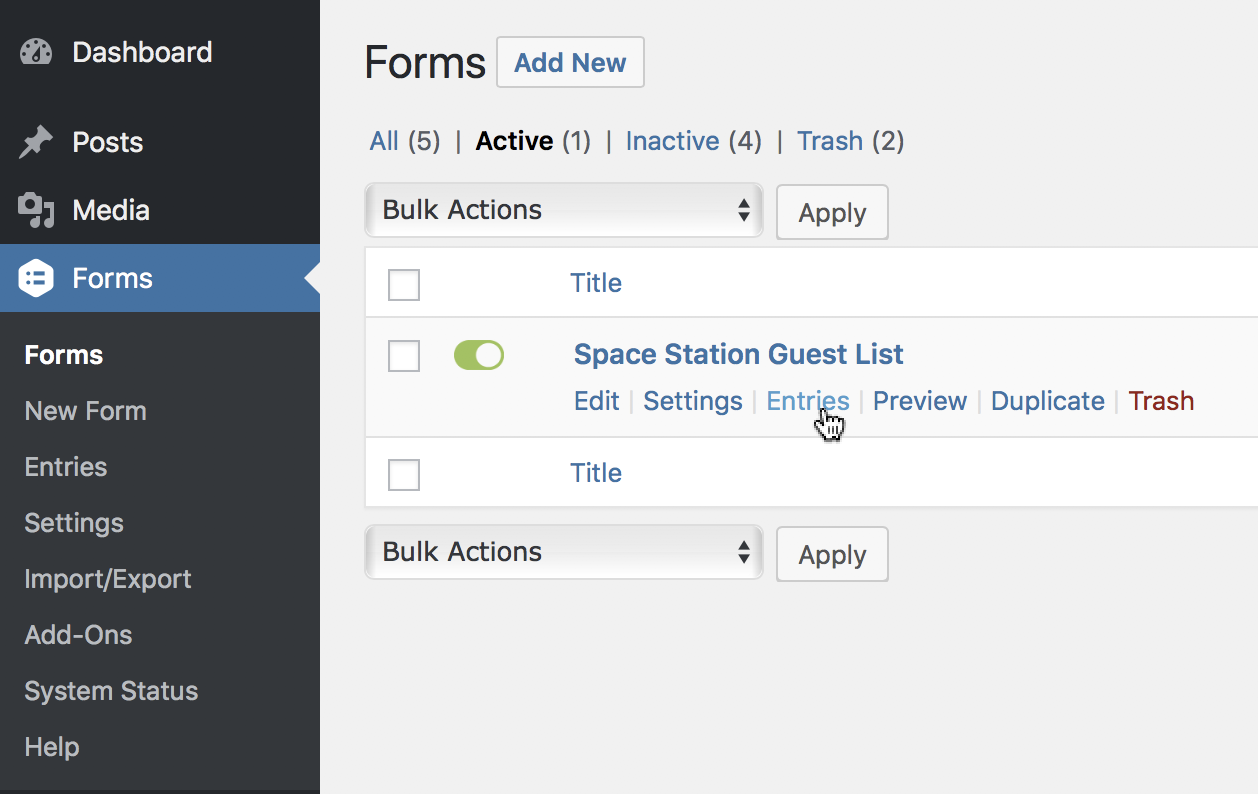
Click on Forms in the Dashboard menu, then click on the "Entries" link of the form you want to moderate entries for
You will see an entry approval column
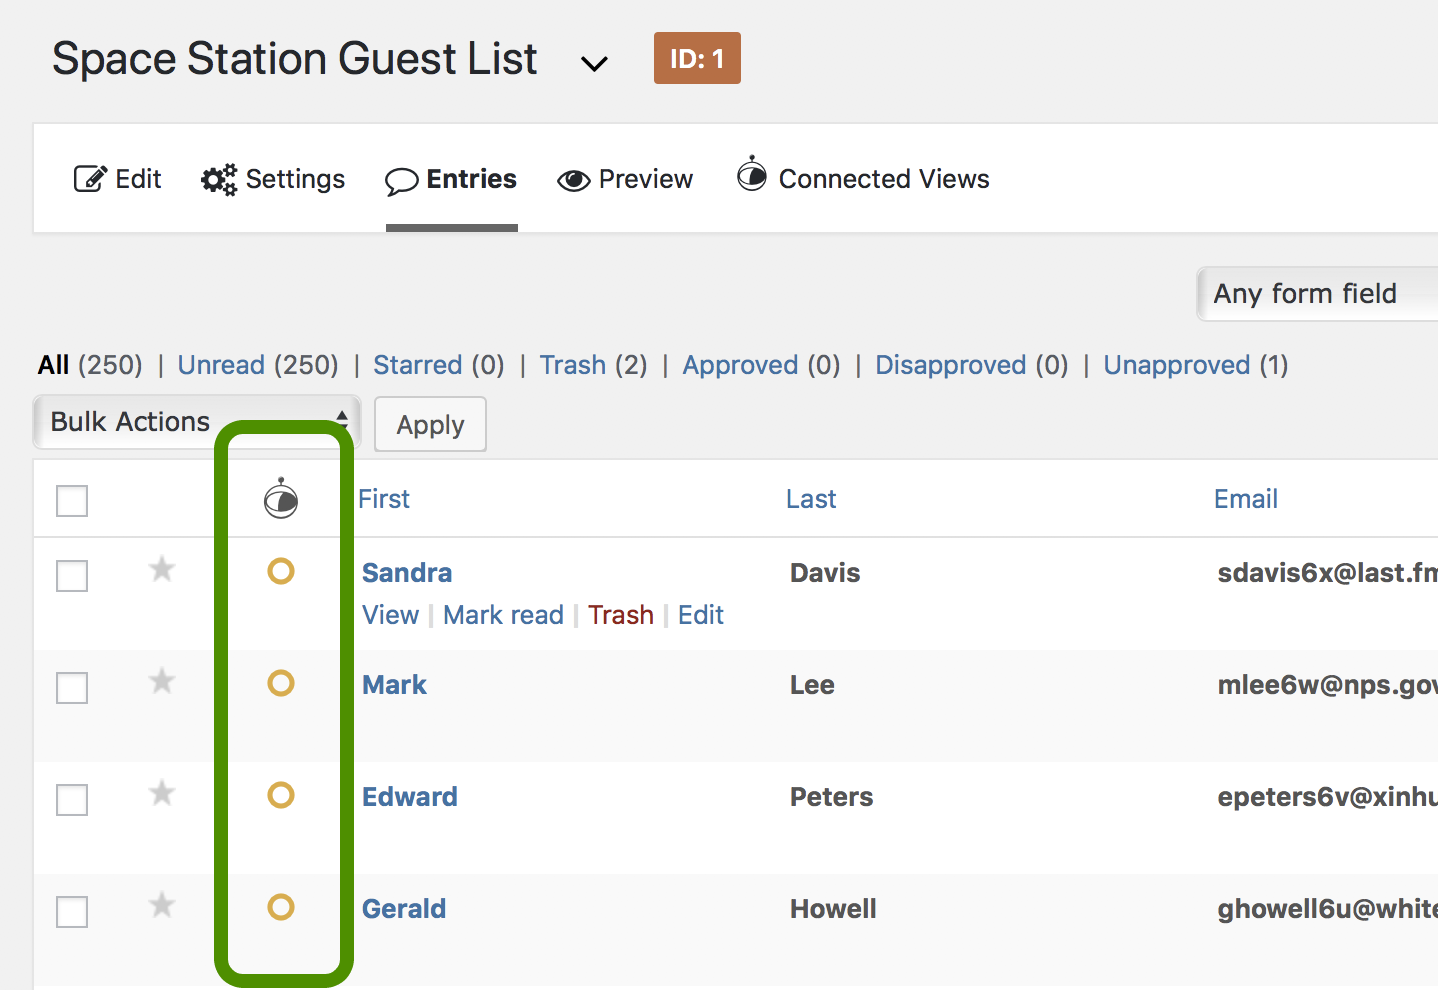
You will see a list of entries for the form. There's a column with an astronaut icon (that's our mascot, Floaty!).
There are three different approval statuses, represented by their approval icons:
- Not Reviewed ("Unapproved") entries are not yet approved or disapproved; they are the default status of entries
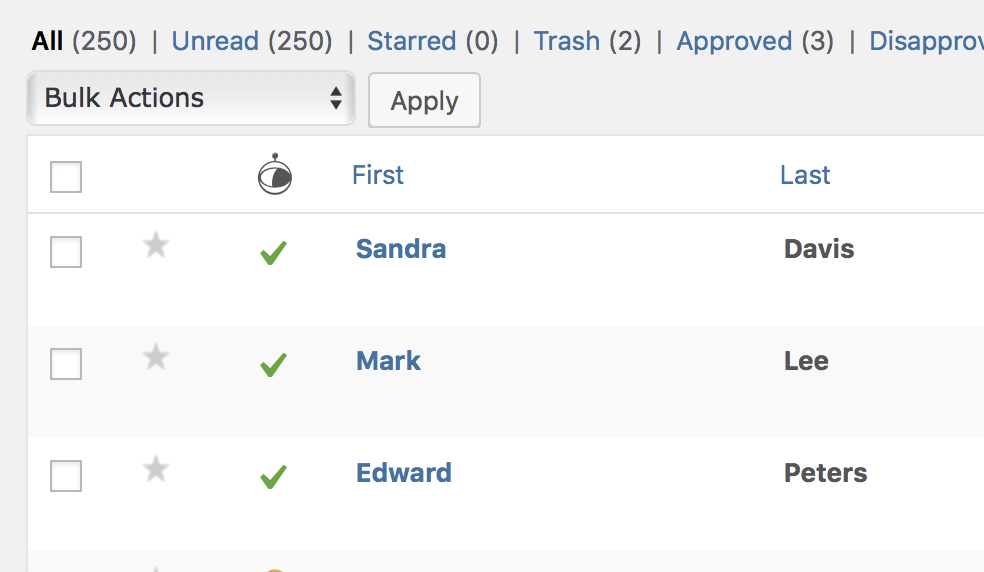
- Approved entries are represented by a green checkmark
- Disapproved entries are shown by a red x
To approve an entry, click on entry approval icon
To disapprove an entry, click on entry approval icon again
You can also disapprove an entry with one click by holding down both Option and Shift keys while clicking the approval icon. For Windows users, hold down Alt and Shift keys while clicking.
To reset the entry approval ("unapprove"), click on entry approval icon while holding down the Option or Alt key on your keyboard
For Mac users, the key name is "option" and is next to the Command key. For Windows users, the key name is Alt.
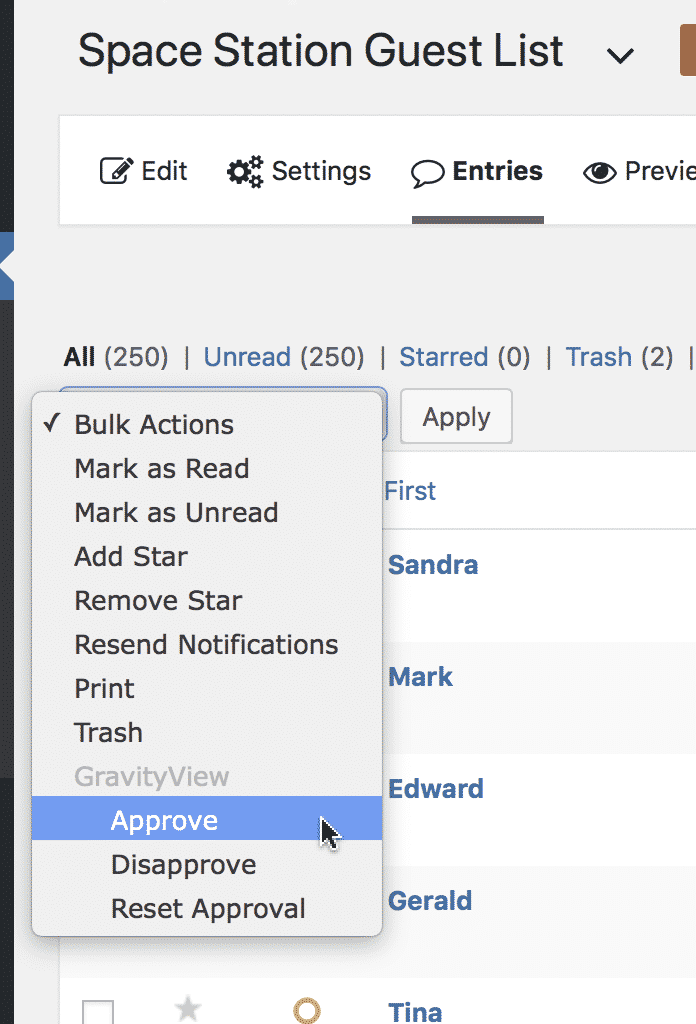
To change entry approval status for many entries at once, check the checkbox box next to the entry
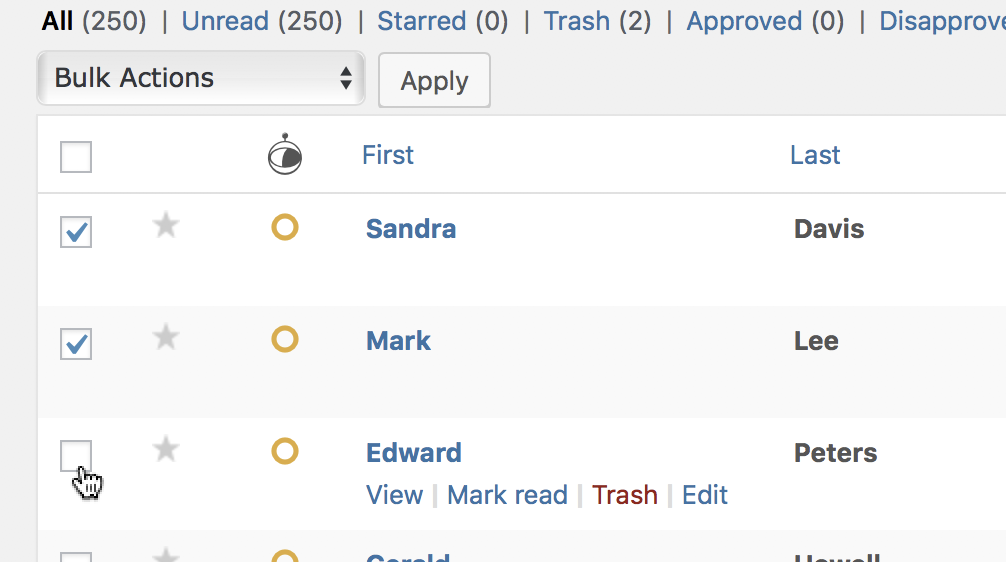
Then at the top of the table in the "Bulk Actions" dropdown, select one of the GravityView approval options
Then click the Apply button
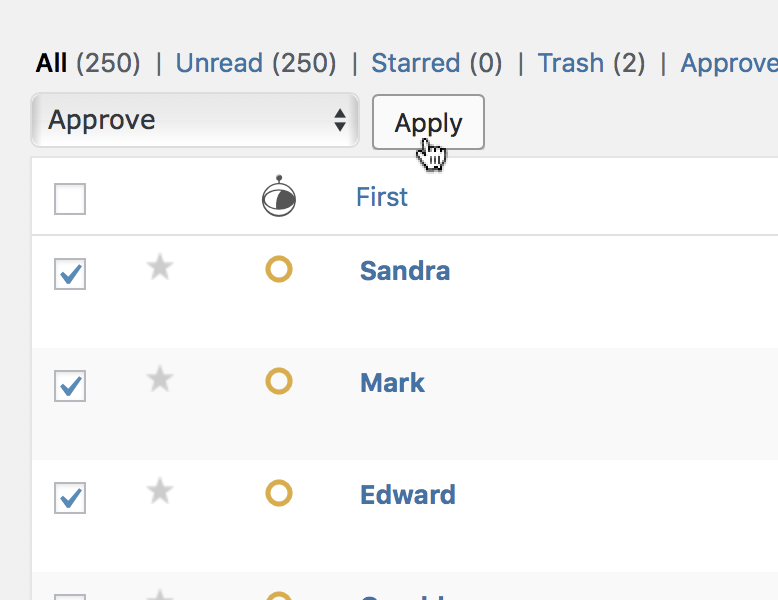
The entries you checked will be updated.