How to send email notifications when an entry is approved, disapproved, or the approval status has changed

Did you know you can now approve entries via email? Read here how!

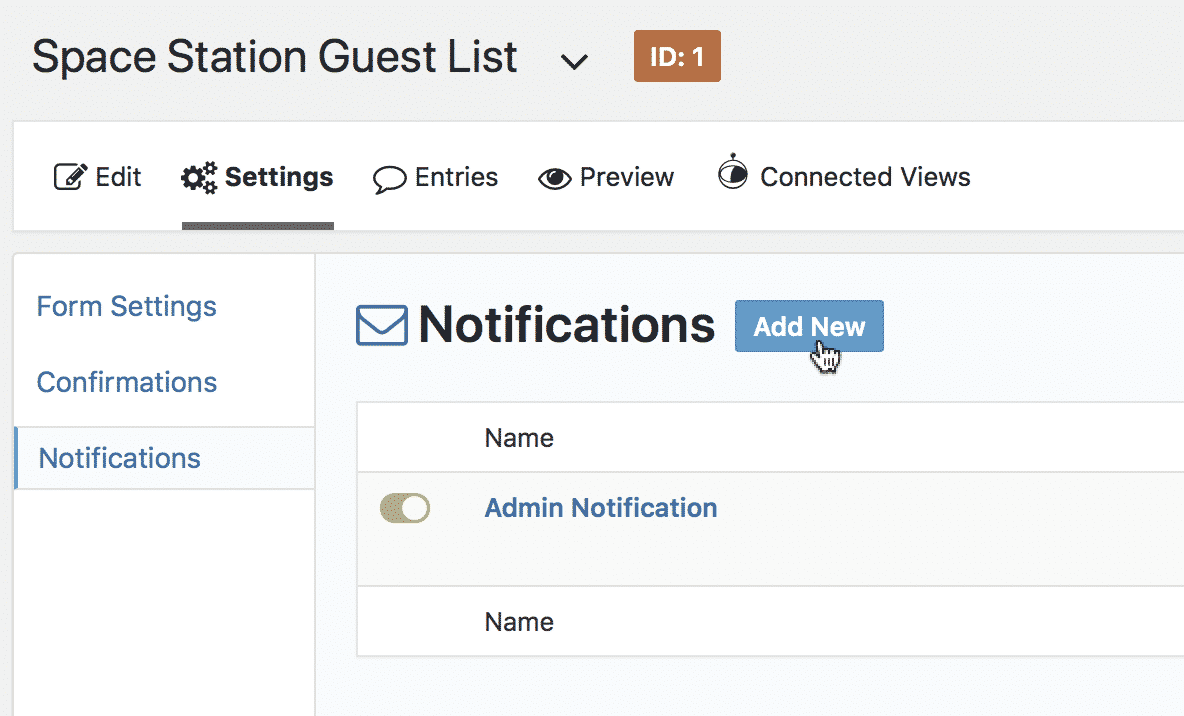
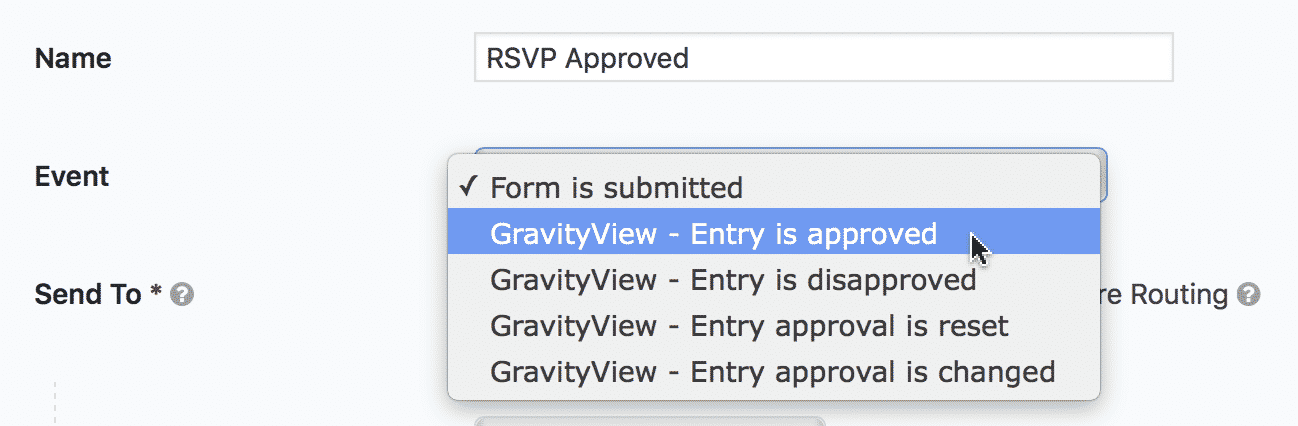
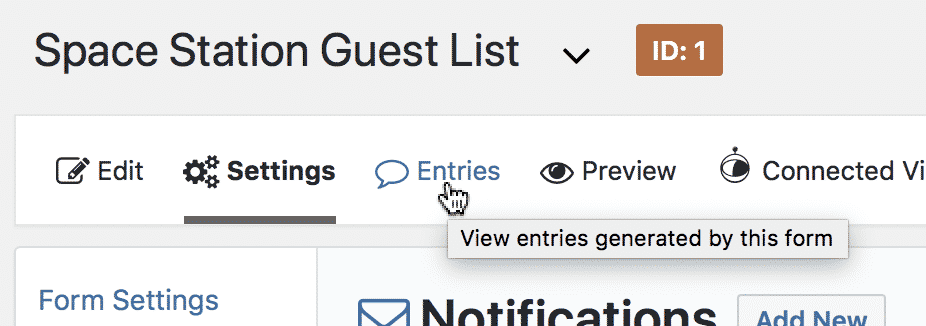
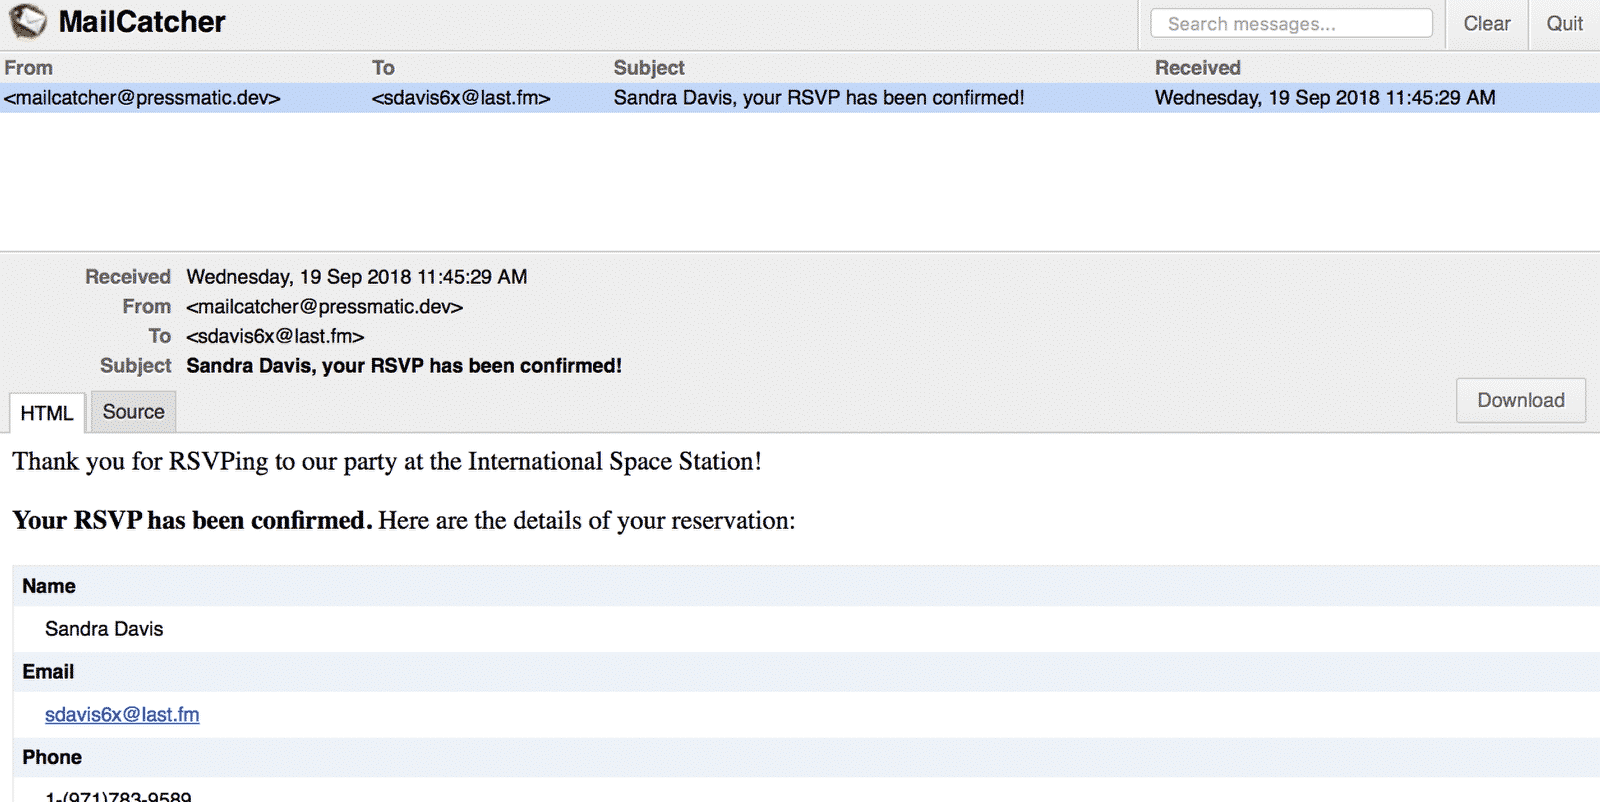
If you want to notify someone when their entry has been approved, you can do that using Gravity Forms Notifications. This functionality requires GravityView 2.1 or newer.

This is helpful to alert someone when you are:

  • Approving a submission to your website
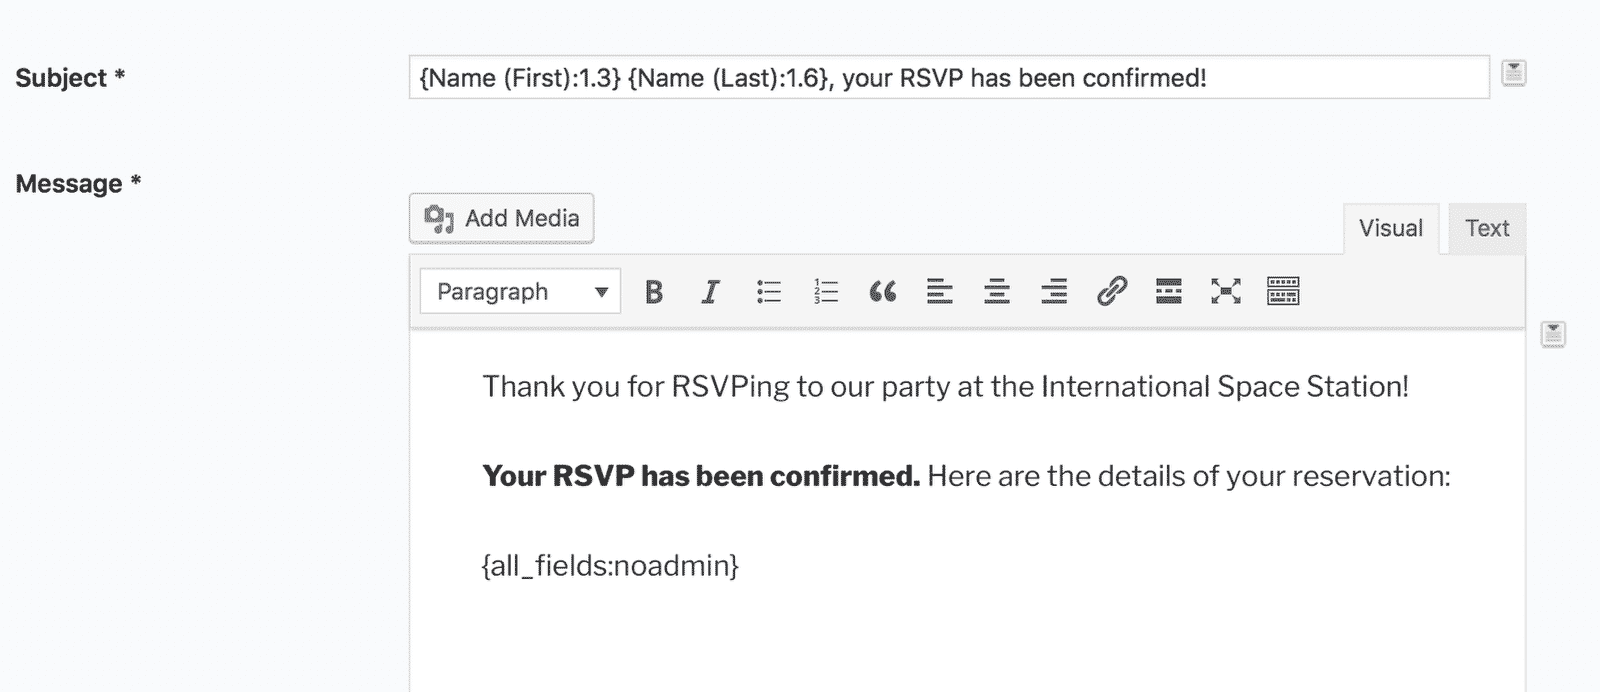
  • Confirming a reservation or RSVP
  • Accepting a submission for further review

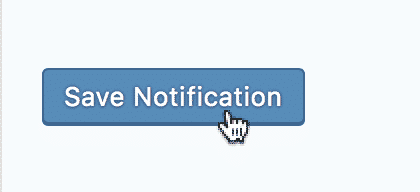
Below, we will show how to create a notification email when an entry is approved.

Notifications ‹ Forms ‹ The Cupola — WordPress — WordPress

Select the "GravityView - Entry is approved" from the Event drop-down

The Event is what triggers the notification to be sent. GravityView adds multiple events that are triggered during entry approval:

  • Entry is approved: Send when an entry is approved (shown as the green checkmark in the Gravity Forms Entries screen)
  • Entry is disapproved: Send when an entry is disapproved (shown as the red X in the Gravity Forms Entries screen)
  • Entry approval is reset: Send when entry approval is reset; when the entry had been approved or disapproved, but now has no approval status (this "unapproved" status is shown as a yellow circle in the Gravity Forms Entries screen)
  • Entry approval is changed: Send when an entry approval changes, regardless of what the new approval status is.

Choose who you want to send the email to.

In this example, we are going to send the email to the person who created the entry, so in the "Send To" field, click the "Select a Field" input. If you want to send to another email, you can choose "Enter Email".

If sending to a submitted email address, select an email field from the form in the "Send to Field" setting

Write your notification that will be sent when the entry is approved

Here, we use Gravity Forms Merge Tags to dynamically populate the entry data in the notification text.

Note that we used ":noadmin" modifier for the {all_fields} Merge Tag. That hides all fields that are set to "Admin Only" visibility so that the user doesn't see any internally-used fields.

Click "Save Notification" to create the notification

Now that we have the notification set up, let's approve some entries!

Click the Entries link in the Gravity Forms Toolbar.

Click an icon in the entry approval column to approve it

Not sure what will happen when you click an entry approval icon?

  • Clicking an unapproved entry (yellow circle) will approve it
  • Clicking a disapproved entry (red "X") will approve it
  • Clicking an approved entry (green check) will disapprove it
  • Holding down the option key on your keyboard while clicking an entry will reset entry approval to unapproved

Note: If you want to disapprove an entry instead, check the box next to the entry, select "Disapprove" from the Bulk Actions dropdown, then click "Apply".

The person whose entry has been approved will receive a notification email

Note that the Merge Tags have been replaced by the values from the entry. When using Merge Tags, each notification will be personalized to the information contained in the entry submission.

Did this answer your question? Thanks for the feedback There was a problem submitting your feedback. Please try again later.

Still need help? Contact Us Contact Us