Displaying a calendar
This guide explains how to display your GravityCalendar on your WordPress site using different methods. Before displaying your calendar, make sure you’ve already created one.
Here are the different methods for displaying a GravityCalendar on your site:
Method 1: Using the Gutenberg block
If you’re using the WordPress block editor (Gutenberg), you can easily insert a calendar directly into a post or page.
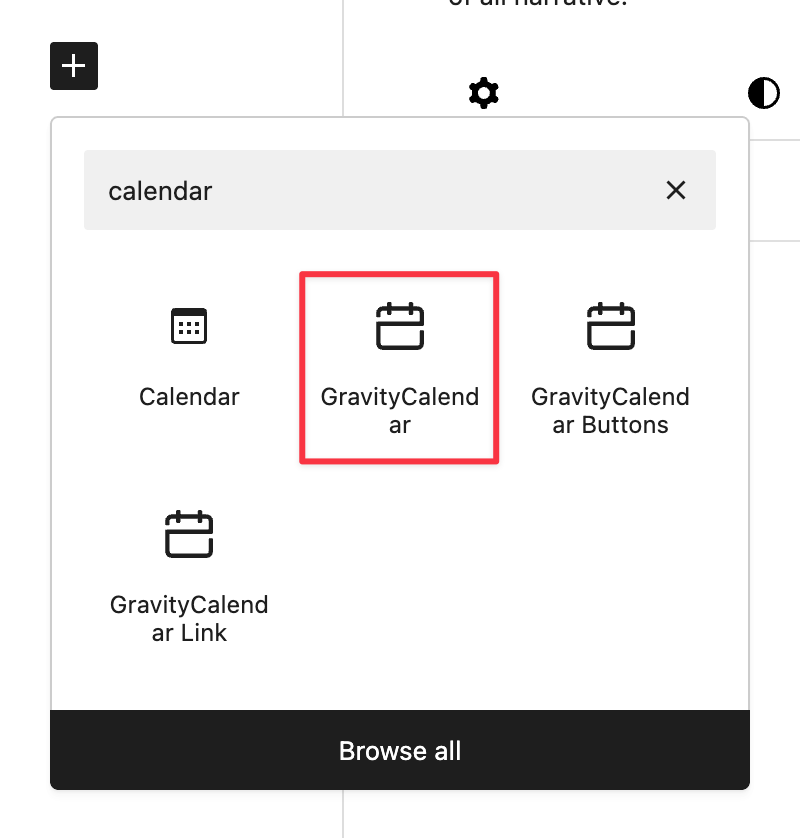
Edit an existing post or create a new one, and click the + icon to add a new block. Next, search for Calendar and select the GravityCalendar block.
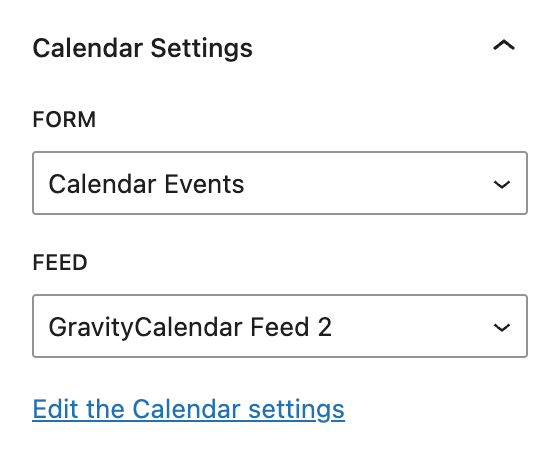
After adding the block to your page, open the block settings sidebar and choose the Form and Feed to display your calendar. The preview will automatically update inside the editor.
Method 2: Using a shortcode
Each calendar you create includes a shortcode that you can embed anywhere on your site—inside posts, pages, or widgets.
To find the shortcode for a given GravityCalendar, go to your Forms list in Gravity Forms, click Settings, and then GravityCalendar. In the feeds list, locate the Shortcode column. Copy the shortcode for your calendar.
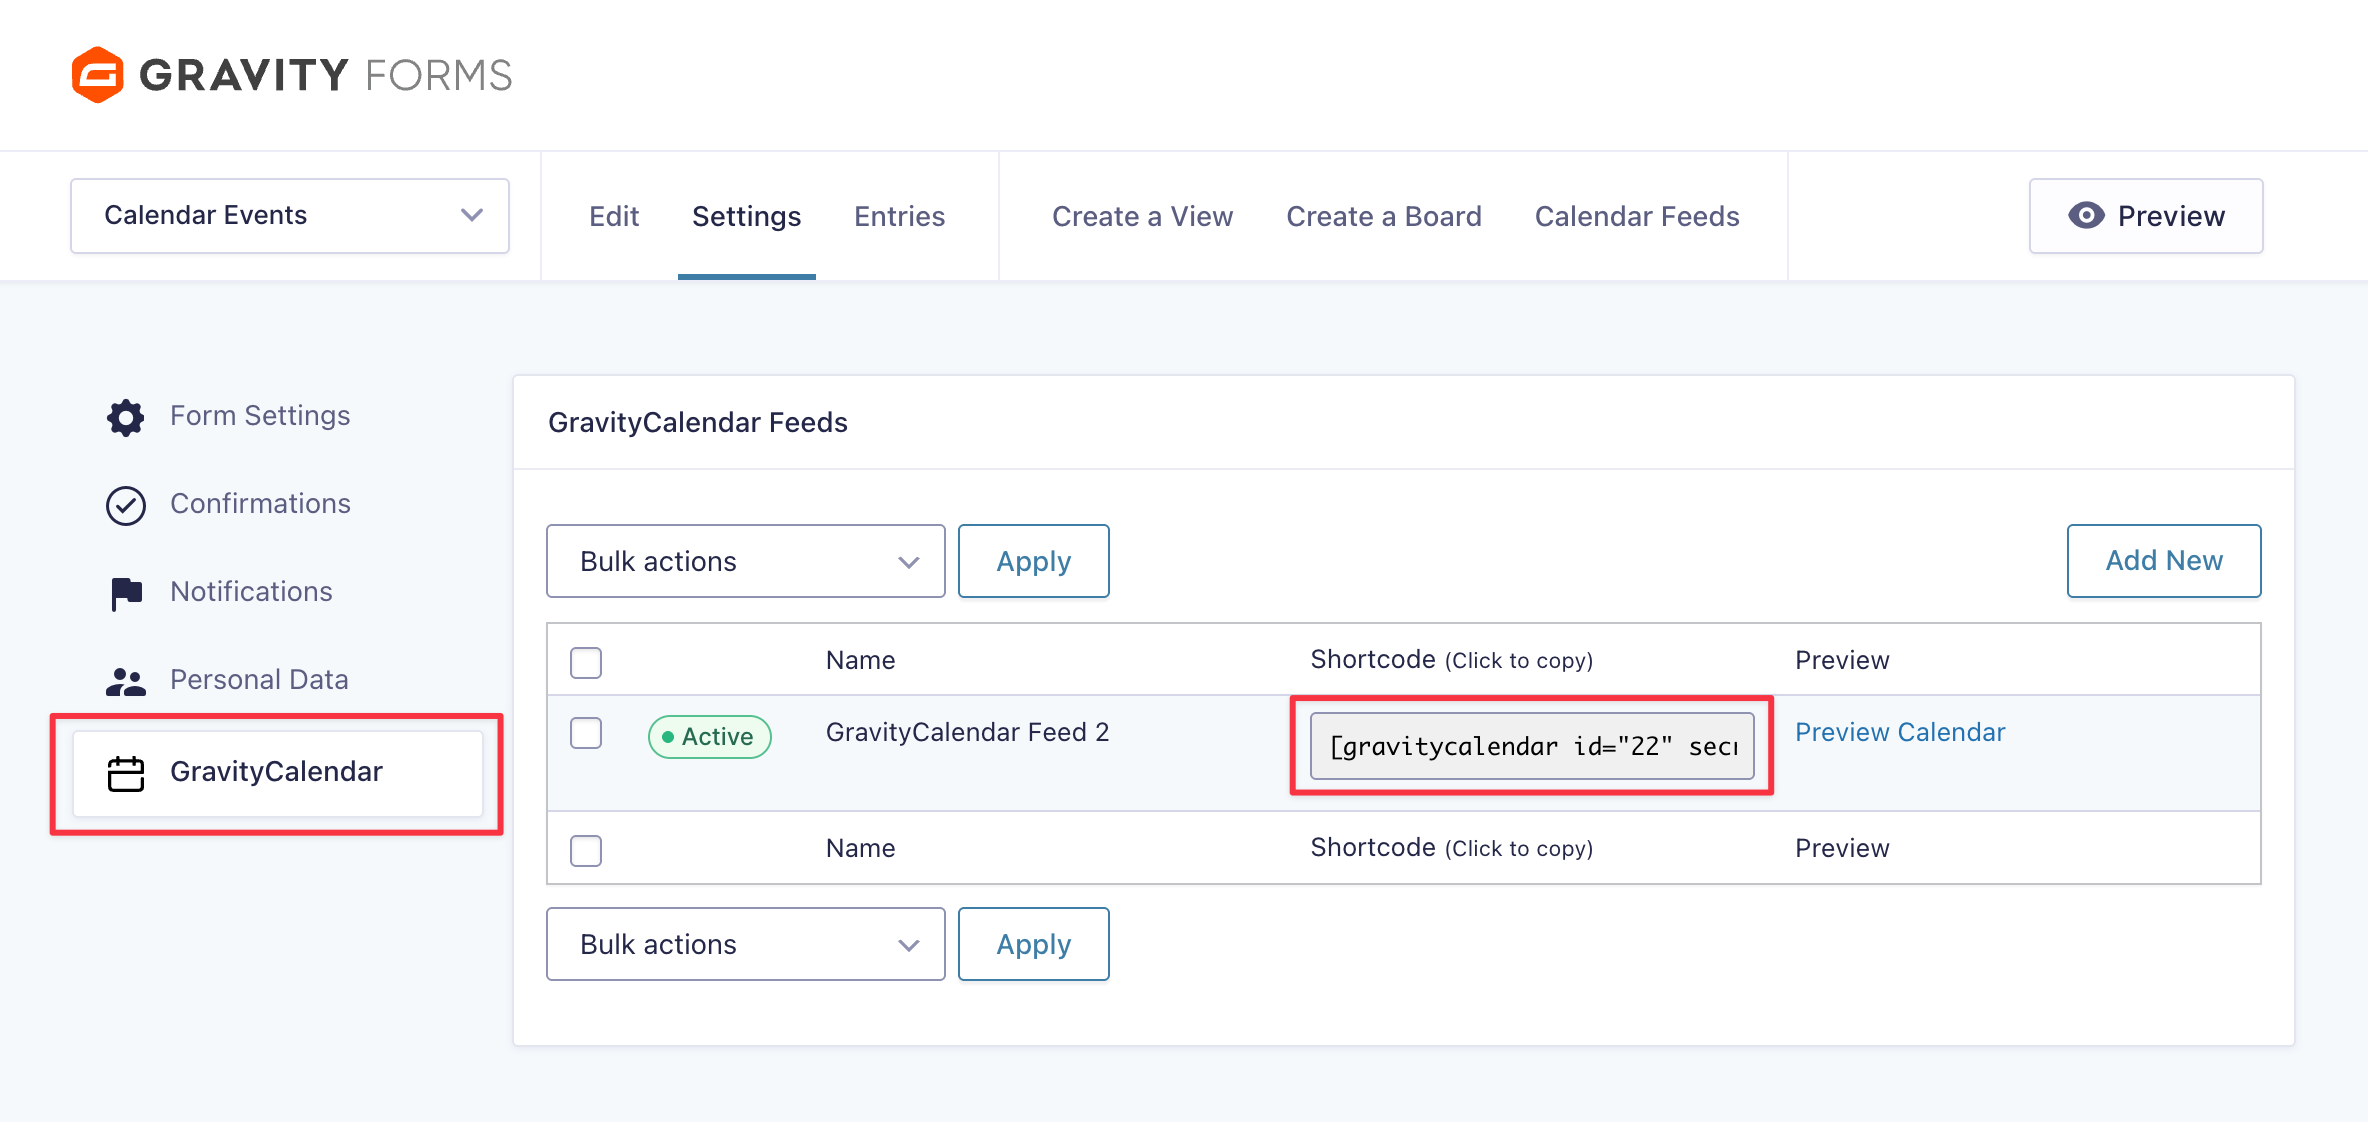
You can paste this shortcode into any WordPress page or post to display your GravityCalendar.
Example shortcode:
[gravitycalendar id="22"]
Method 3: Using a WordPress widget
You can also add a GravityCalendar to your sidebar, footer, or any widget-ready area.
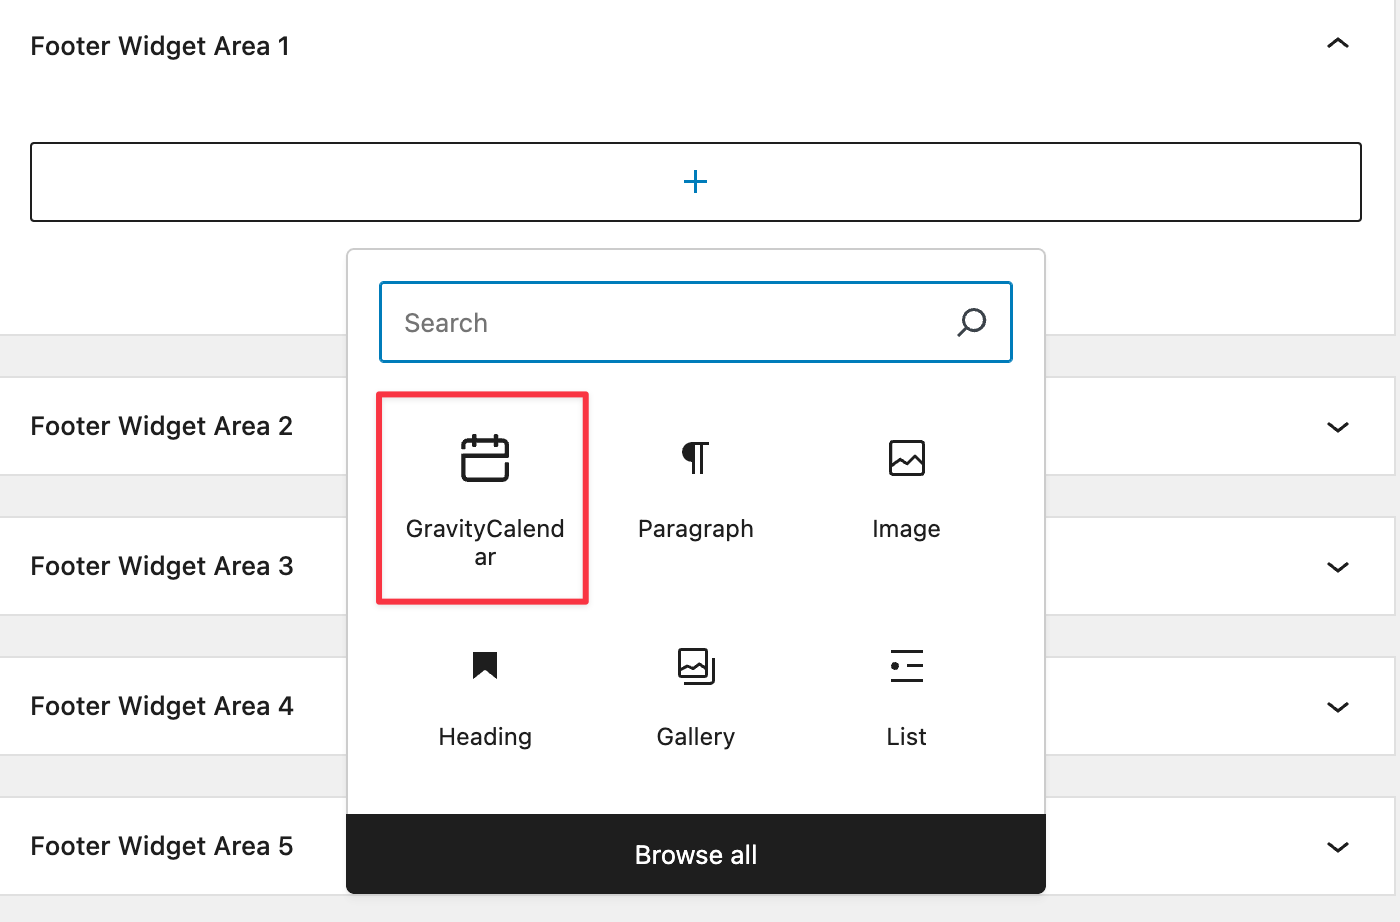
In your WordPress dashboard, navigate to Appearance > Widgets. Click the + icon and search for GravityCalendar.
In the widget settings:
- Select a Form (the one connected to your calendar).
- Choose the Feed (the specific calendar you want to display).
- Click Save to apply your settings.
Method 4: Using the GravityView widget
If you have GravityView installed, you can embed a calendar directly inside a View.
Edit your View and click + Add Widget. Select Calendar from the widget list.
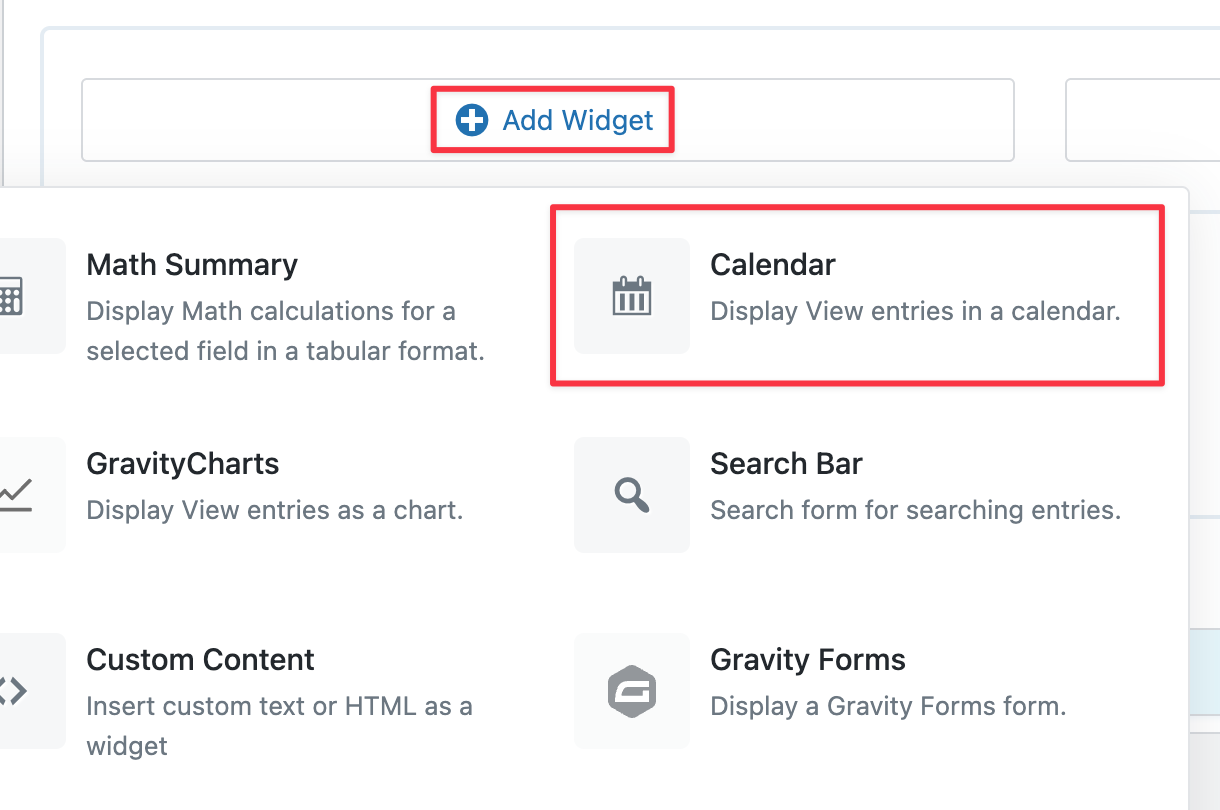
Next, click the gear (settings) icon on the Calendar widget to configure it.
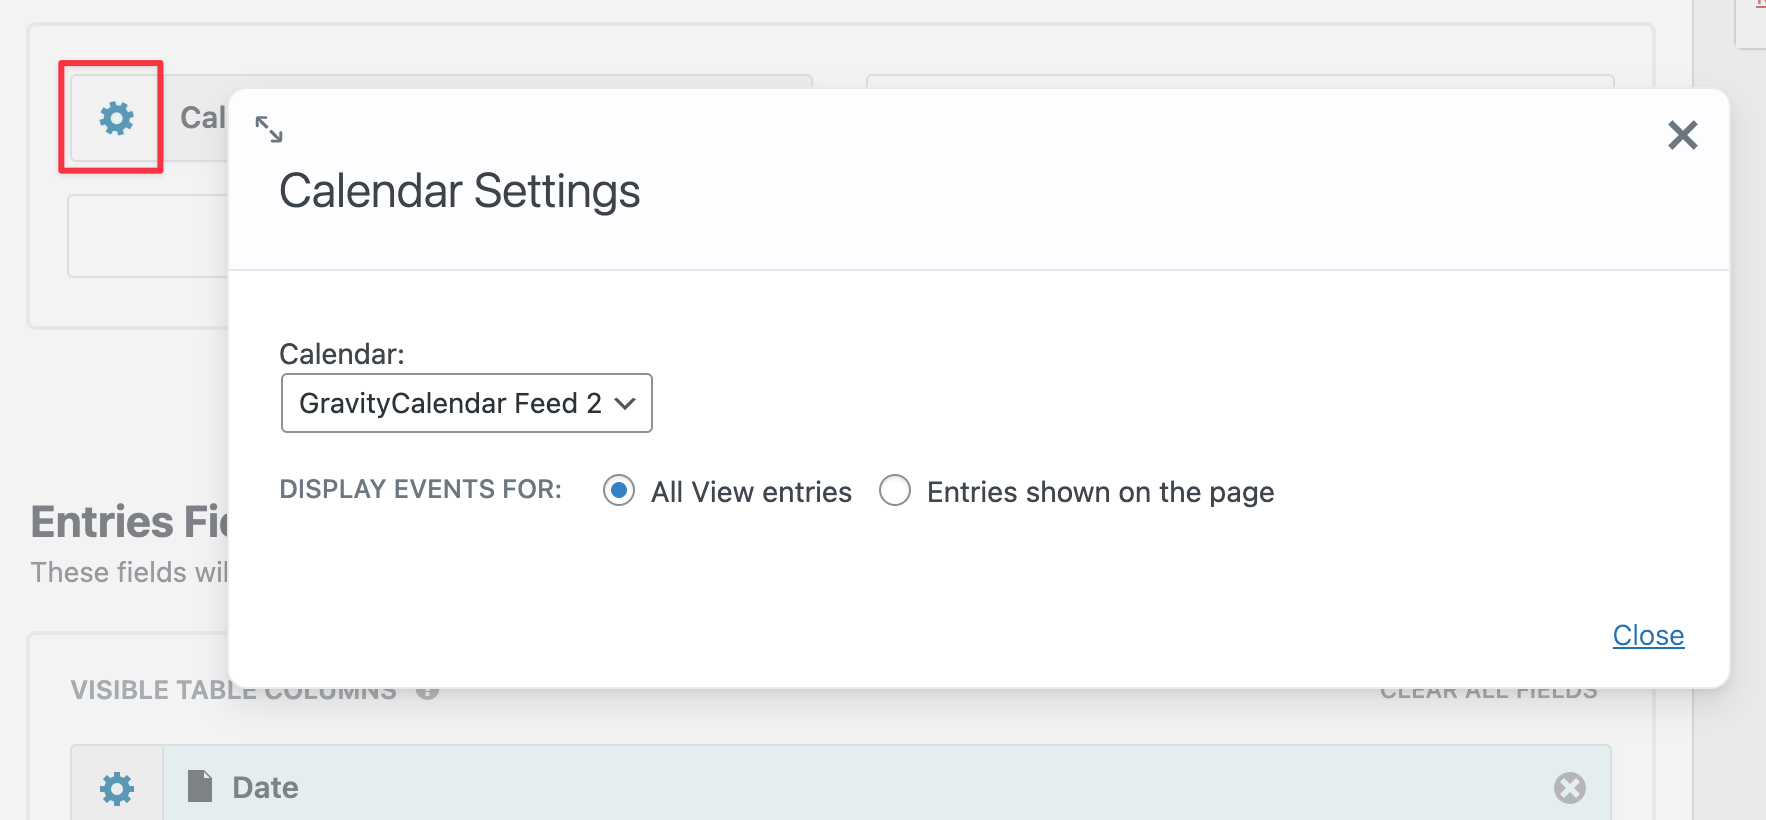
Select the calendar you want to embed from the dropdown field. You can also choose to:
- Display events for all entries in the View, or
- Limit events to only the entries shown on the current page.
When finished, publish or update your View to save your changes.
Note: When used as a GravityView widget, the calendar will inherit your View’s settings. The final display may differ from the preview if you’ve configured filters, approval settings, or other options that control which entries appear.
_1@2x.png)