Comparing GravityView’s View Layouts
Once you’ve created a new View and linked it to an existing form in Gravity Forms, the next step is to choose a View layout.
Depending on your license, you can choose from up to 5 different layouts.
- The GravityView license includes the Table, List and Layout Builder View types
- The GravityView Pro license includes the Table, List, Layout Builder, DataTables, Maps, and DIY layouts
Note: If one of the View layouts isn’t showing up, even though you have the correct license, it may be because you haven’t installed the required plugin. For instructions on how to do this, see Installing, Activating, and Updating GravityKit Plugins.
Differences Between View Layouts
Table View: Displays your Gravity Forms data in a table layout. This view works well for dense data or data that is mostly numerical.

List View: The listing view displays form entries one on top of the other. This view is perfect for directories, and personal profiles.

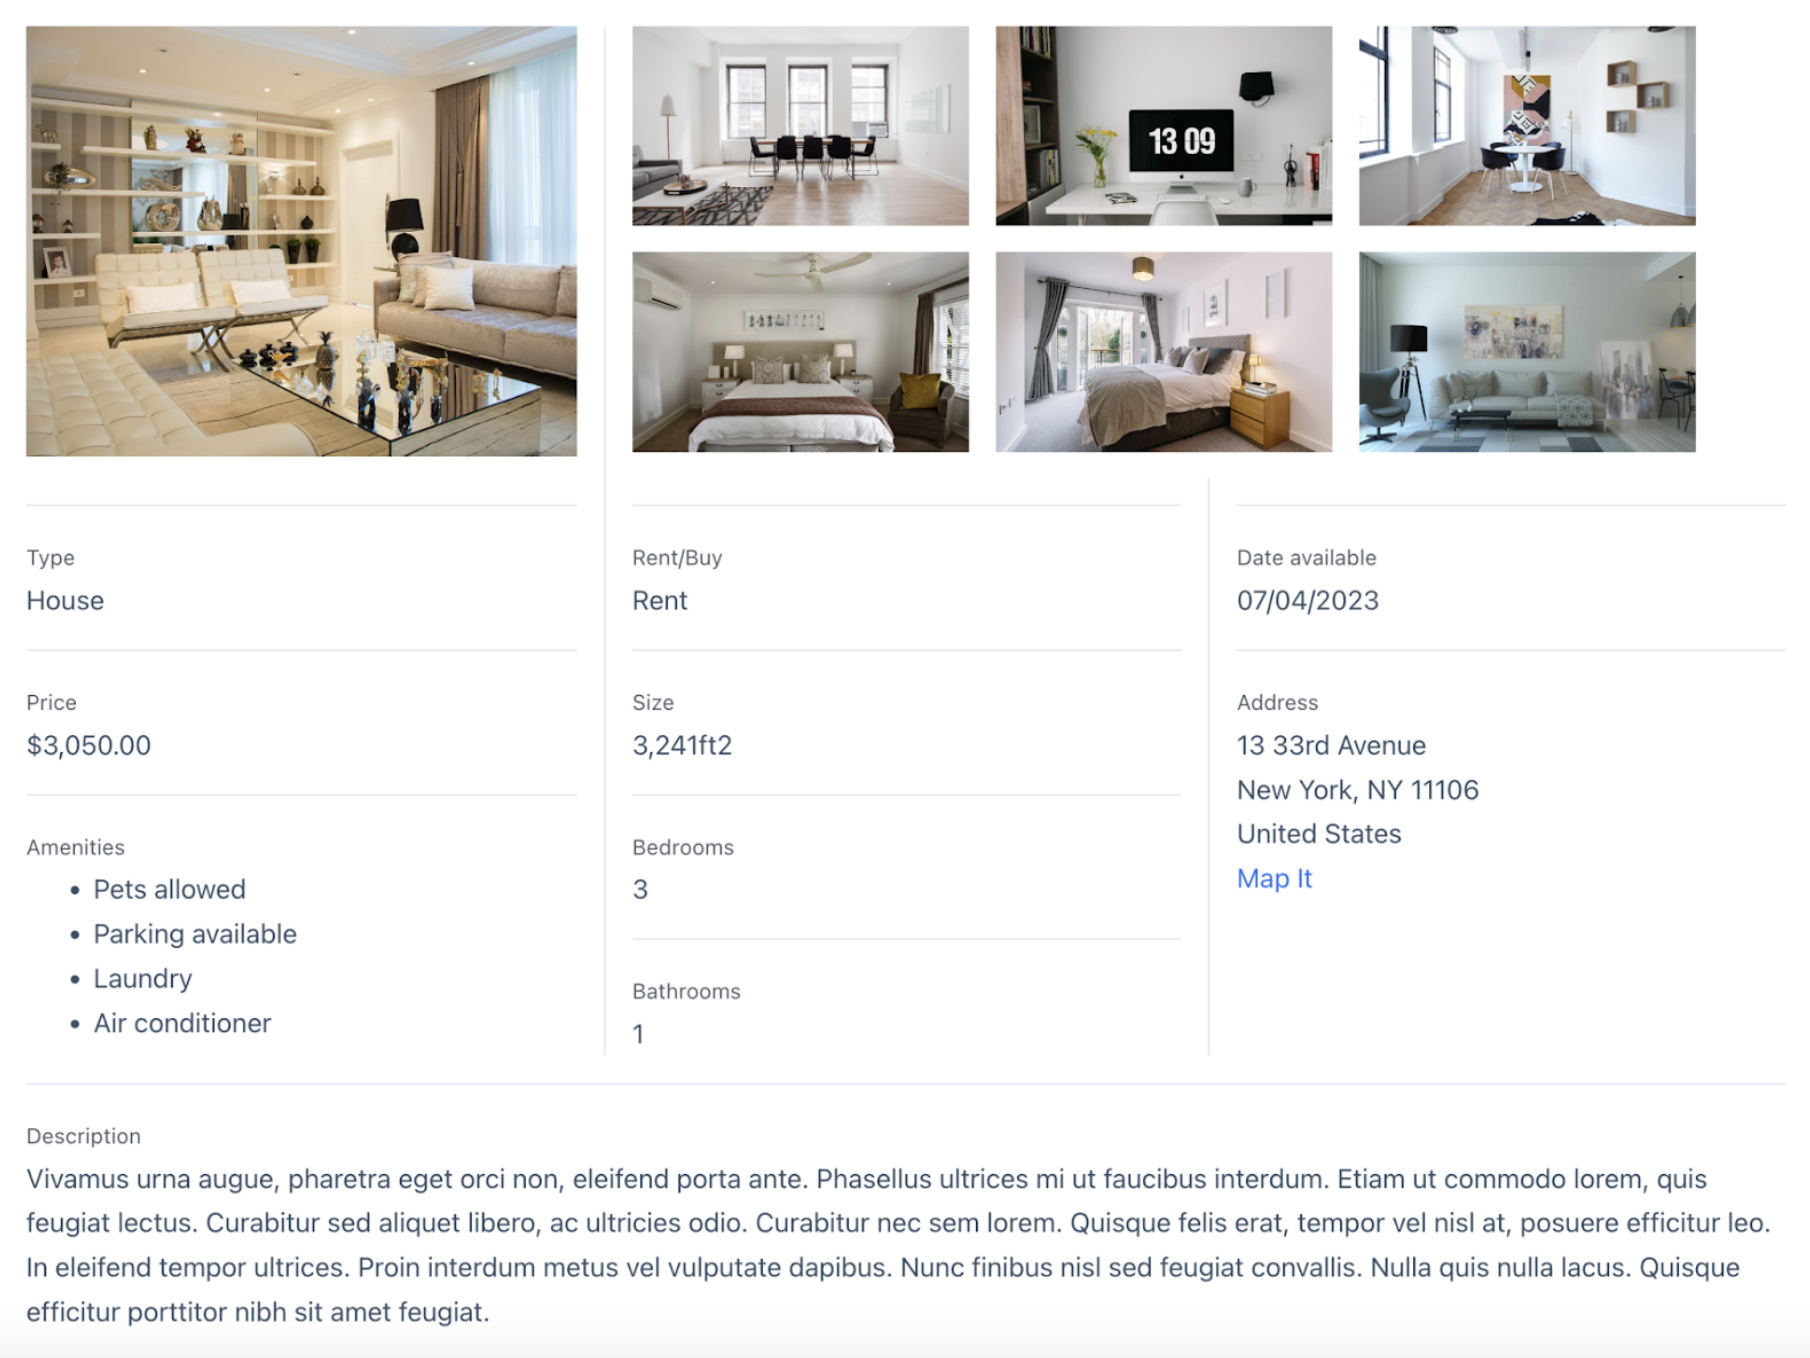
Layout Builder: GravityView's powerful Layout Builder enables you to construct custom layouts with rows and columns. It's like a visual page builder, but for your Gravity Forms data!

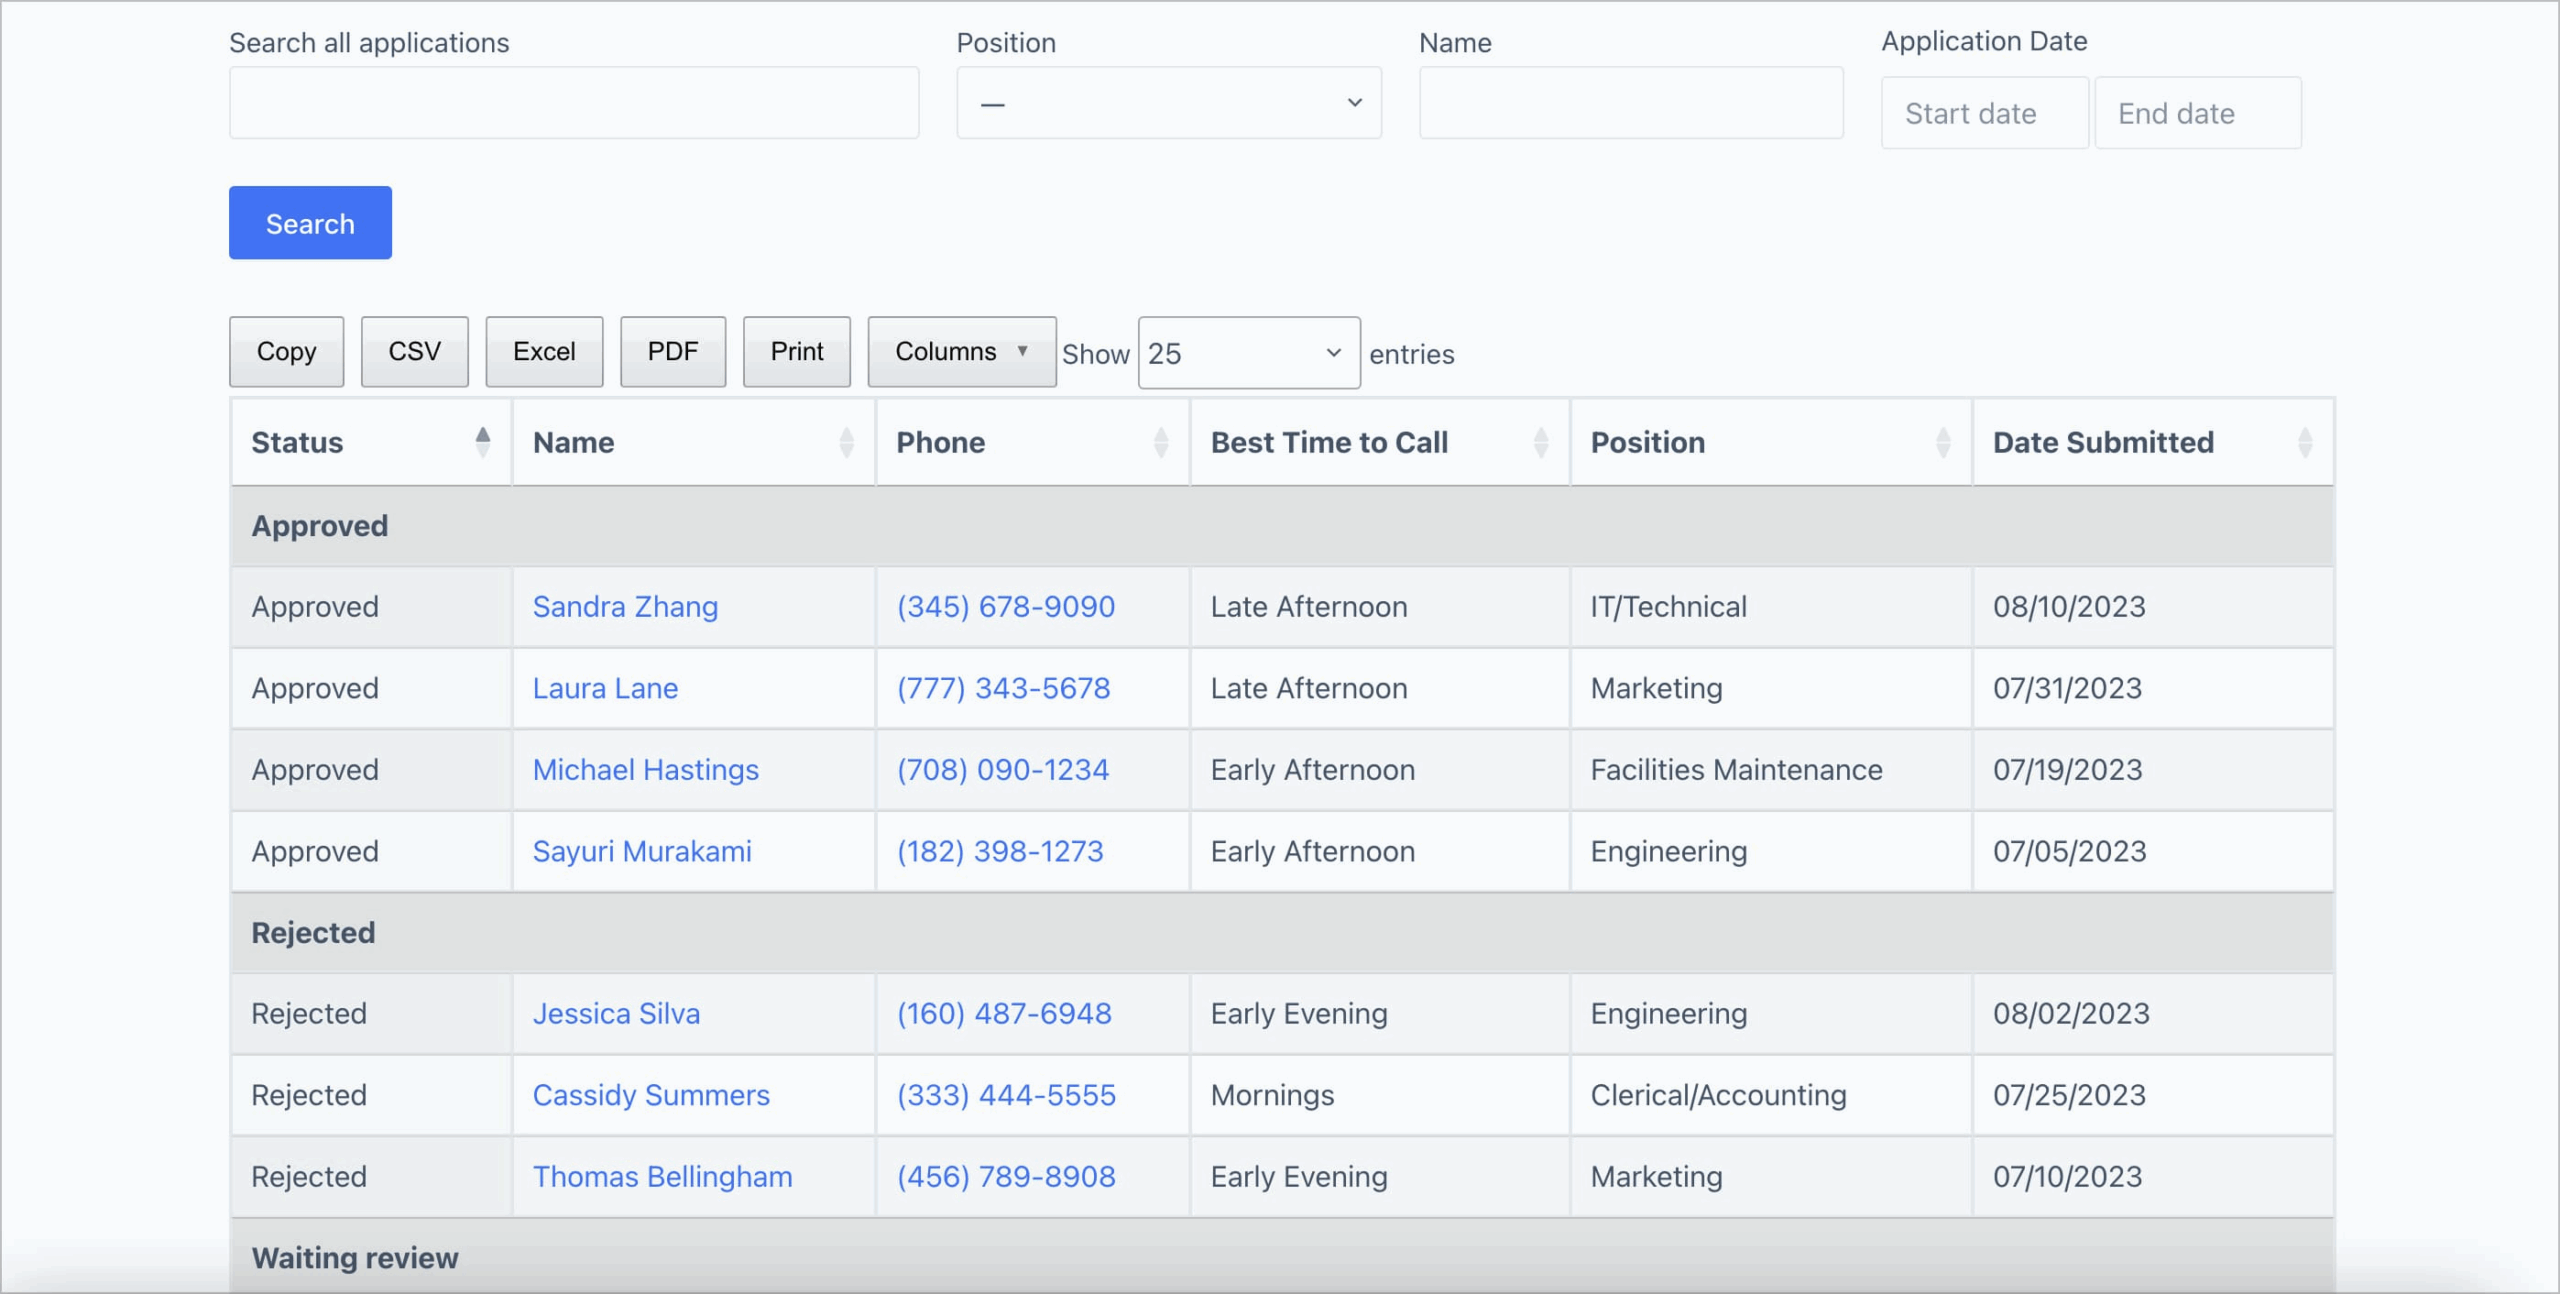
DataTables: With advanced filtering options, DataTables gives you full control over how your data is displayed on the front end. With DataTables you can also export your data in a variety of formats.

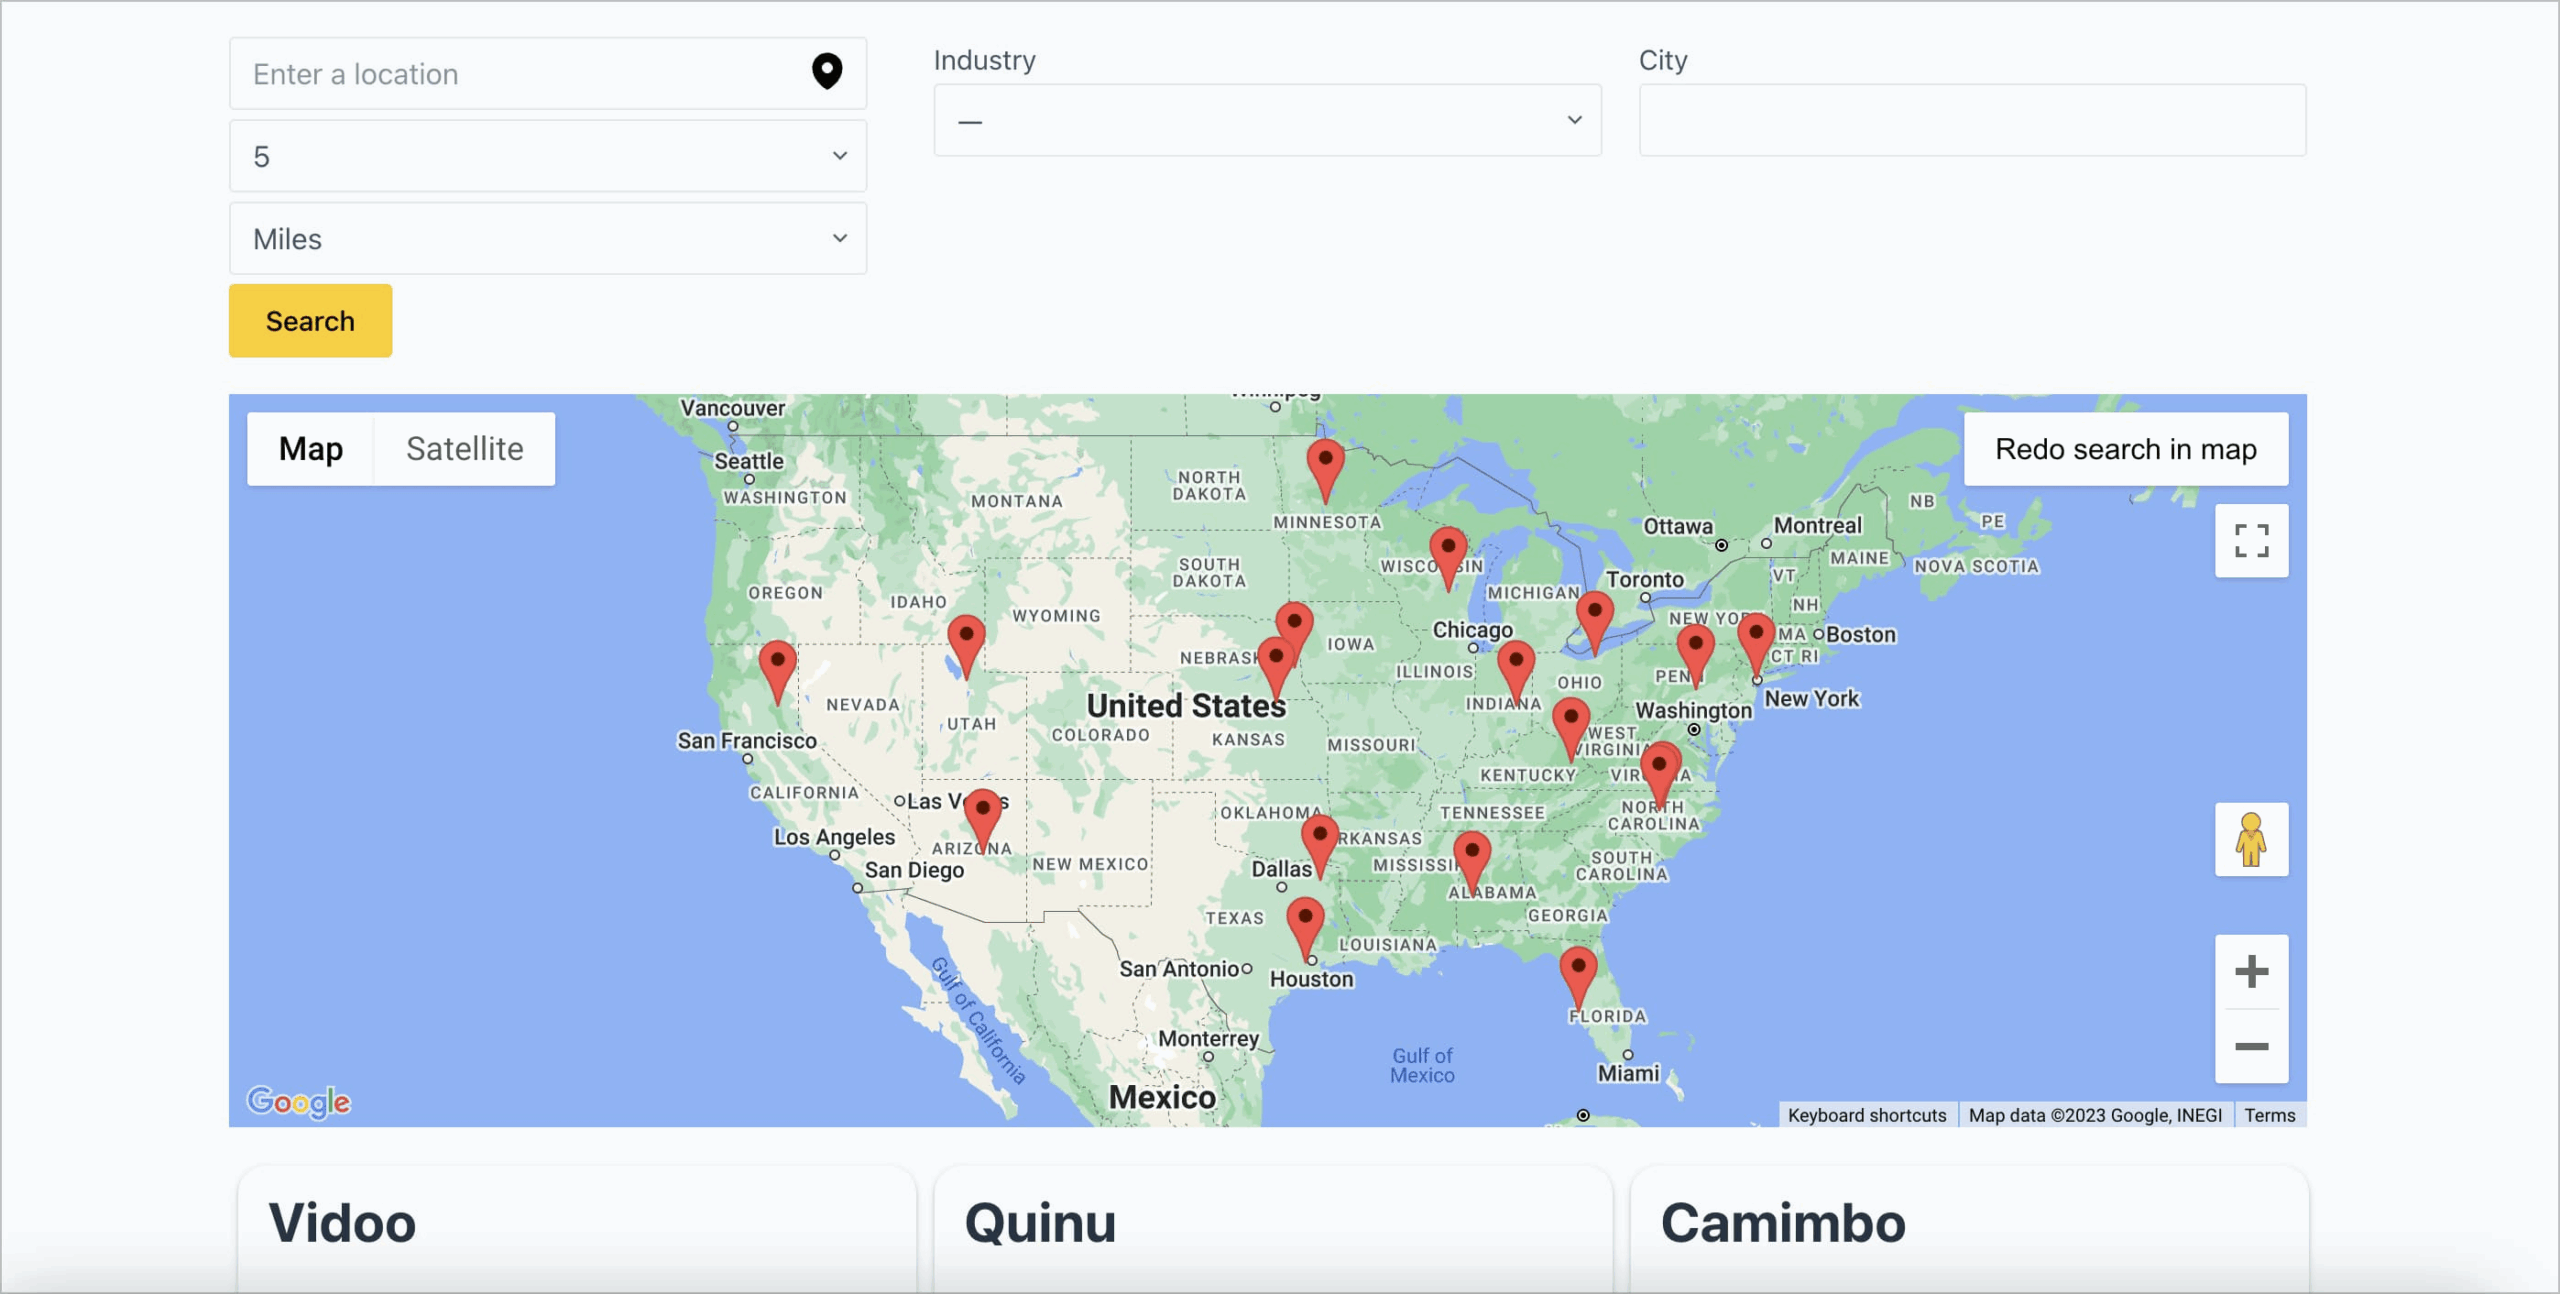
Maps: Using the Maps view you can display Gravity Form entries as a marker on Google Maps. The Maps Layout is best for business directories, store locators, and services directories.

DIY Layout: Built for web developers, designers, and anyone with basic knowledge of HTML/CSS, the DIY layout gives you maximum flexibility by allowing you to design your very own view layout.

Read next: Getting Started: Adding Fields to the Multiple Entries and Single Entry Pages.
_1@2x.png)