Changing the labels of the approval statuses

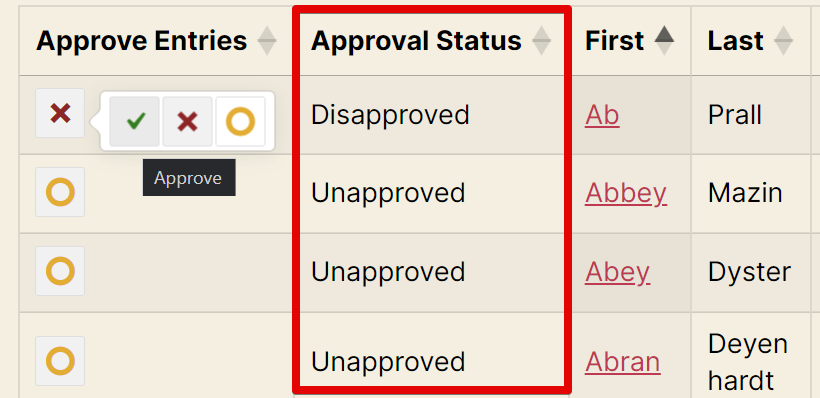
Depending on the project, there are labels more suited than the existing ones: Approval, Unapproved, and Disapproved. Fortunately, there's an easy way to change them.
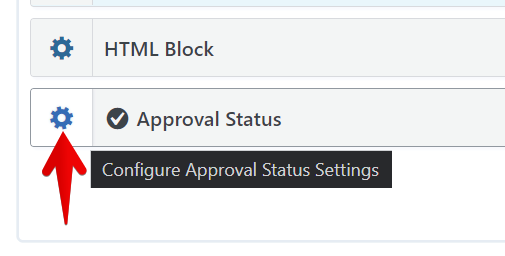
Once the Approval Status field is added to your View, click on the cog icon to access the Approval Status Settings modal:

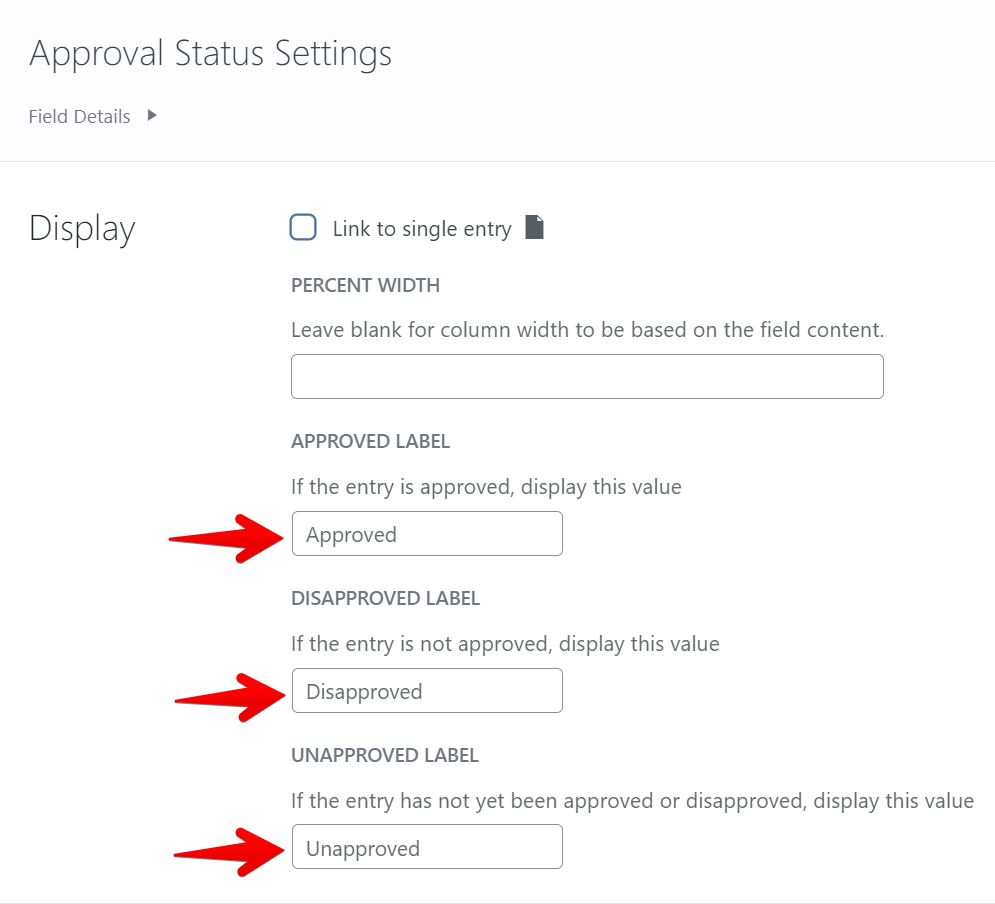
On the Approval Status Settings modal, you can change the labels for the three available statuses:

Changing the labels of the actions of the Approve Entries field
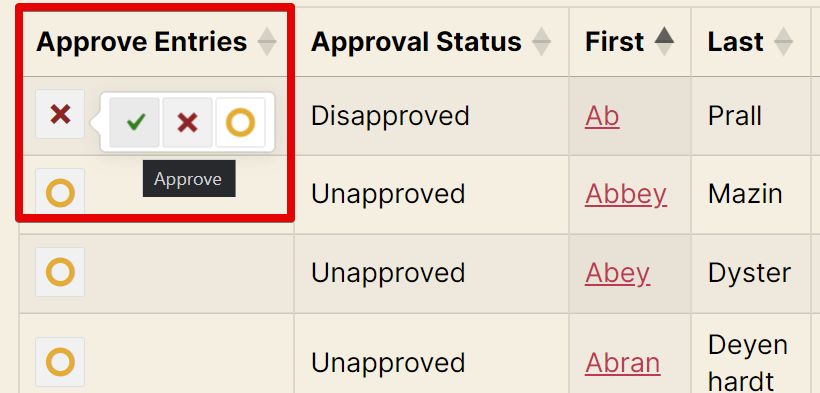
It is also possible to change the labels of the actions from the Approve Entries field.

In the example below, replace the ###### characters with the new label you prefer for each action.
add_filter( 'gettext', 'gk_modify_approval_text', 20, 3 );
function gk_modify_approval_text( $translated_text, $text, $domain ) {

	if ( $domain !== 'gk-gravityview') {
		return $translated_text;
	}

	if ( ! class_exists( '\GravityView_View' ) ) {
		return $translated_text;
	}

	$view_id = GravityView_View::getInstance()->getViewId();
        if($view_id !== 66){ // Change 66 to your View ID
		return $translated_text;
	}

	if ( $translated_text === 'Disapproved' ) {
		$translated_text = '#######';
	}

	if ( $translated_text === 'Disapprove' ) {
		$translated_text = '#######';
	}
	if ( $translated_text === 'Approved' ) {
		$translated_text = '#######';
	}

	if ( $translated_text === 'Approve' ) {
		$translated_text = '#######';
	}

	if ( $translated_text === 'Unapproved' ) {
		$translated_text = '#######';
	}

	if ( $translated_text === 'Reset Approval' ) {
		$translated_text = '#######';
	}

	return $translated_text;
}
Read here how to add these code samples to your website: Where to put code samples.
_1@2x.png)