In the Gravity Forms Edit Form screen, click on the "Notifications" link under "Settings."
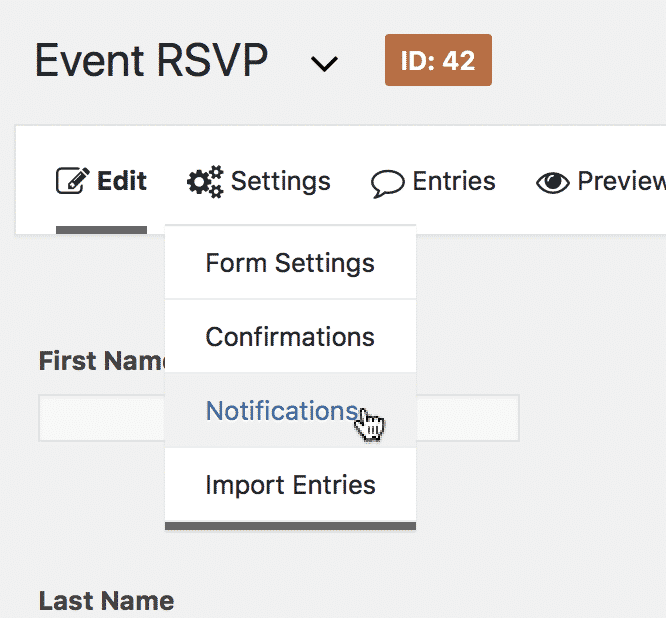
Hover over the "Settings" link in the Gravity Forms toolbar, and then click on the "Notifications" link.
Click the "Add New" button to create a new notification
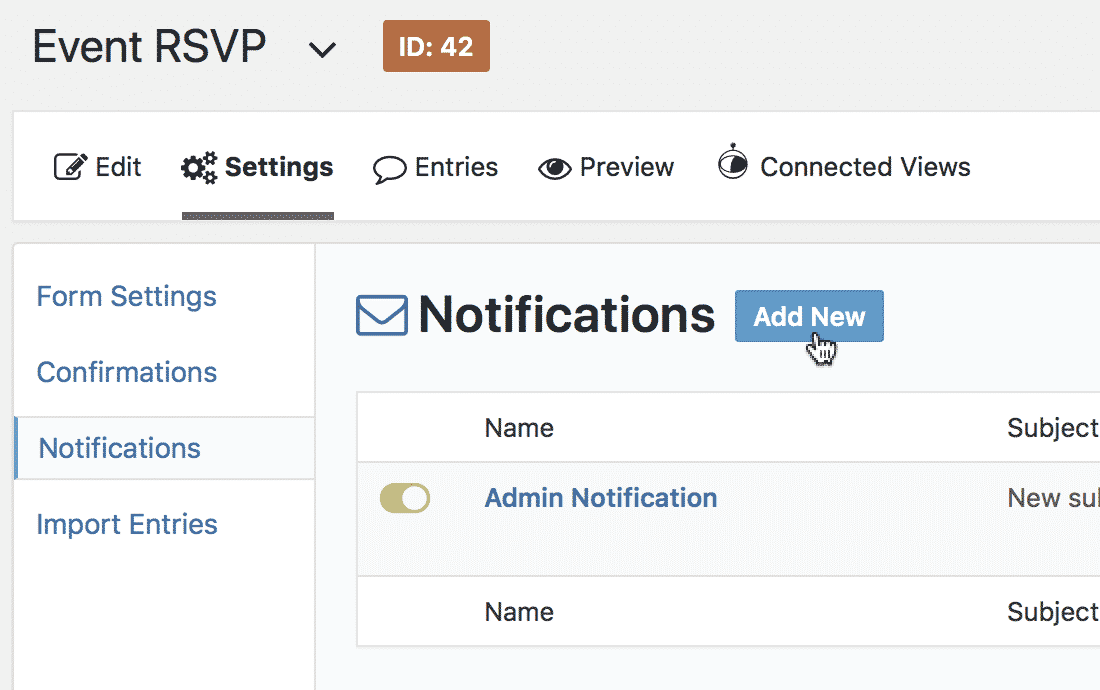
Enter a name for the notification

This is not important; it will only be seen to administrators. In this example, we know that when an entry is updated, a RSVP has changed for an event; we call the notification "Updated RSVP".
Select "Entry is updated, revision is saved" from the Event dropdown

By selecting this option, you are creating a notification that will send when an entry has been modified.
Note: If you don't see this option, the GravityRevisions plugin may not be installed and activated.
Fill out the other details for the notification
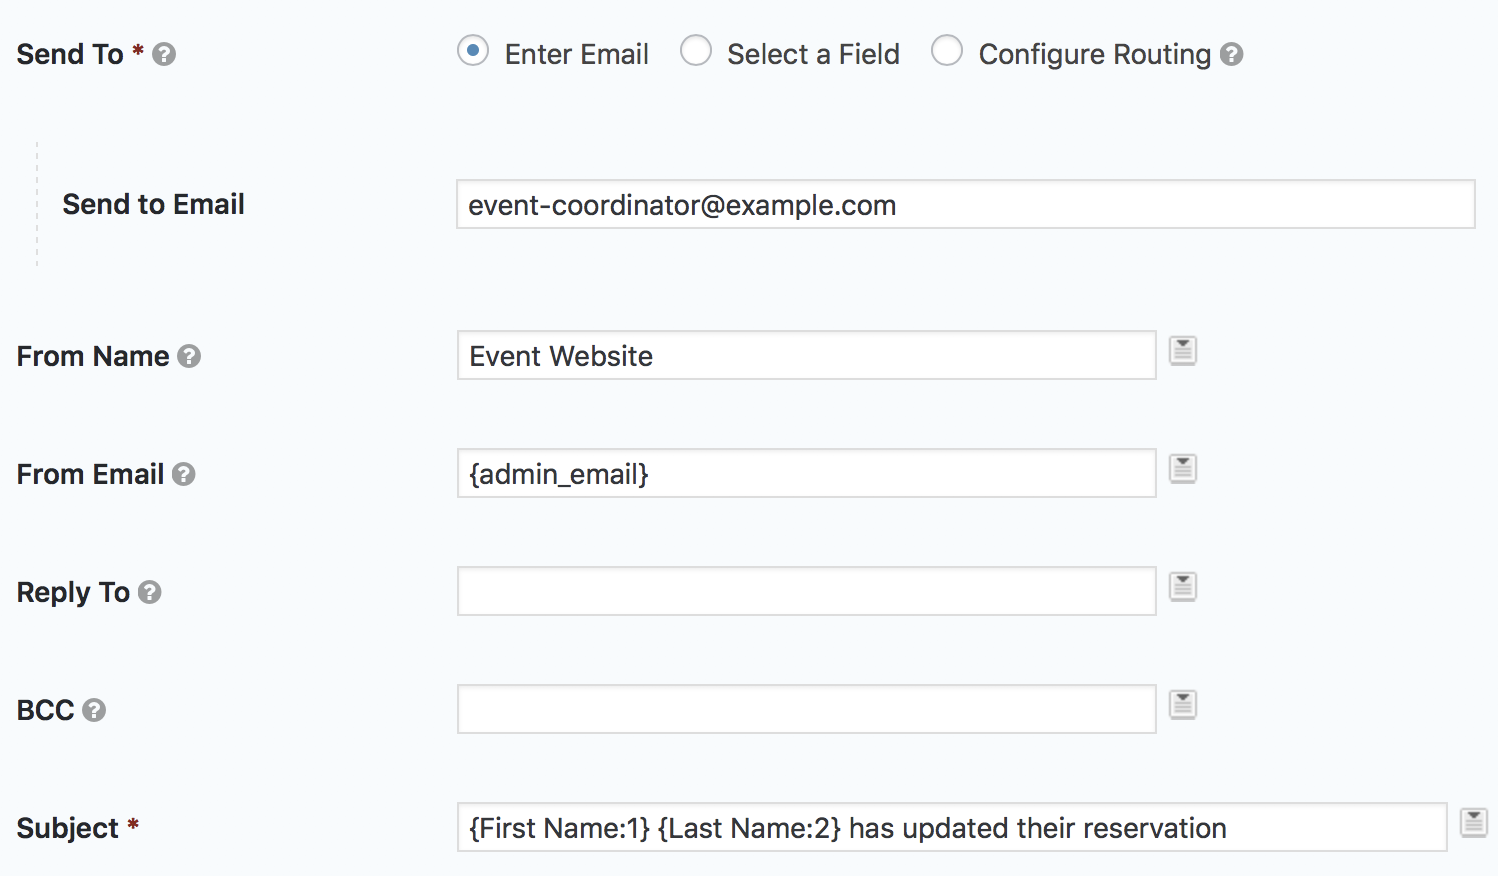
These details are just like regular Gravity Forms notifications. If you need additional information on configuring these settings, read Gravity Forms' article Configuring Notifications in Gravity Forms.
In the Message field, we add a GravityRevisions Merge Tag to show what has changed in the entry
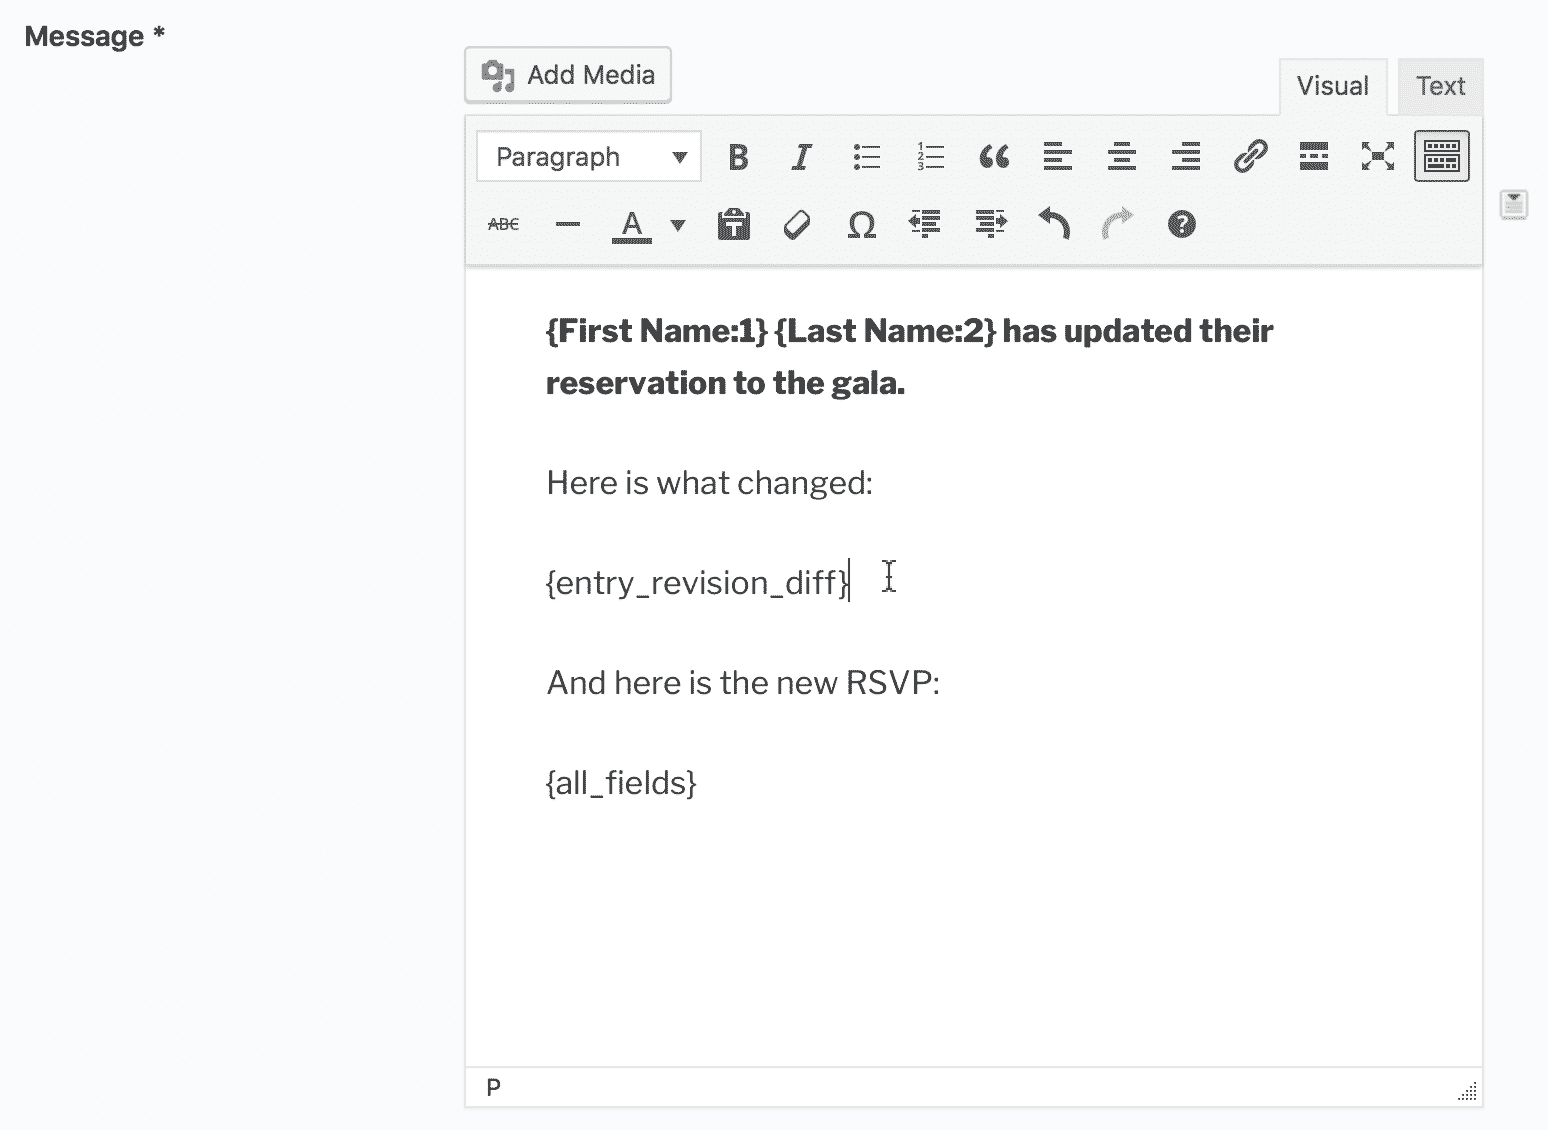
The {entry_revision_diff} Merge Tag displays a "before and after" comparison for each field where the value has changed.
The {all_fields} Merge Tag is from Gravity Forms, and will be replaced by a pre-formatted table showing details from the full entry.
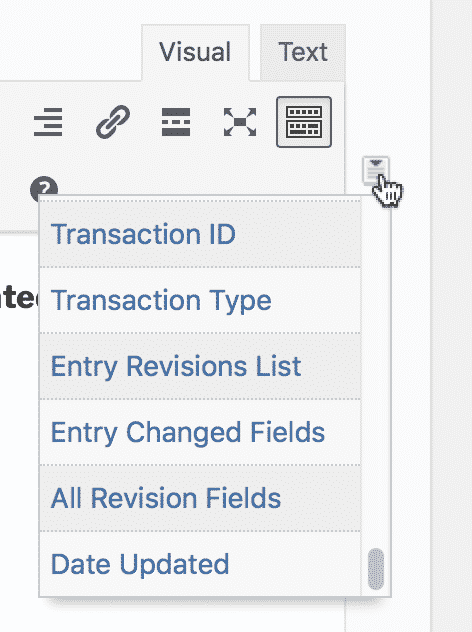
Note: You can add Merge Tags by clicking the arrow to the right of the Message editor.
Save the notification by clicking "Save Notification"

You will see a notice that the Notification was saved successfully. Click the link to go back.

The new notification we created is displayed in the Notifications table

When the reservation has been updated, you will receive an email with the changed fields
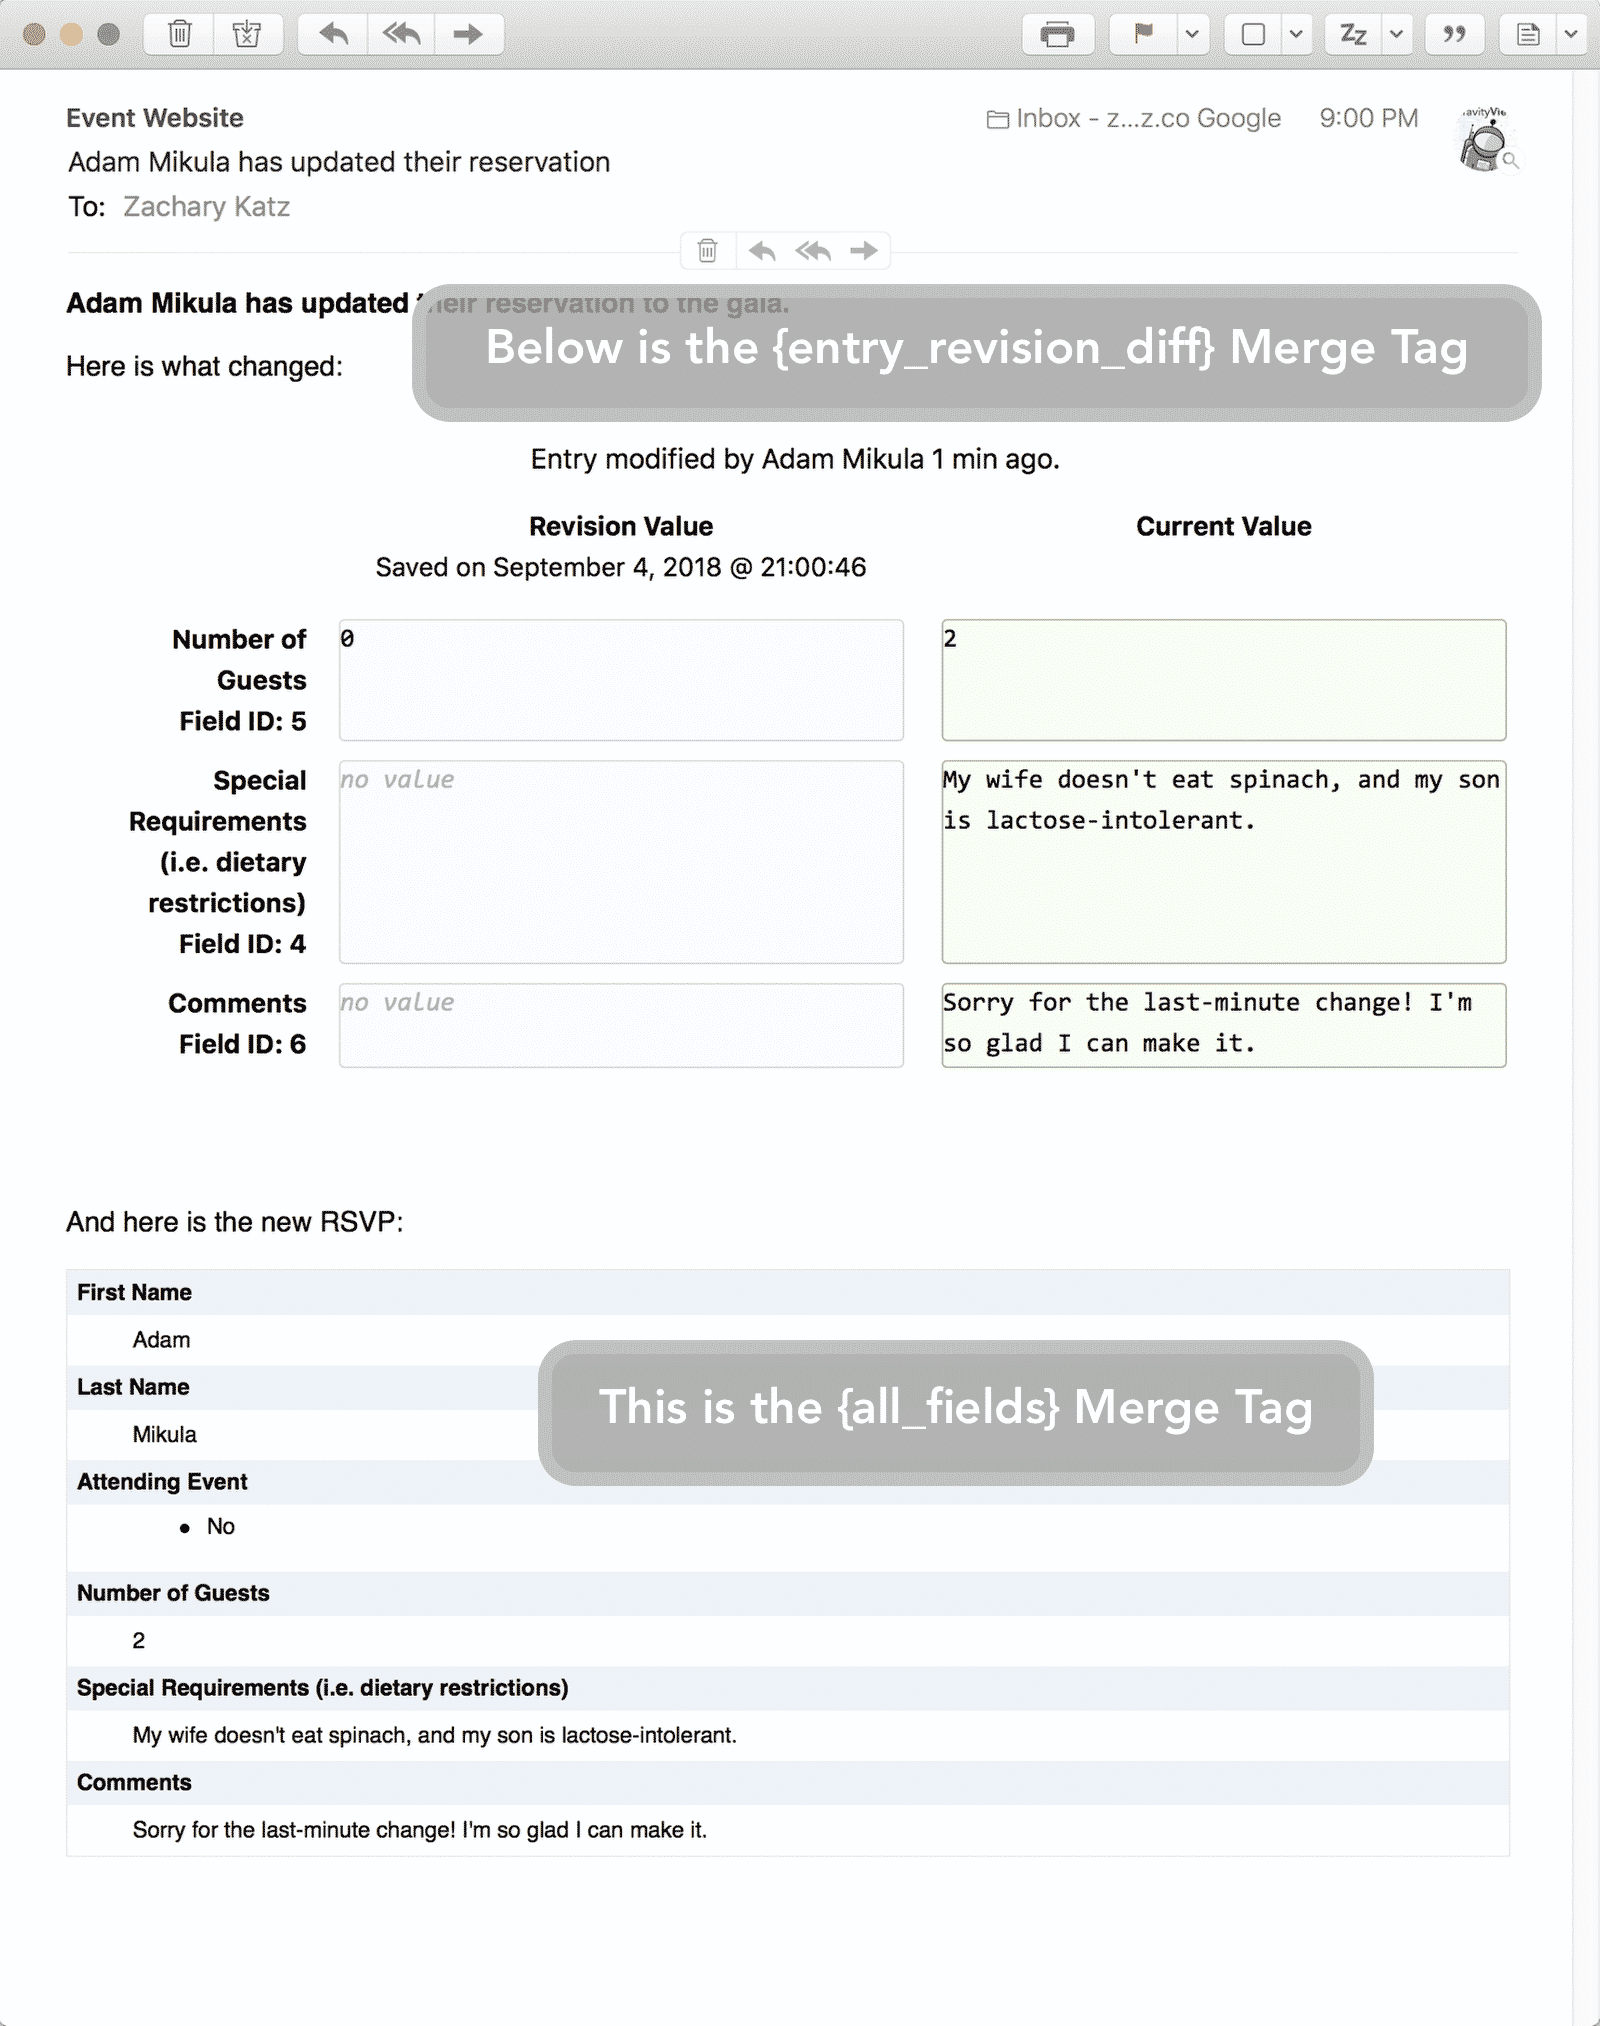
In the screenshot, you can see how the changed fields are displayed using the {entry_revision_diff} Merge Tag, and the full entry is displayed using the {all_fields} Merge Tag.
The Entry Revision has also been saved on the site. Go to the Entries screen for the form.

We find the entry that was updated and click it

Underneath the Entry Notes box is an Entry Revisions box with all the updates to the entry
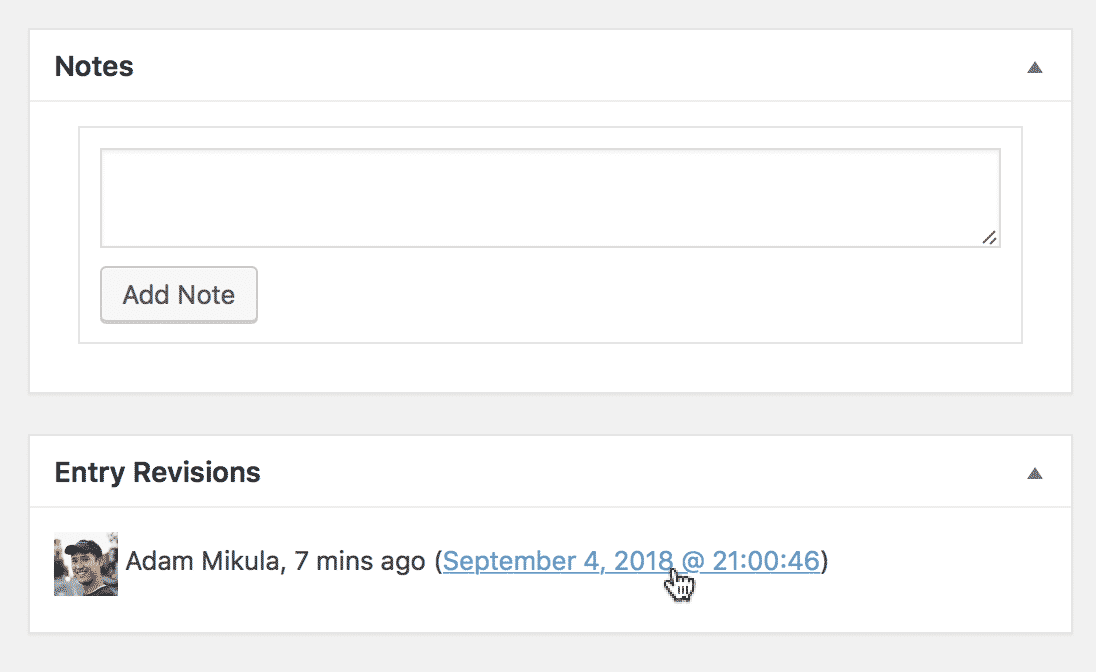
We can see that Adam recently updated the entry. The timestamp of the revision is a link that will take you to a comparison between the value before the update and the current entry value.
Click on the time stamp of the revision to see the comparison table
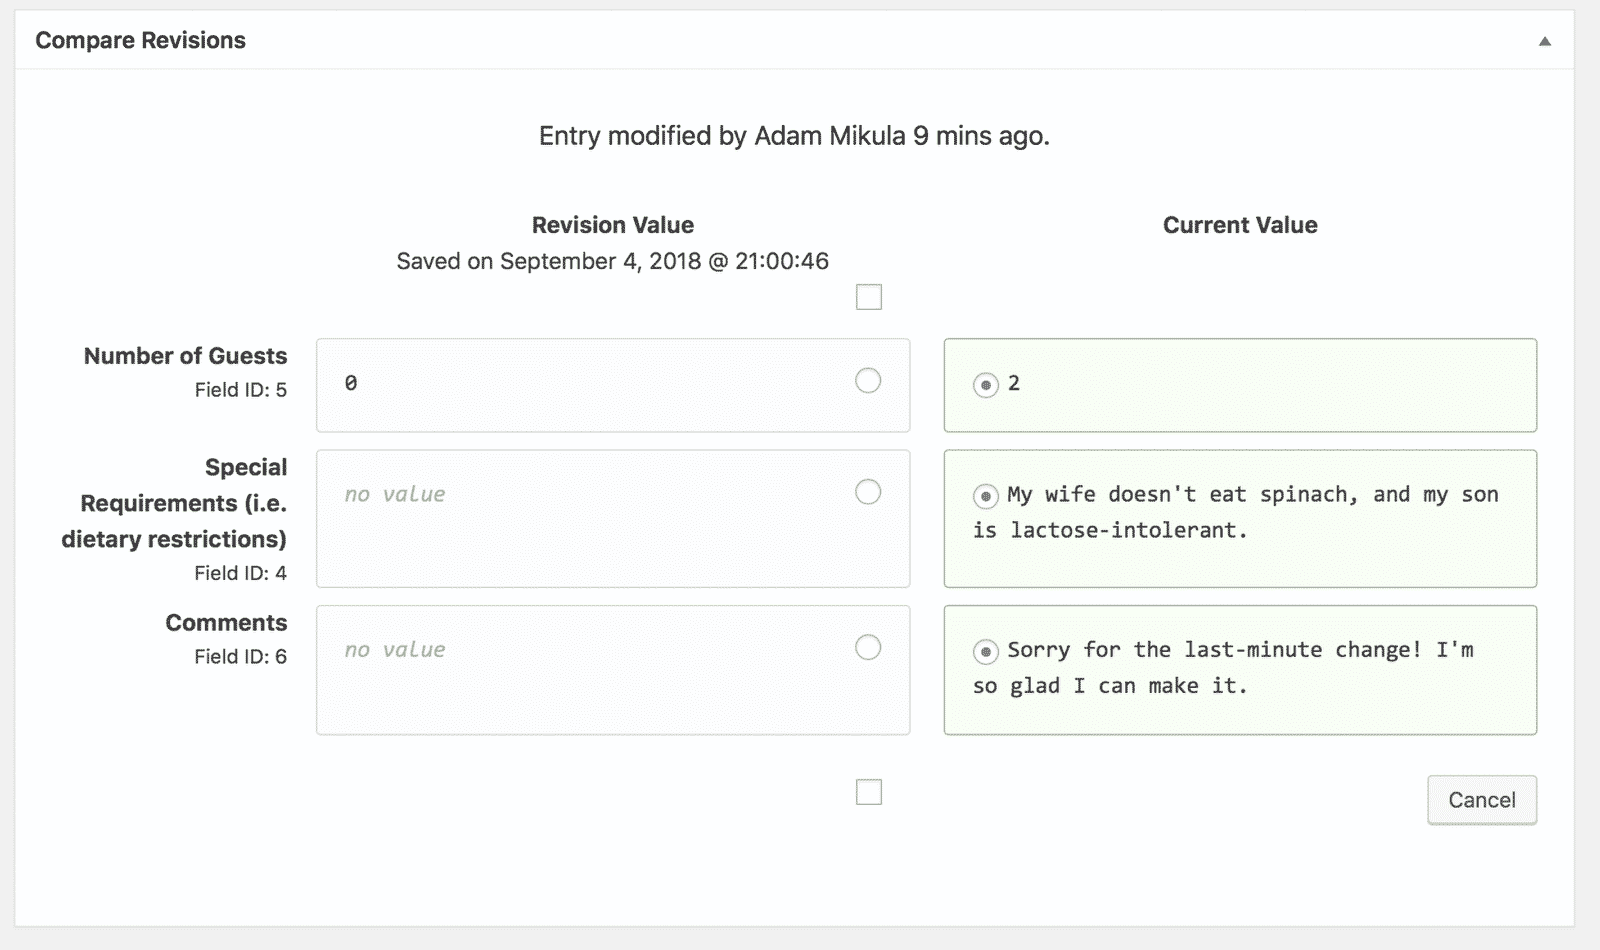
The current entry values are on the right, and the prior revision values are on the left.
To restore values, click each Revision field value you would like to restore, then click Restore These Values
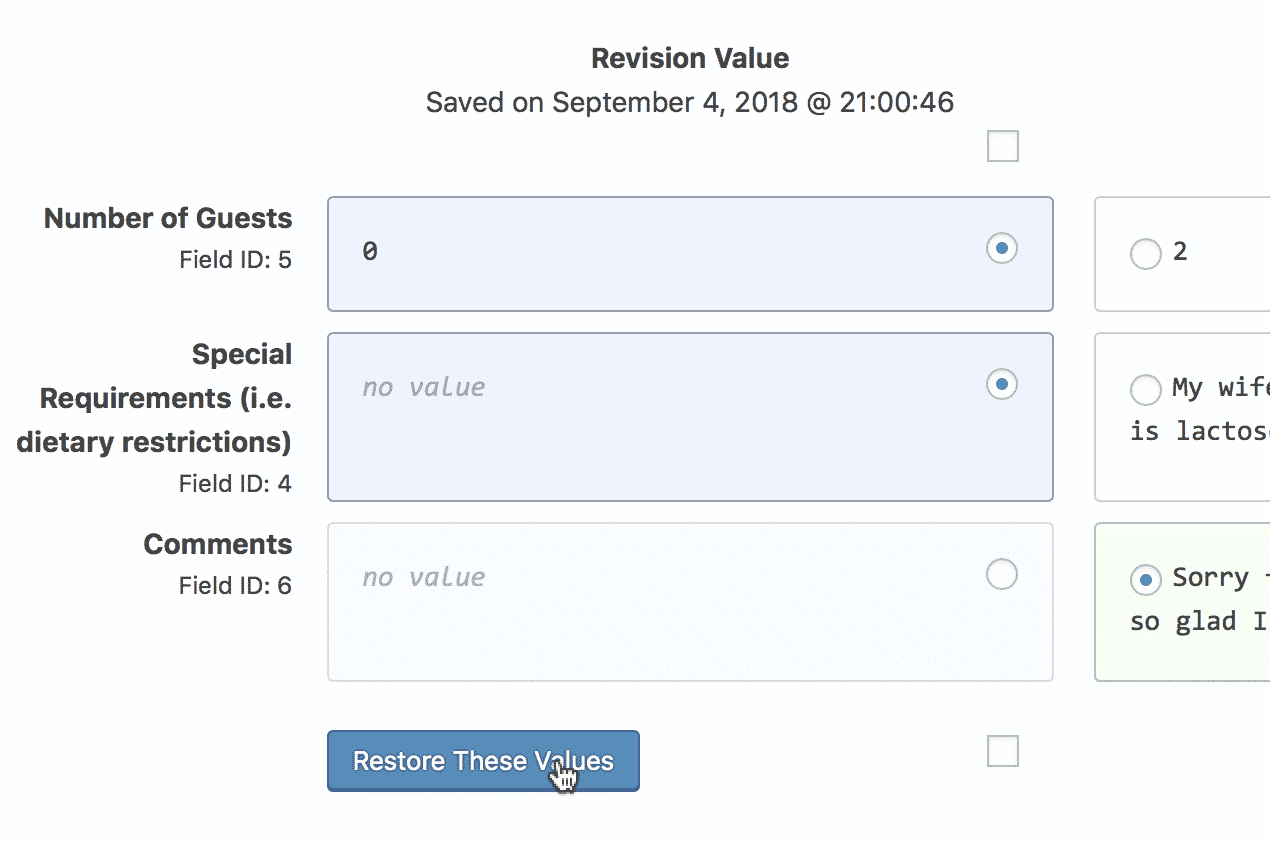
We know that Adam is no longer bringing guests. Events can be tricky—people change their minds a lot!
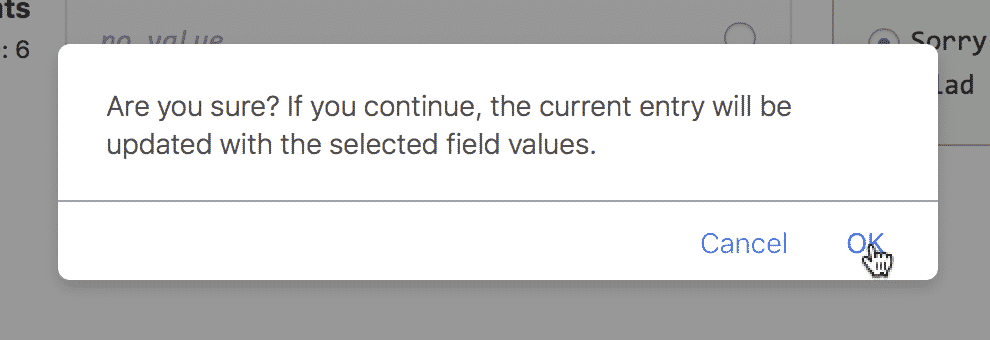
To restore the value, confirm the change
And now the values have been restored…

The values that we selected to restore from the revision are now the current values.
…and another revision has been saved!

_1@2x.png)