_1@2x.png)
Getting Started With the DataTables Layout
In this article, we’ll show you how to get set up with the DataTables Layout.
Prefer to Watch the Video?
Installing the DataTables Layout
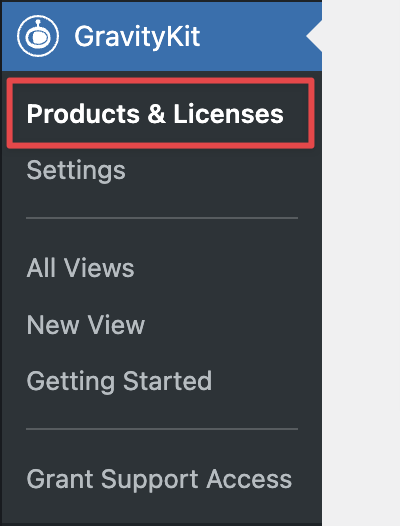
You can install the DataTables Layout from inside WordPress. First, hover over "GravityKit" and click "Products & Licenses".
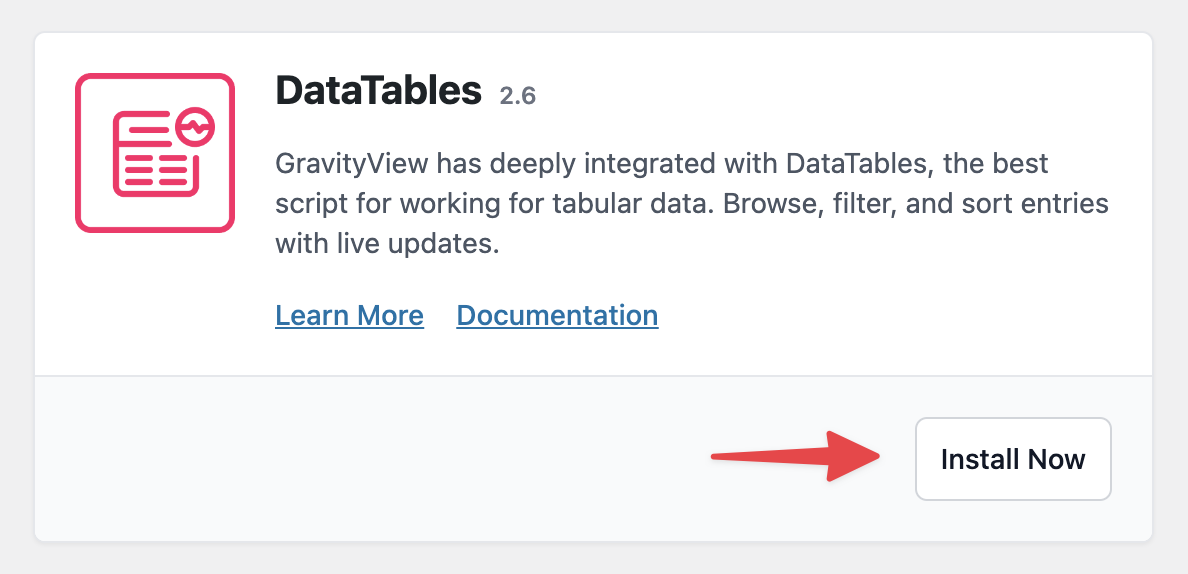
Now scroll down to "DataTables" (under "Views") and click "Install Now".
You can now start creating Views using the DataTables Layout!
Creating a View Using the DataTables Layout
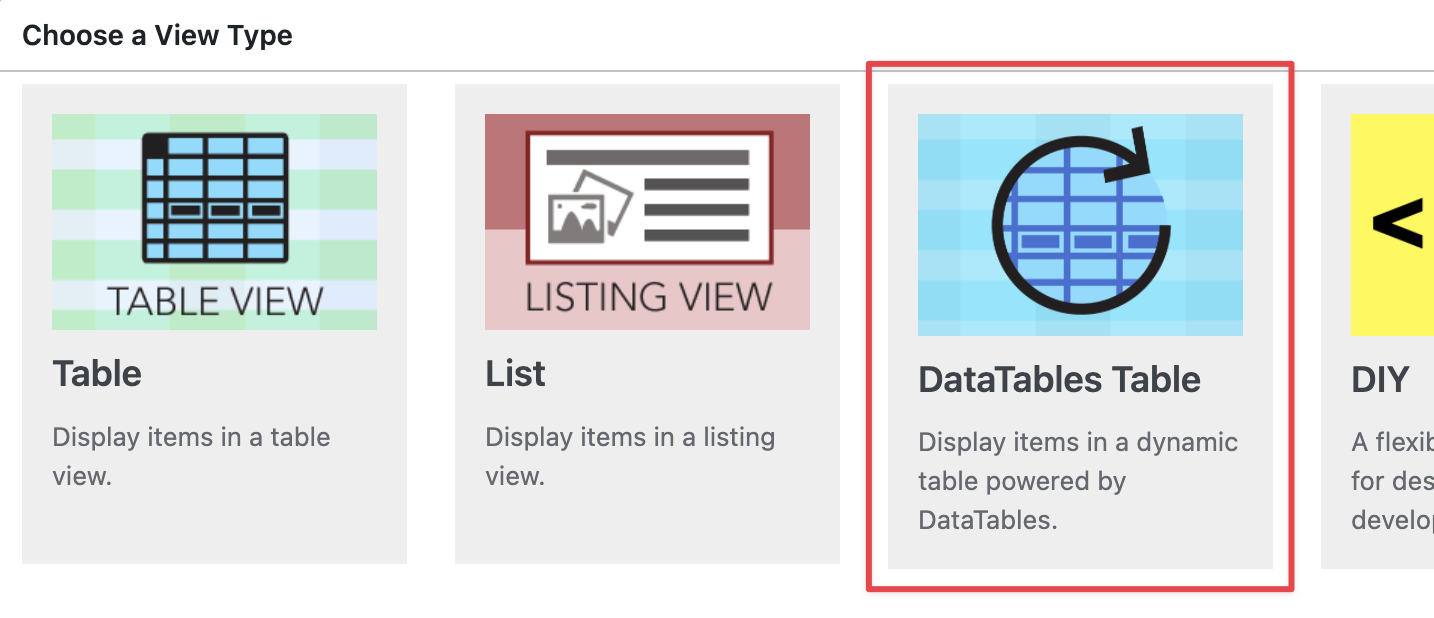
Hover over Views and click New View. Next, give your View a name and select a data source. Now, under “Choose a View Type”, select “DataTables Table”.
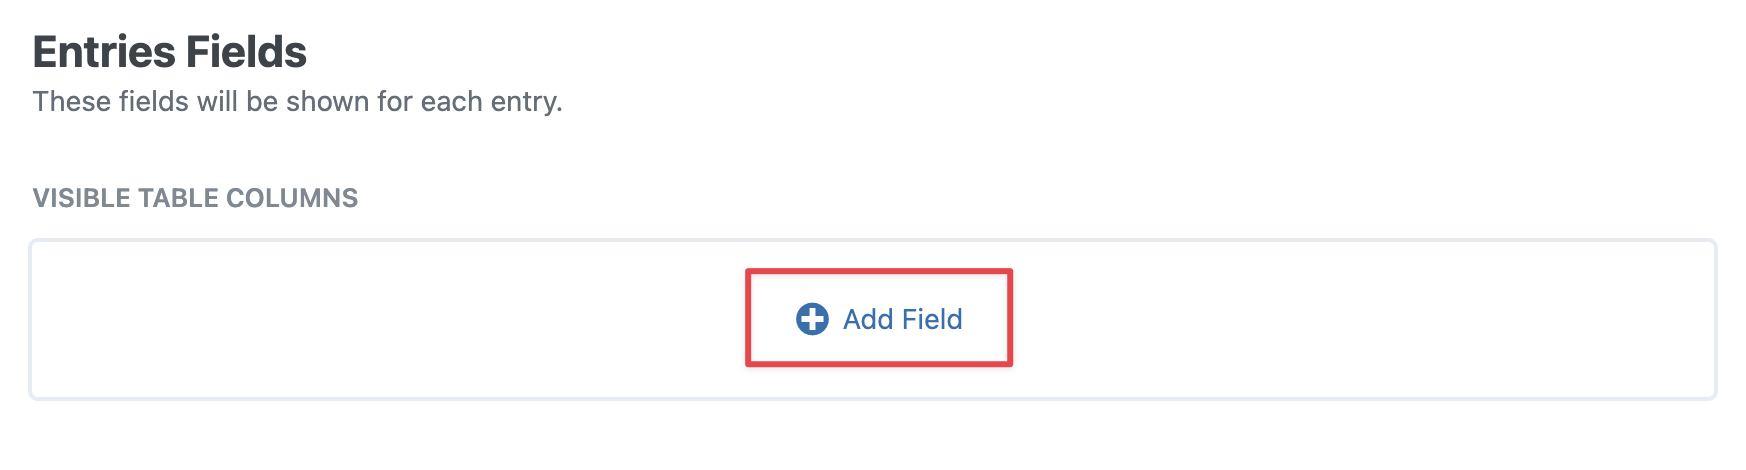
You can now begin adding fields to your View using the drag-and-drop View editor.
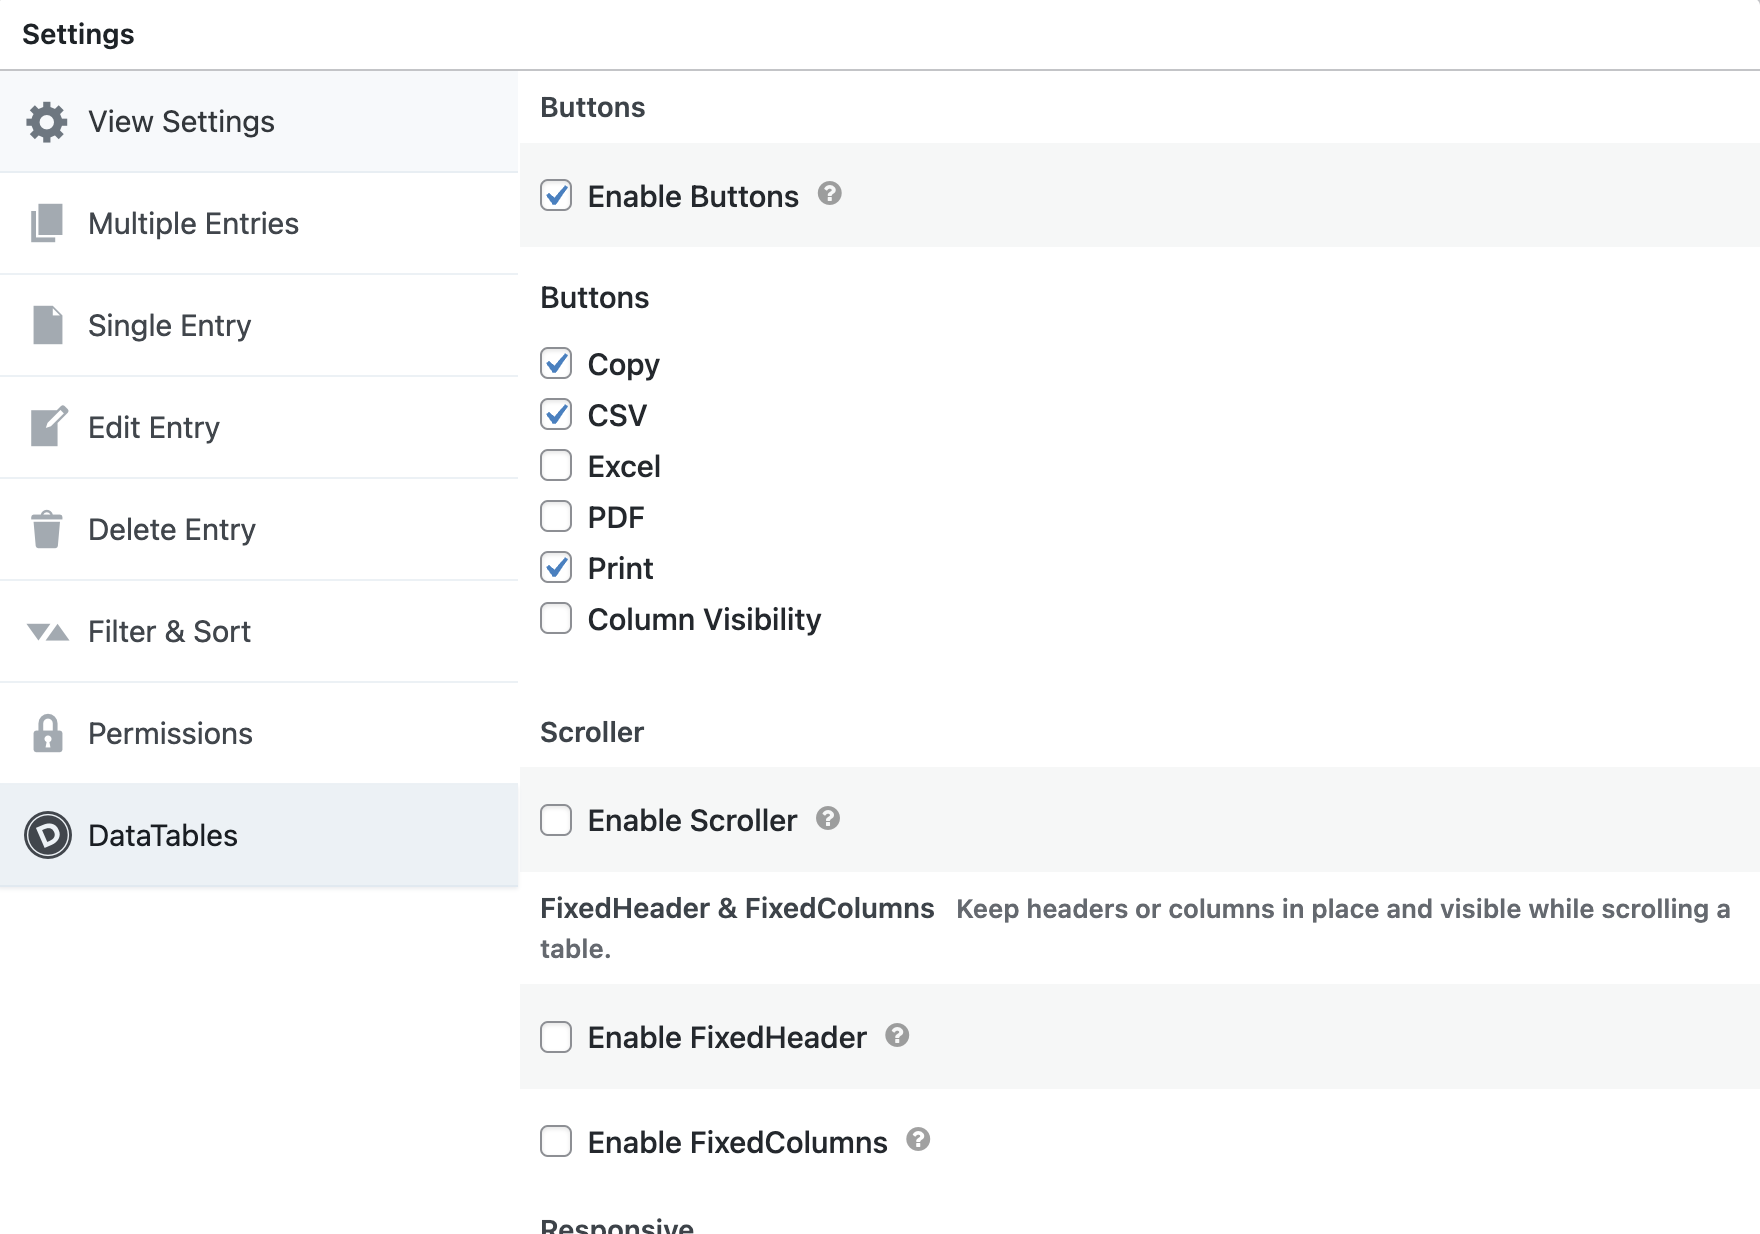
 After configuring your View, scroll down to the View Settings and click on the DataTables tab. There you'll find a range of options for customizing your table on the front end, including the ability to enable Auto-Update and add buttons for exporting data.
That's it!