Using the Custom Content Field
Note: Custom Content fields are not sortable.
The GravityView Custom Content field allows you to add plain text, HTML, shortcodes, or merge tags to your View layouts. To get started with Custom Content, open the View editor and follow the steps below.
Prefer to Watch a Video?
1. Click "Add Field"

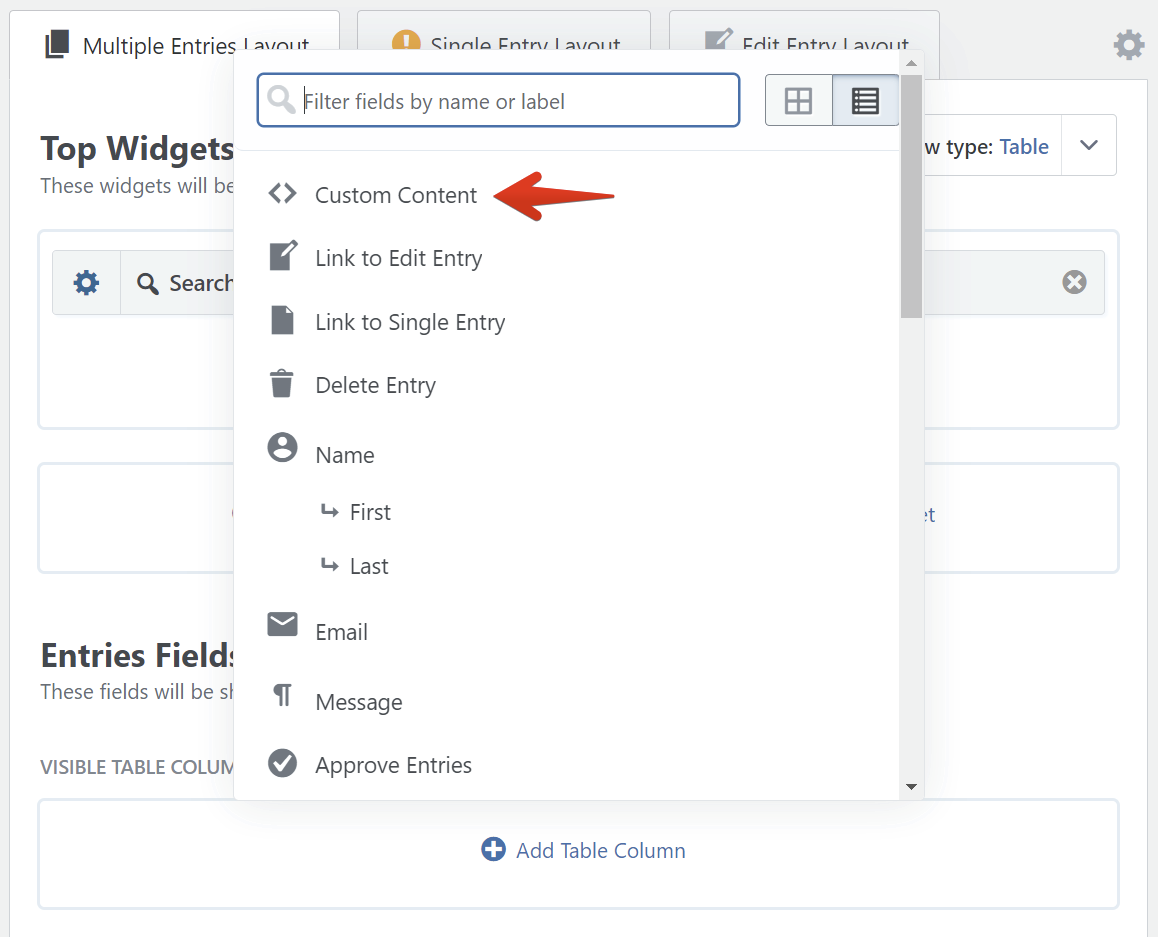
2. Click on the Custom Content Field
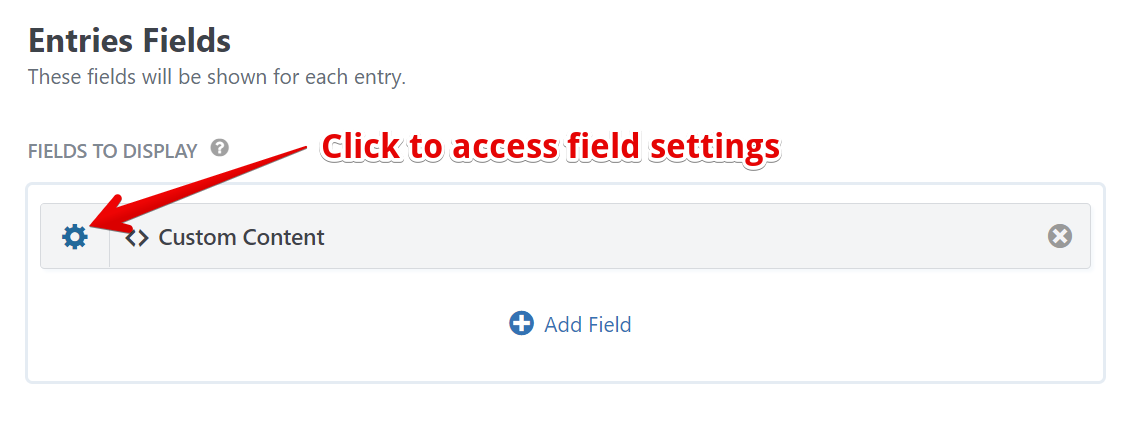
3. Click on the Gear Icon
Clicking on the gear icon will bring up the Custom Content Field Settings. Here you'll see the Custom Content text editor where you can add plain text, HTML, shortcodes (including the [gravityforms] shortcode to embed a form!), or merge tags to your View.
4. Add Your Content Inside the Text Editor
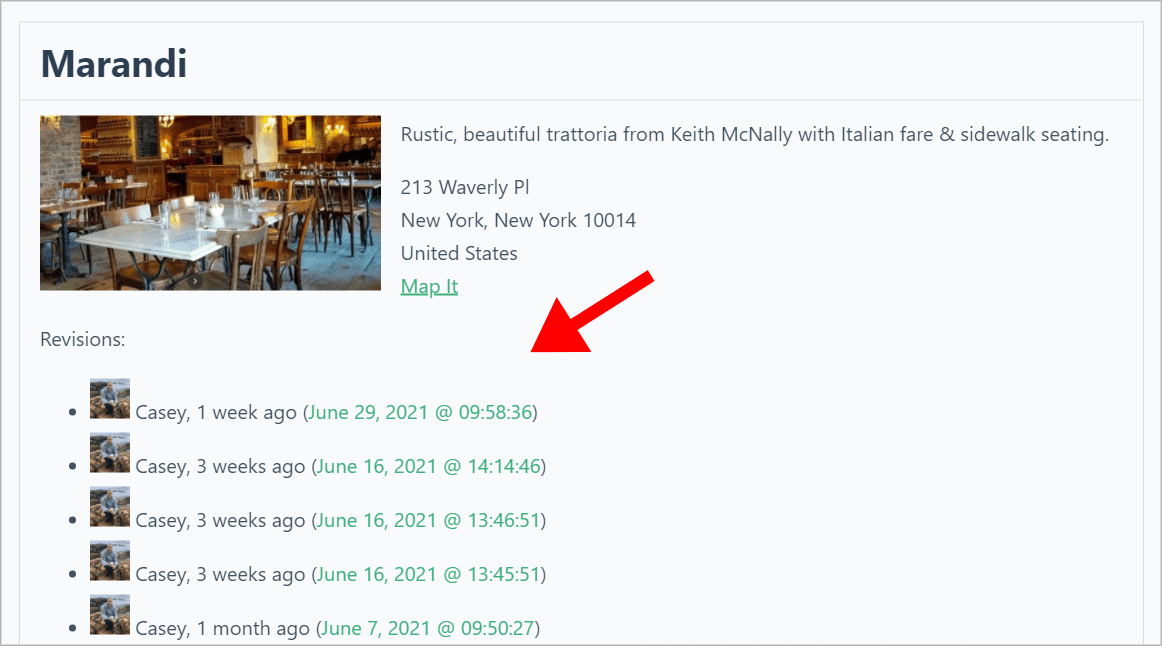
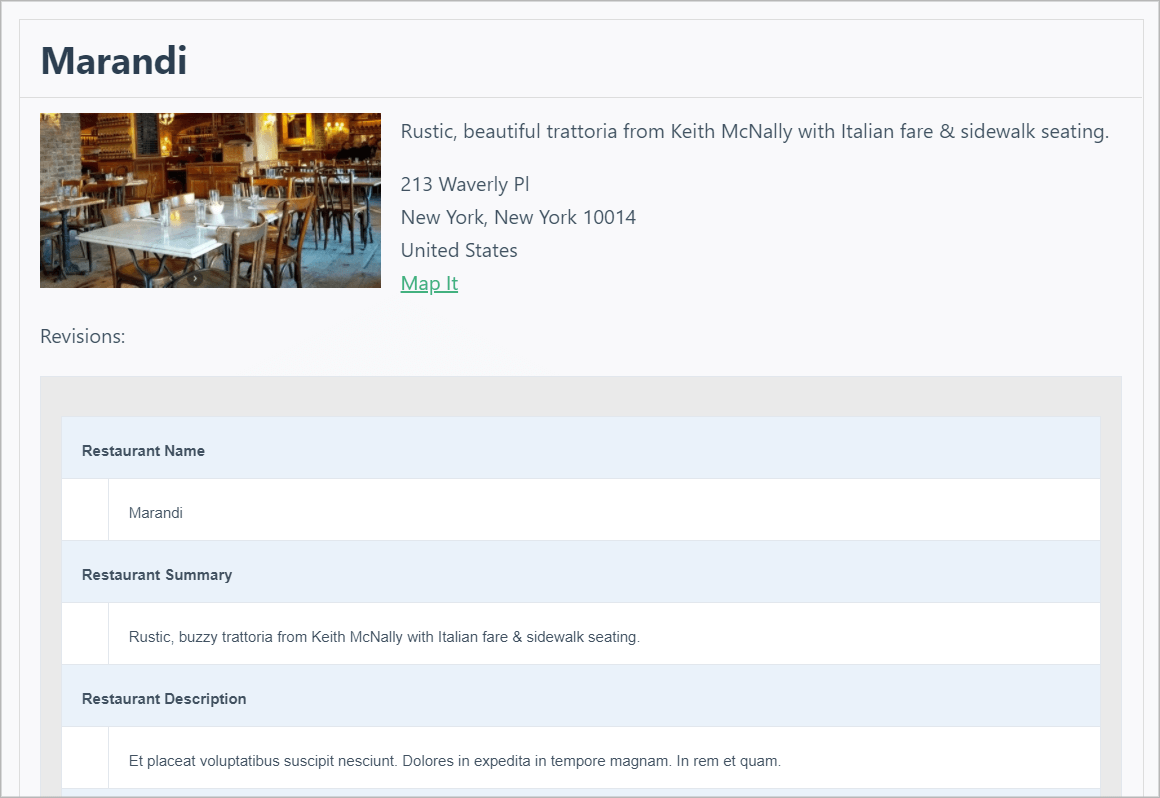
In this example, we've added the {entry_revision_list} merge tag which is added to GravityView by the Entry Revisions add-on. The merge tag outputs a list of changes made to an entry over time.
Note: For a list of all the merge tags you can add to the Custom Content text editor, click on the button to the right (highlighted in red below).

Custom Content Example Output:
As you can see, the merge tag was replaced with a list of revisions made to the entry over time.
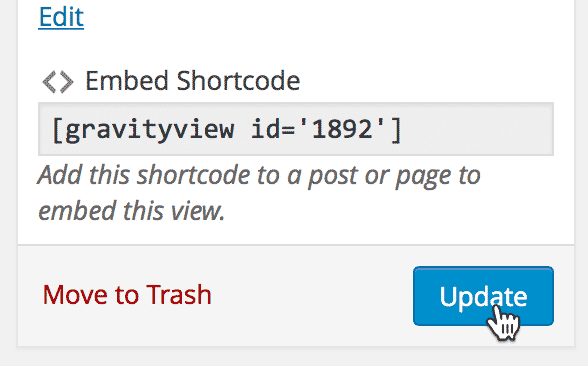
5. Save or Update your View
Additional Code Examples
Lots of things are possible with the Custom Content field. Here are some more examples:
The {all_fields} Merge Tag
The {all_fields} merge tag allows you to display the entire submission as shown in the Gravity Forms View Entry screen.
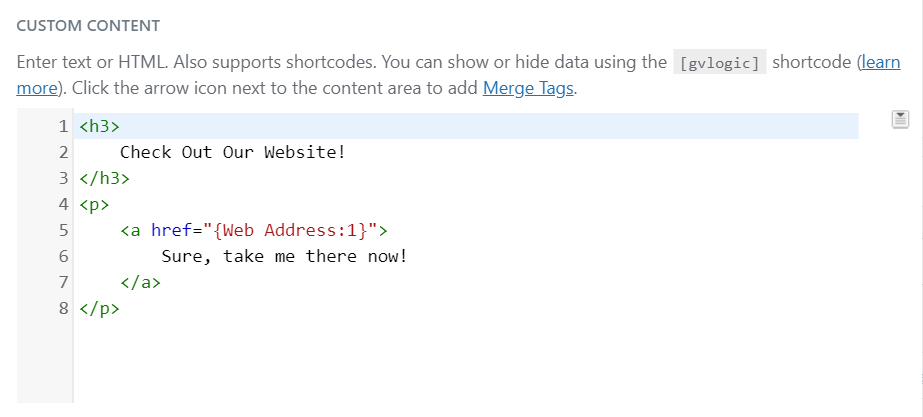
Custom HTML
Here's an example where we're using custom HTML to display a link.
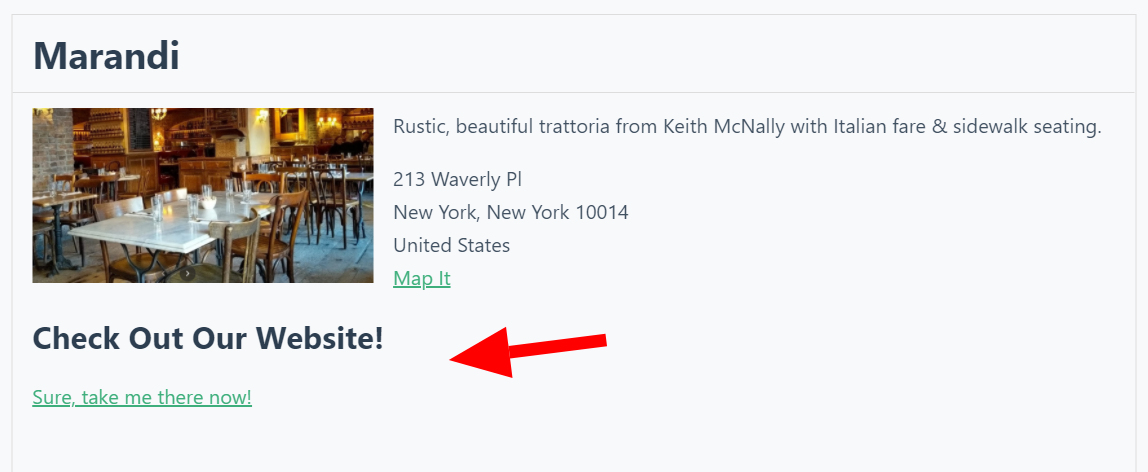
...And here's what that looks like. As you can see, the HTML renders on the front end.
_1@2x.png)