_1@2x.png)
Getting started with the Gravity Forms Entry Tags field
From our blog: Learn how to build an issue tracking system using GravityView and Gravity Forms Entry Tags field.
Prefer to watch the video?
In this article, we will show you how to configure and use the Gravity Forms "Entry Tags" field.
The “Entry Tags” field is for adding tags to regular form submissions (entries). The tags added using this field are not related to the tags associated with WordPress posts. The Entry Tags field is not the same as the "Tags" field found under "Post Fields", which are for adding tags to WordPress Posts.
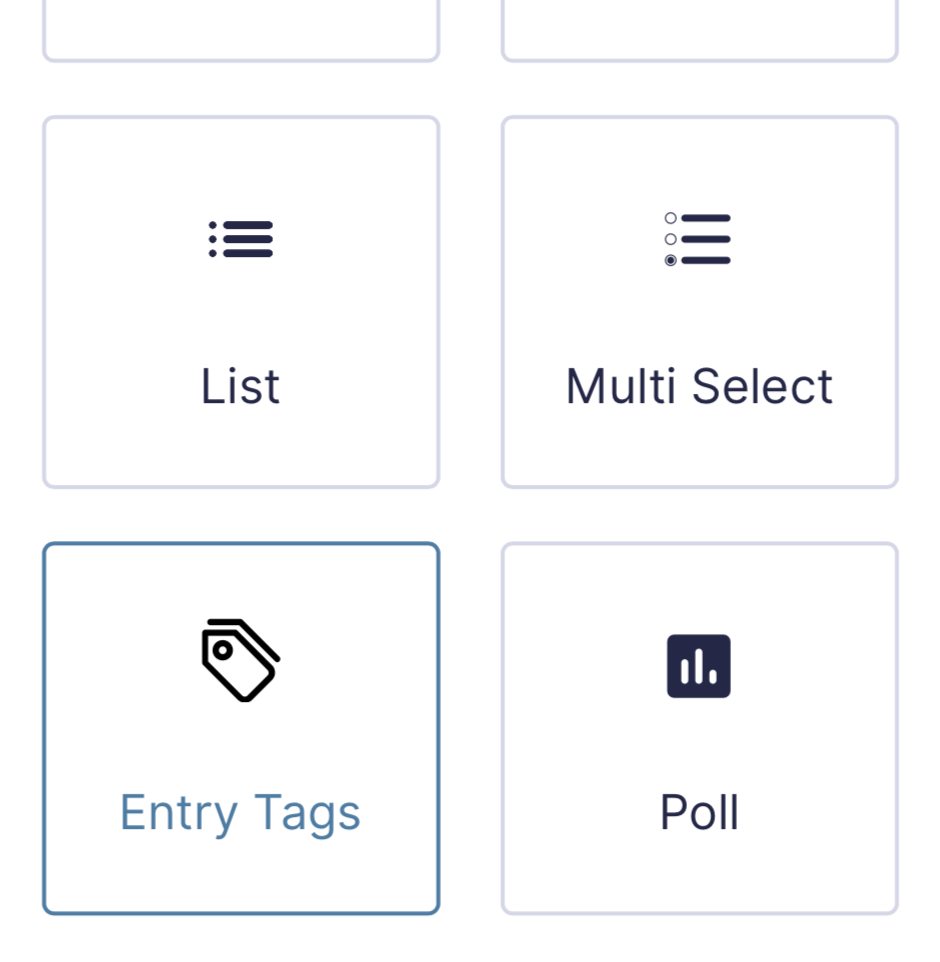
In the form editor, you can find "Entry Tags" under "Advanced Fields". To add it to your form, simply drag and drop it into place. Now you can open the field settings to configure the field choices.
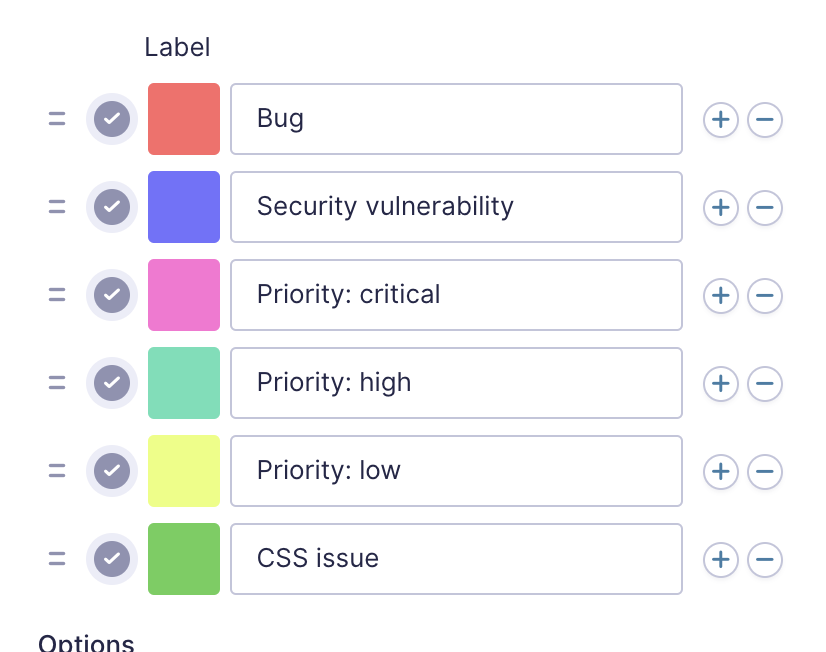
When you click "Edit Choices", you can add multiple options here with unique colors. To add a new tag, click the "+" icon. To remove a tag, click the "-" icon.
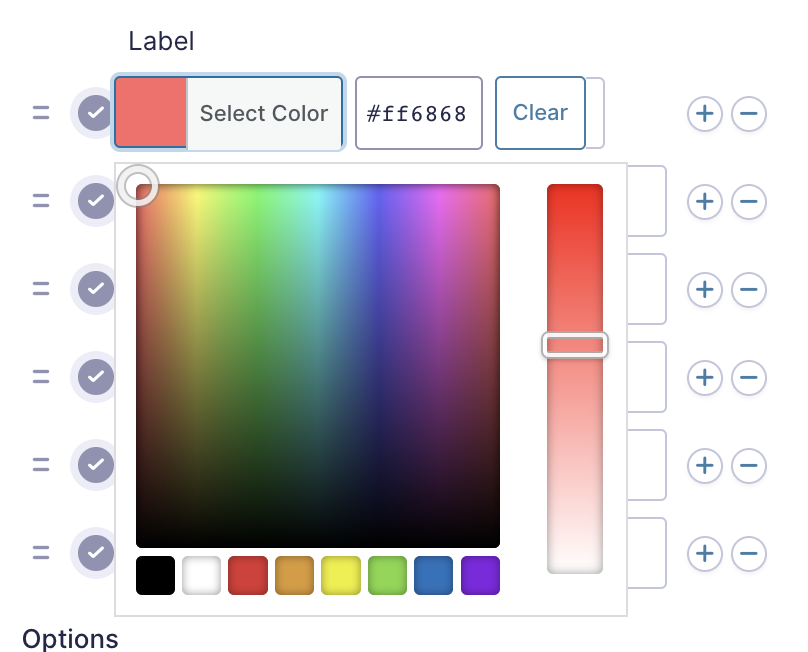
To change the color associated with a tag, click on the colored square to the left of the label. This will open the color picker.
Here's what the tag field looks like on the front end. As you can see, it functions somewhat like a Multi-Select field, allowing users to choose one or more tags from a list of options.
Note: On the Gravity Forms "Entries" page in the WordPress Admin, tags are clickable. When clicking on a tag, entries filter immediately to display submissions with that tag.