_1@2x.png)
Getting started with GravityRevisions
In this guide, we’ll show you how to get started with the GravityRevisions add-on for Gravity Forms.
Install GravityRevisions
Start by installing GravityRevisions on your website. To do this, log in to your GravityView Account, click on the "Downloads" tab and download the GravityRevisions plugin ZIP file.
Now head over to your WordPress Admin dashboard and follow these three steps to install GravityRevisions on your site:
- Hover over "Plugins" on the left and click "Add New"
- Click "Upload Plugin" and then "Choose File"
- Select the ZIP file you downloaded previously and click "Install Now". When that’s done, click "Activate Plugin".
Activate your license
To do this, copy your GravityRevisions license key from your Account page (if you have an All Access license, use the license key for that). Now, head over to your website, hover over "GravityKit" in the left-hand menu, and click "Manage Your Kit". Now paste your license key into the box at the top.
If you have multiple GravityKit products, you can add multiple license keys here!
After installing the plugin and activating your license, GravityRevisions will begin tracking and storing all changes made to form entries. To see these changes, click to view an individual entry and scroll down to the "Entry Revisions" meta box. Here you'll see a list of all the changes made to the entry since you installed GravityRevisions.
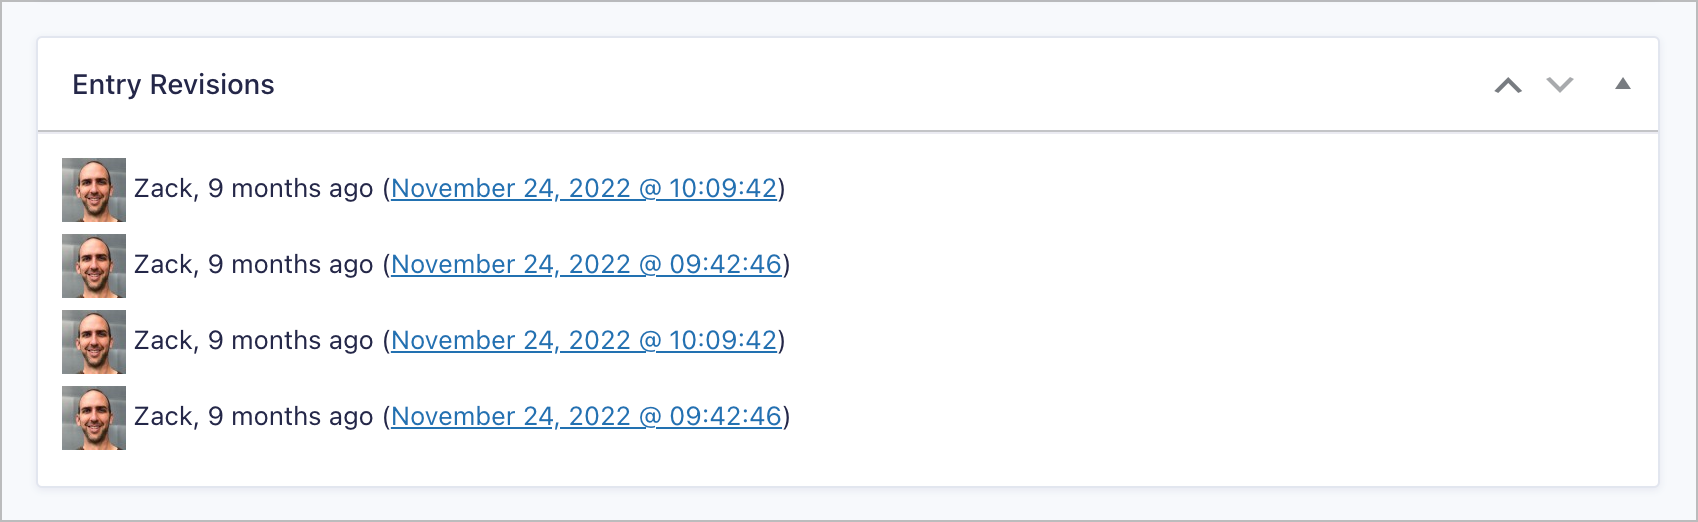
Click on the link to view the full record of changes. From this page, you can see exactly what changed, and the exact time the changes were made. You can also restore values if you want to.

That's it!