_1@2x.png)
Embedding Views, entries and fields using blocks
GravityView integrates with the WordPress block editor ("Gutenberg"), allowing you to add Views, entries, fields, and more to your pages and posts using blocks.
Blocks added by GravityView
After installing GravityView, you'll find 5 new blocks available in the WordPress editor. Here's a brief overview of each one.
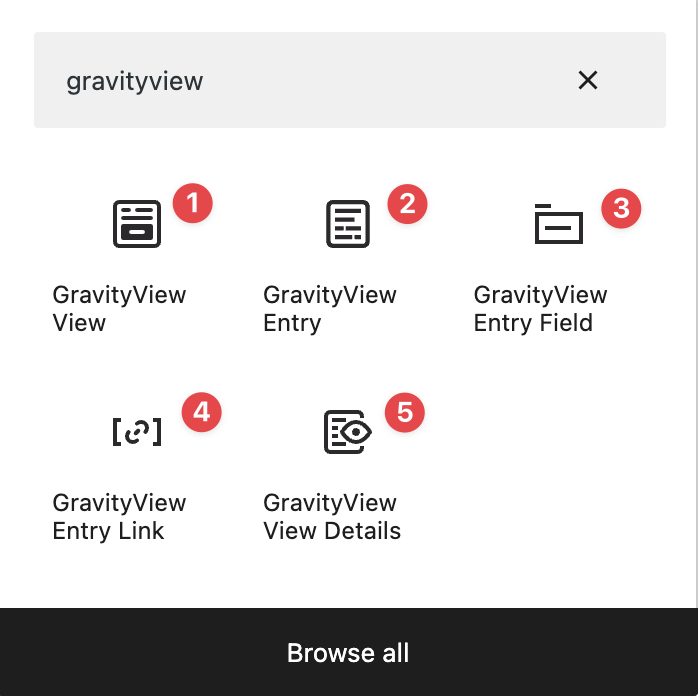
- GravityView View: Embed an existing View. Performs the same functionality as the
[gravityview]shortcode. - GravityView Entry: Display a specific entry from an existing View. Performs the same functionality as the
[gventry]shortcode. - GravityView Entry Field: Display a specific field value from an entry in a View. Performs the same functionality as the
[gvfield]shortcode. - GravityView Entry Link: Display a link to view, edit or delete a specific entry. Performs the same functionality as the
[gv_entry_link]shortcode. - GravityView View Details: Display information about a View, such as the number of entries, the page size, and details about the IDs of the first and last entry in the View. Performs the same functionality as the
[gravityview]shortcode using thedetailattribute.
Embedding Views using a block
To embed a View, select the "GravityView View" block. After adding it to your page, select the View you want to embed from the dropdown menu.
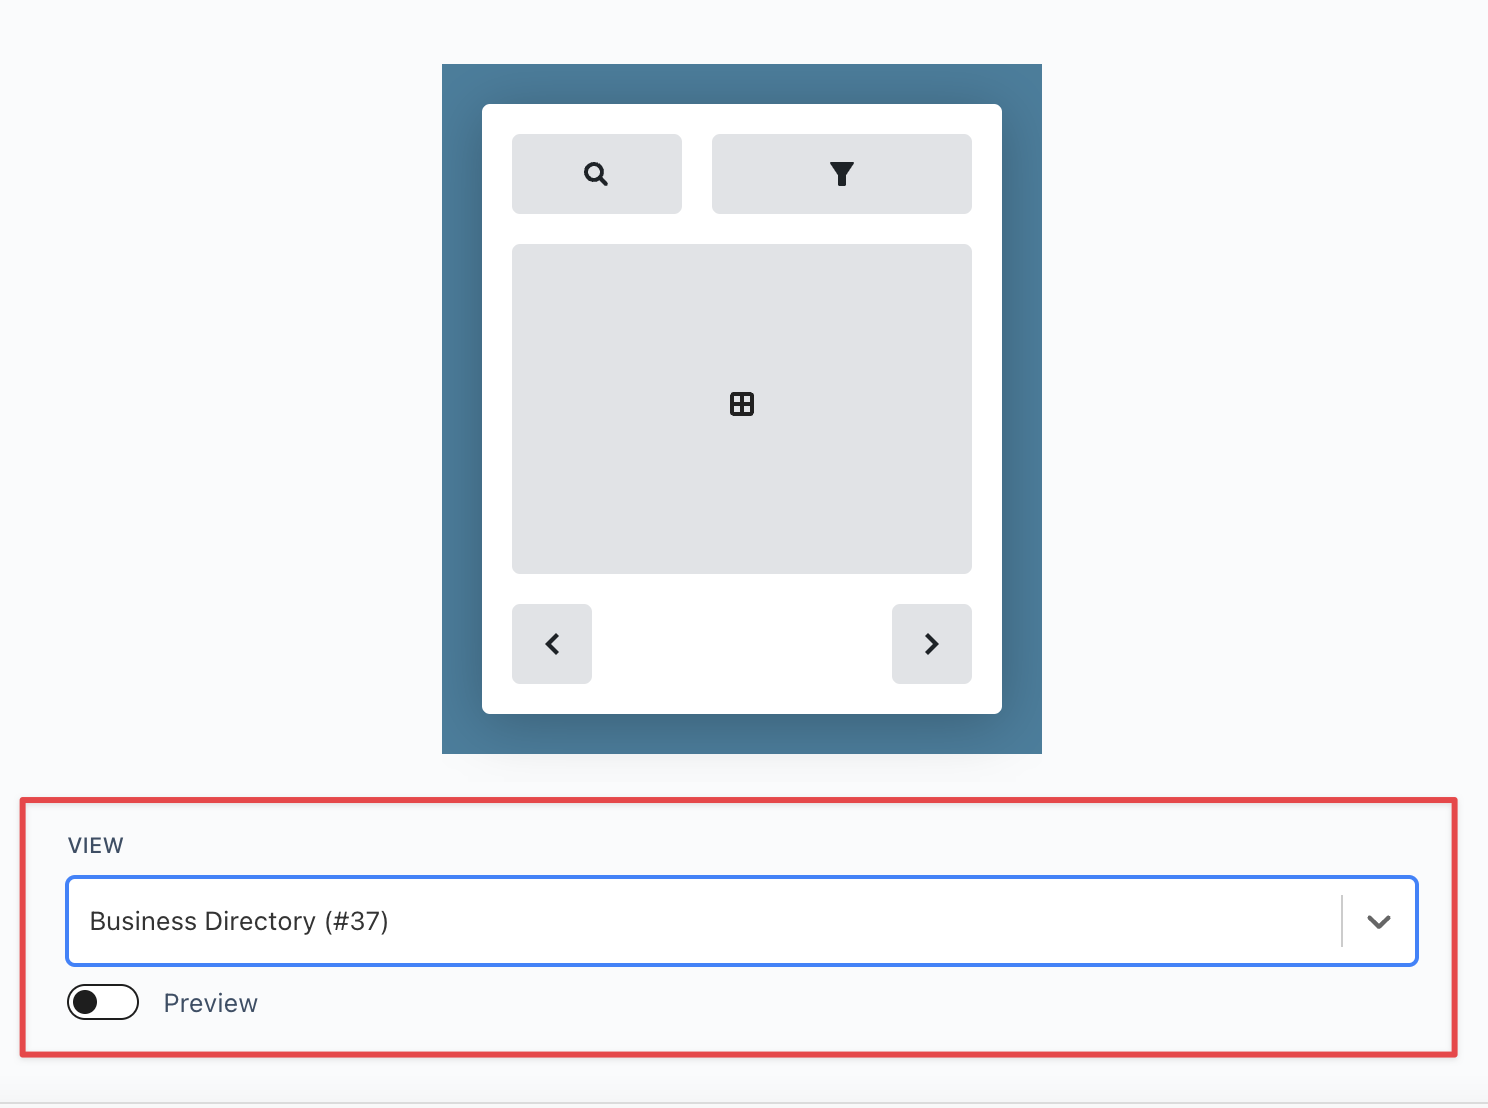
If you want to preview your View inside the editor, simply toggle the "Preview" option.
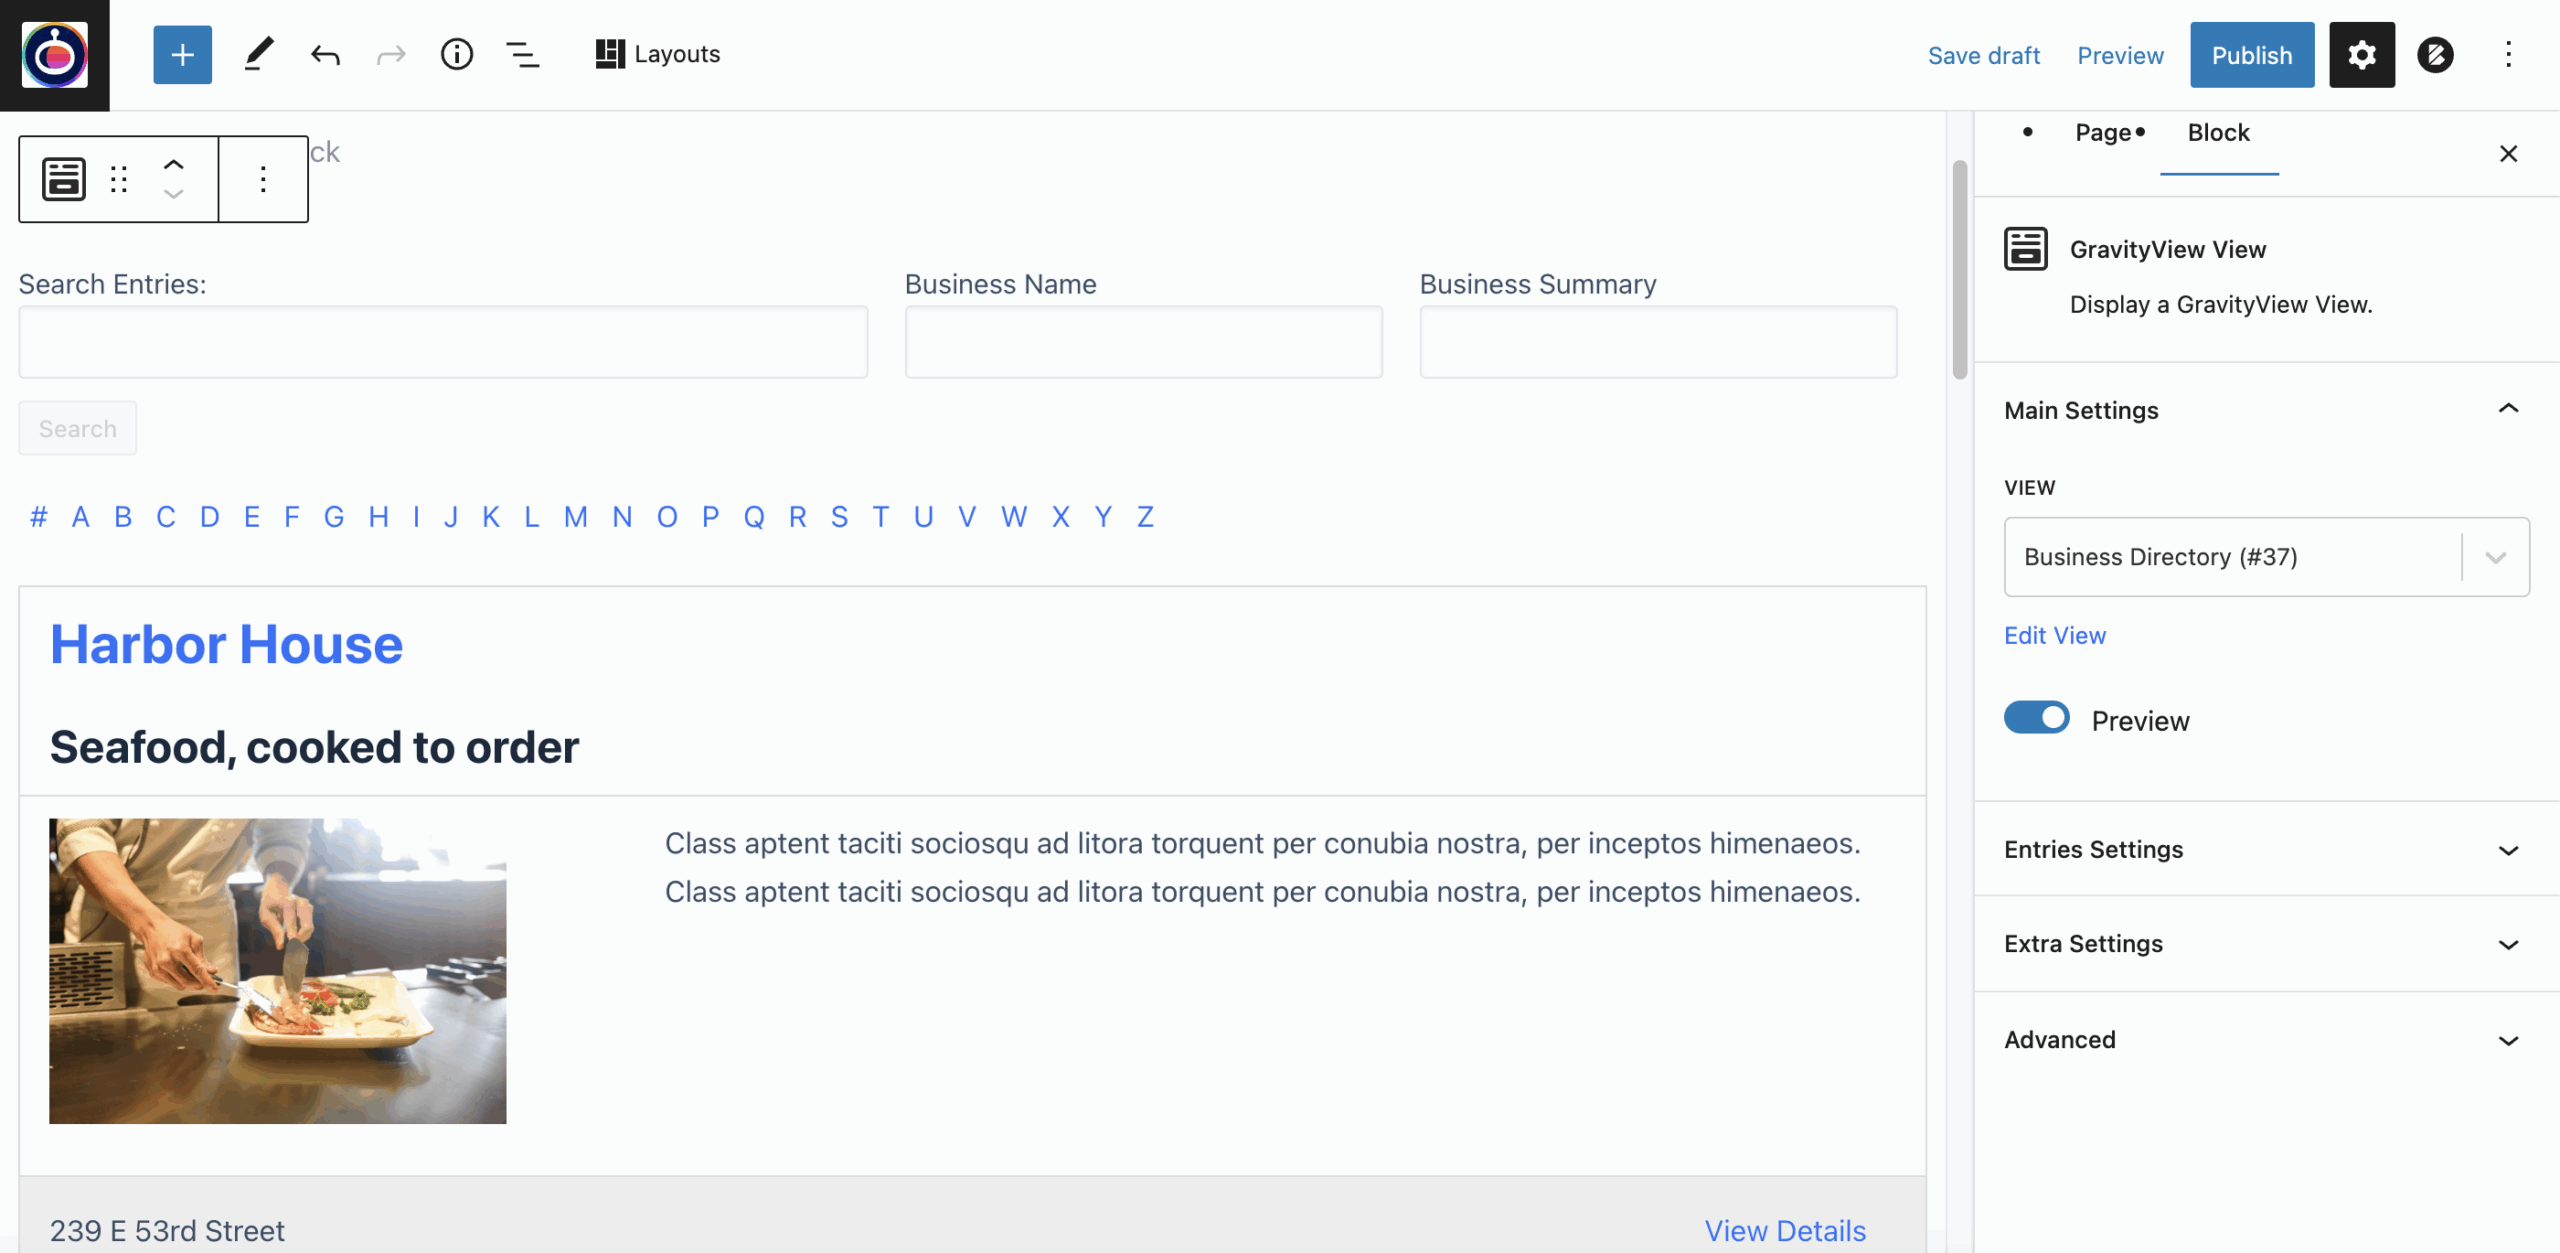
In the panel on the right, you'll find several options for customizing your embedded View. Under "Entries Settings" you can set a date range for entries; under "Extra Settings" you can adjust the sort field and sort direction, add a CSS class, change the Single Entry title text, and more. Anything that you can do using the shortcode, you can do using the block as well!
Note: When previewed, Views styled using custom CSS or Views using Maps or DataTables, may not render exactly as they would on the front end.
Embedding entries using a block
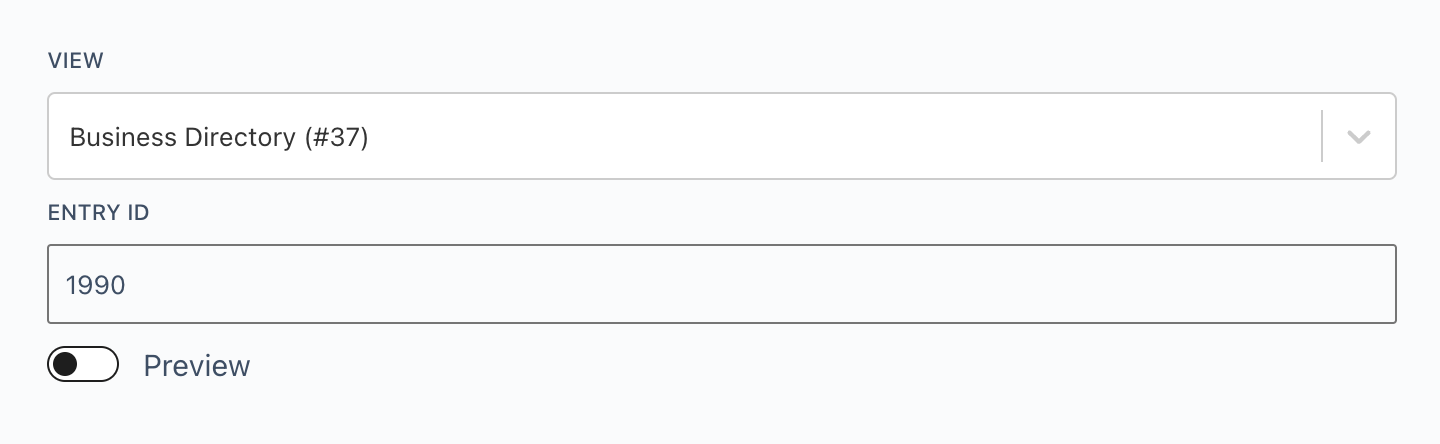
To embed a single entry, add the "GravityView Entry" block to your page. After that, select the View and the entry ID of the specific entry you want to embed.
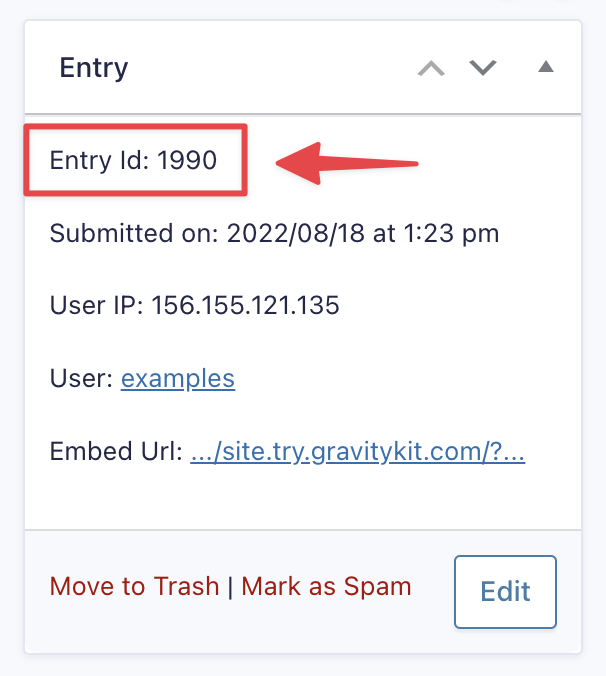
To find the entry ID, locate the entry in Gravity Forms and click "View". You'll see the entry ID on the right-hand side. You can also add the Entry ID as a field in GravityView.
Embedding fields using a block
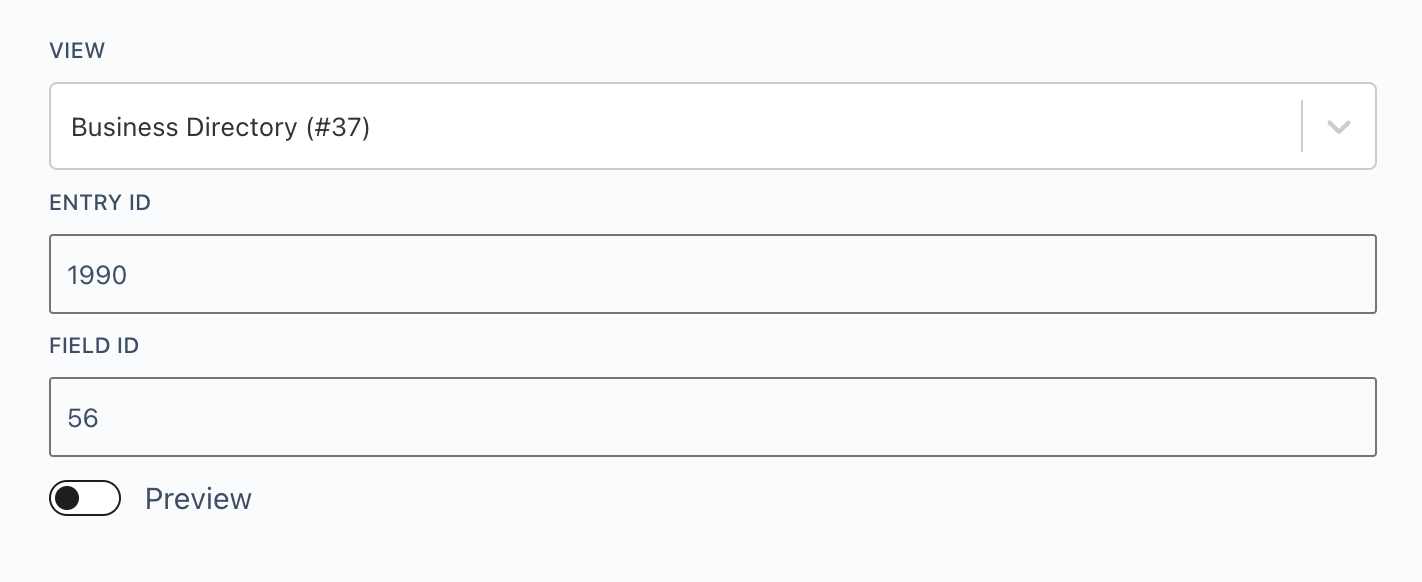
To embed a single field using a block, add the "GravityView Field" block to your page and specify the View, entry ID and field ID.
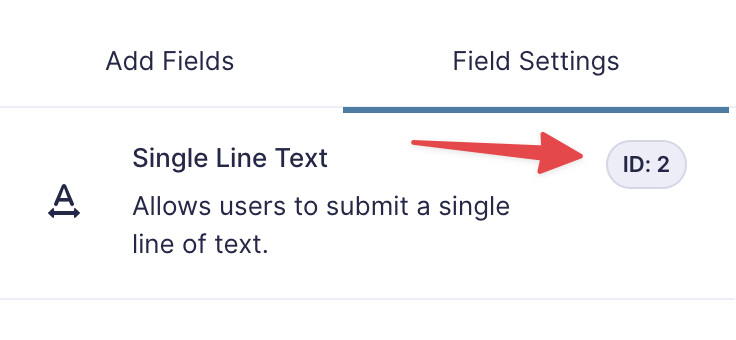
To find the ID for a field in Gravity Forms, open your form in the editor and click on the field to open the field settings. You'll see the field ID on the right-hand side.
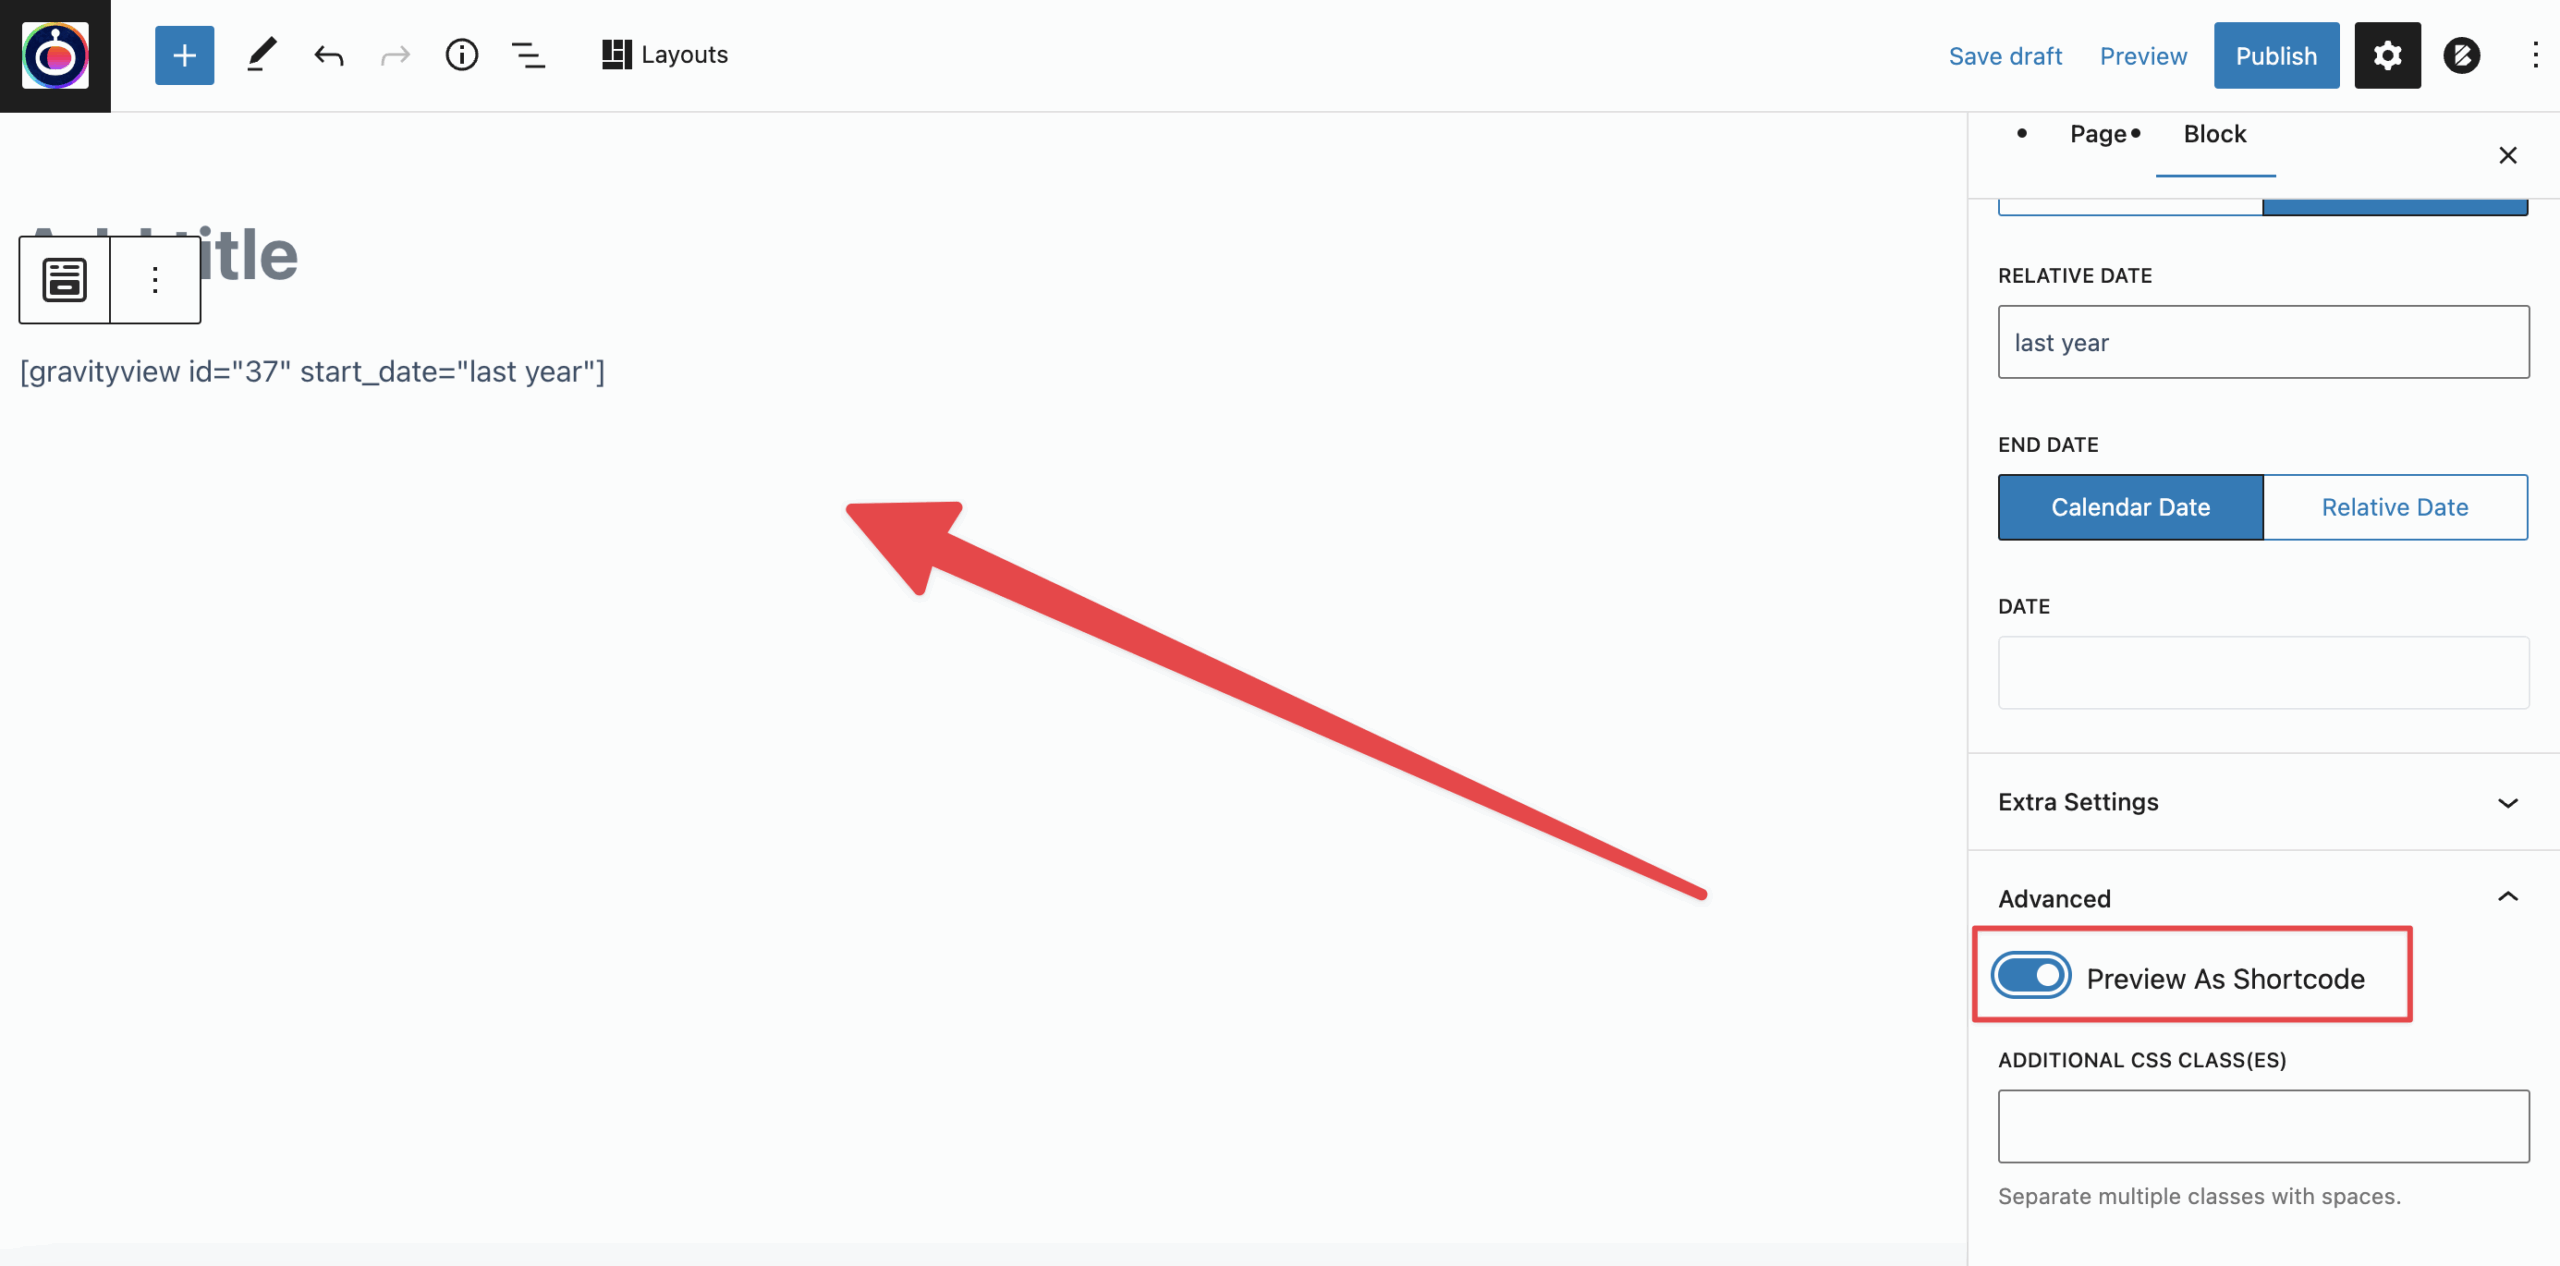
The "Preview As Shortcode" option for GravityView blocks
For each GravityView block you configure, you have the option to preview it as a shortcode (you'll find this option under the "Advanced" tab in the block settings).

When this option is enabled, the visual preview will be replaced by the equivalent shortcode (any custom options you've configured in the block will reflect in the shortcode). This gives you a handy way to troubleshoot any issues with the preview. You can also copy this shortcode and use it elsewhere on your site.