How to add a PDF download link to your View using Gravity PDF
If you are using GravityPDF to generate PDF files for new form submissions, then you can easily add a link to your View allowing users to download each entry as a PDF.
Watch the Video Tutorial
Required: Gravity PDF
First off, if you haven't already, install the GravityPDF plugin. You can do this by hovering over Plugins in your WordPress admin, clicking Add New, and searching for it in the plugin directory.

After installing GravityPDF, follow the steps below.
1. Create a new PDF feed
To create a new PDF feed, hover over "Forms" and click on "Forms". Next, hover over your form, hover over the "Settings" link, and click on "PDF". To add a new feed, click "Add New".

There are plenty of settings here for customizing the look and feel of your PDF files, modifying user permissions, and much more. When you're done configuring the feed, make sure to save it.
2. Copy the Gravity PDF shortcode
The next step is to add the PDF download link to your View in GravityView. To do this, first copy the Gravity PDF shortcode from the PDF feed page by clicking on the button that says "Copy".

3. Add the shortcode to a Custom Content field
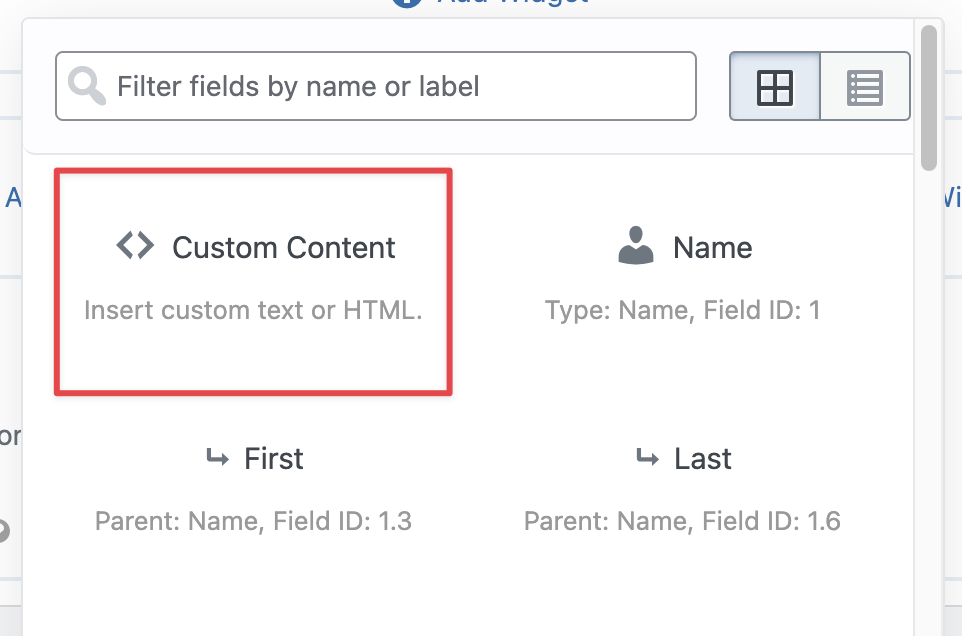
Edit your View and add a Custom Content field by clicking the "Add Field" button and selecting "< > Custom Content".

Next, open the Custom Content settings by clicking on the gear icon and paste your Gravity PDF shortcode into the text editor.

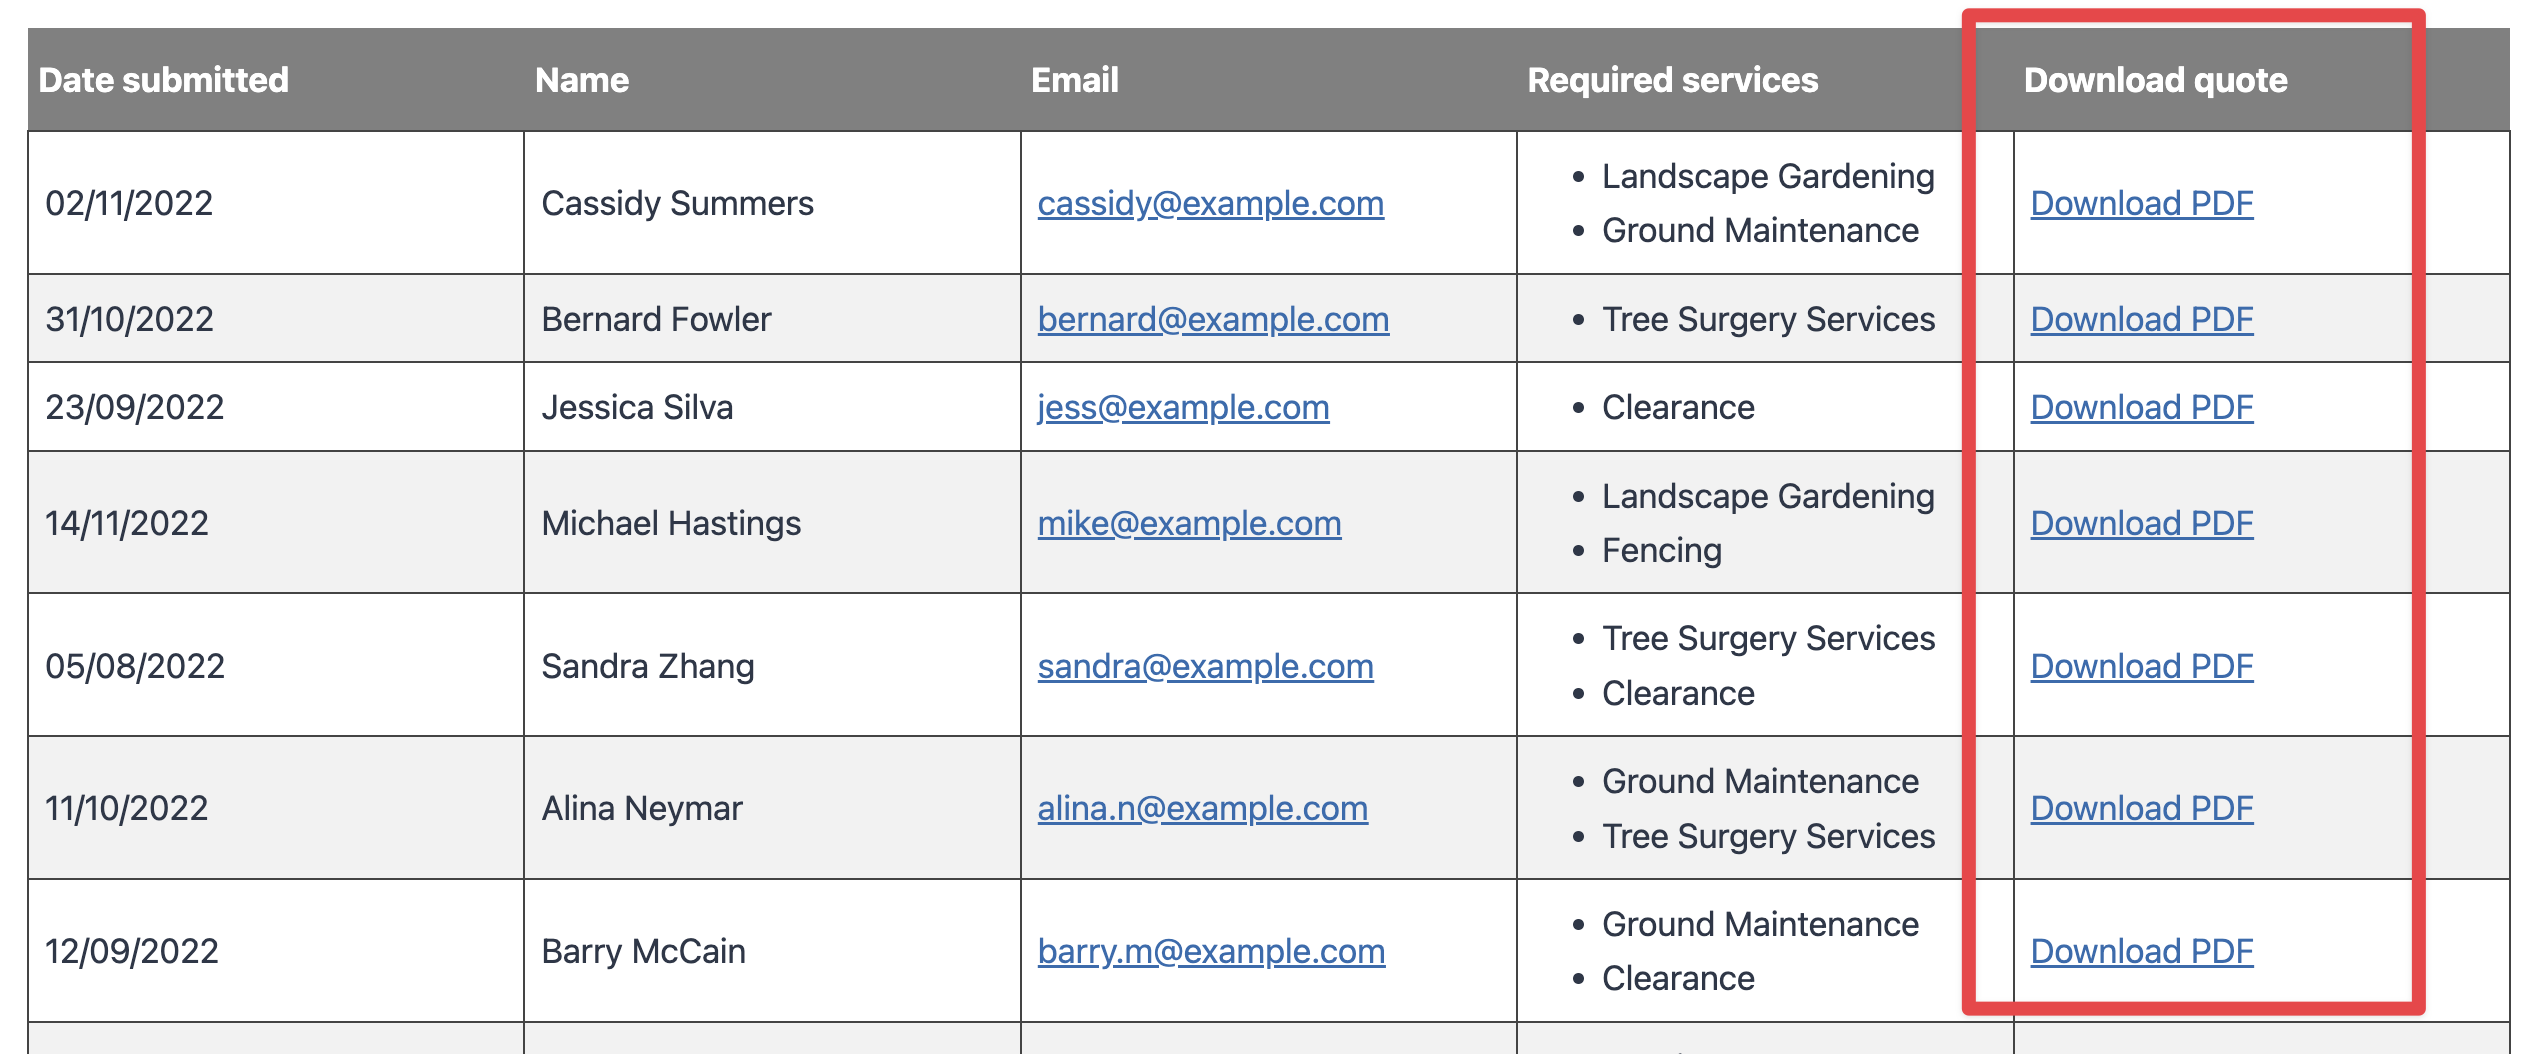
Now save your View by clicking "Update". Open your View on the front end. You'll see a new column containing PDF download links for each one of your entries.

Note: for more information on how GravityView integrates with GravityPDF, read this article on the GravityPDF website.
_1@2x.png)