Associating a custom map pin icon (marker) with a field value
The GravityView Maps plugin allows you to display Gravity Forms entries as markers on a Google Map. Sometimes, you may wish to associate a different map marker with an entry, depending on a field value in your form. You can do this by adding custom map marker icons to a select field in your form.
1. Add custom map markers to field choices
Start by editing your form in Gravity Forms. Now click on an existing Drop Down or Radio Buttons field, or add one to your form. In the field settings, check the box that says "Use field choices as map marker icons".
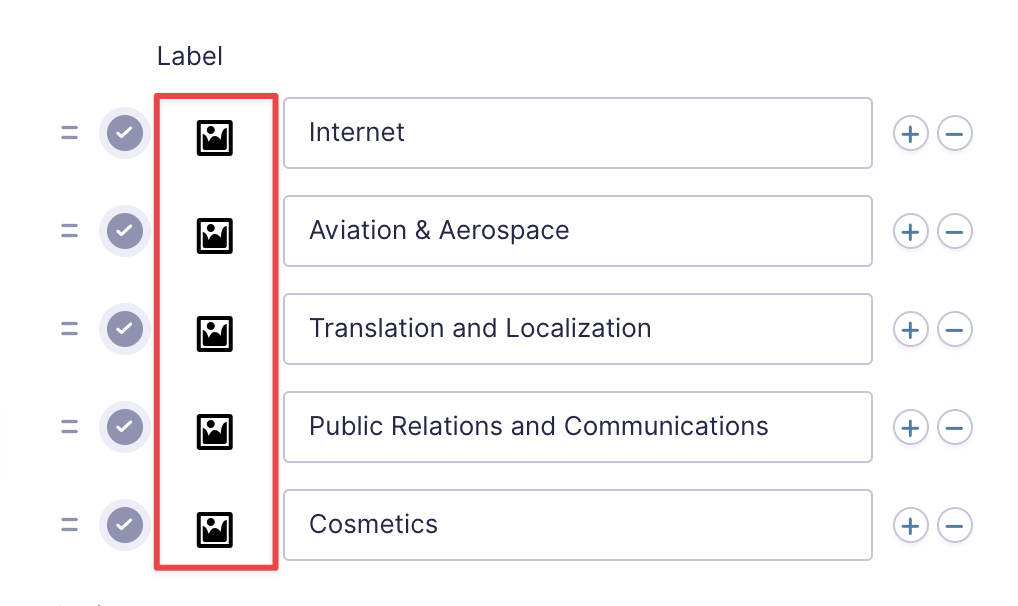
 Now click "Edit Choices". You'll see an image icon next to the choice label. Clicking on this will allow you to select or upload your own custom map marker icon.
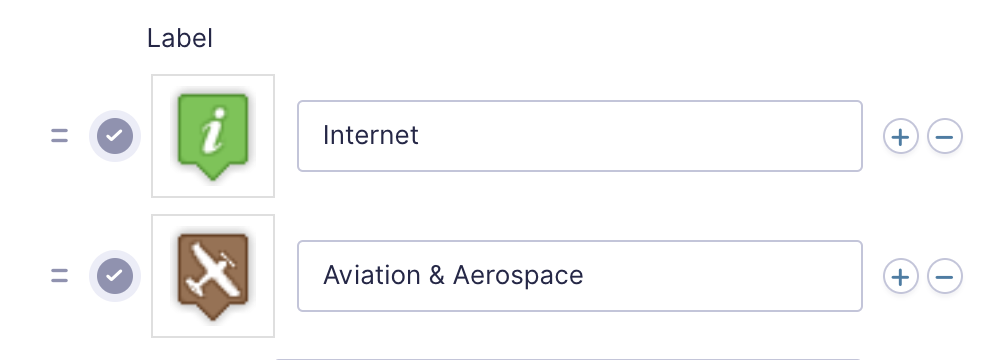
 The icon will change to reflect the custom map marker icon that you uploaded.
 When you're finished selecting your custom icons, make sure to save your form.
2. Select a field to use for custom markers in the Maps settings
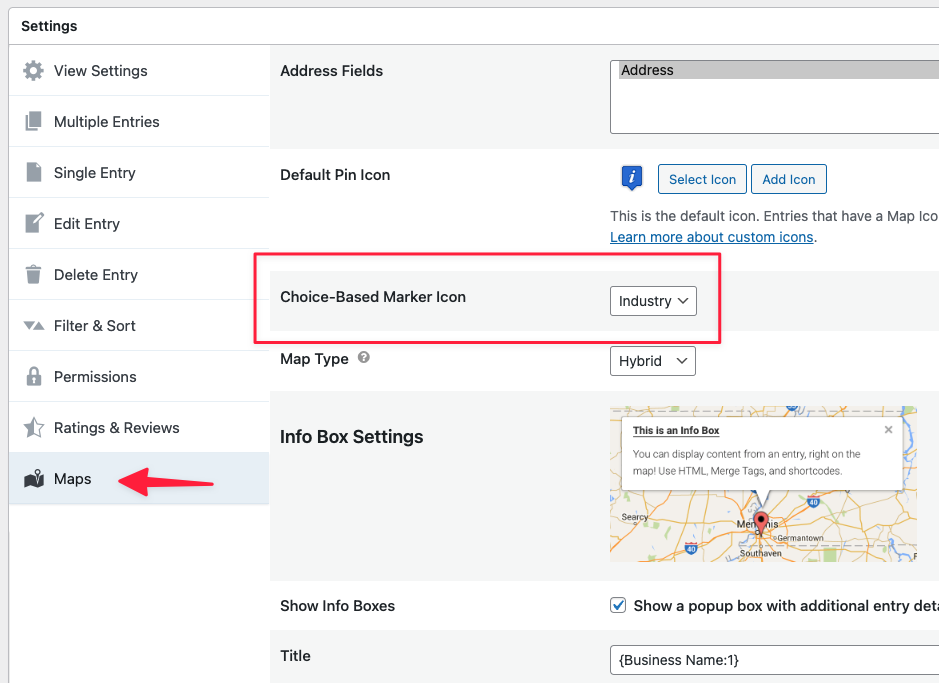
Now you'll need to select a field to use for choice-based markers. To do this, edit your View, scroll down to the View settings, and click on "Maps" on the left. Now choose a field from the drop down menu labeled "Choice-Based Marker Icon". You'll be able to select any field from your form with the custom map marker icon option enabled.
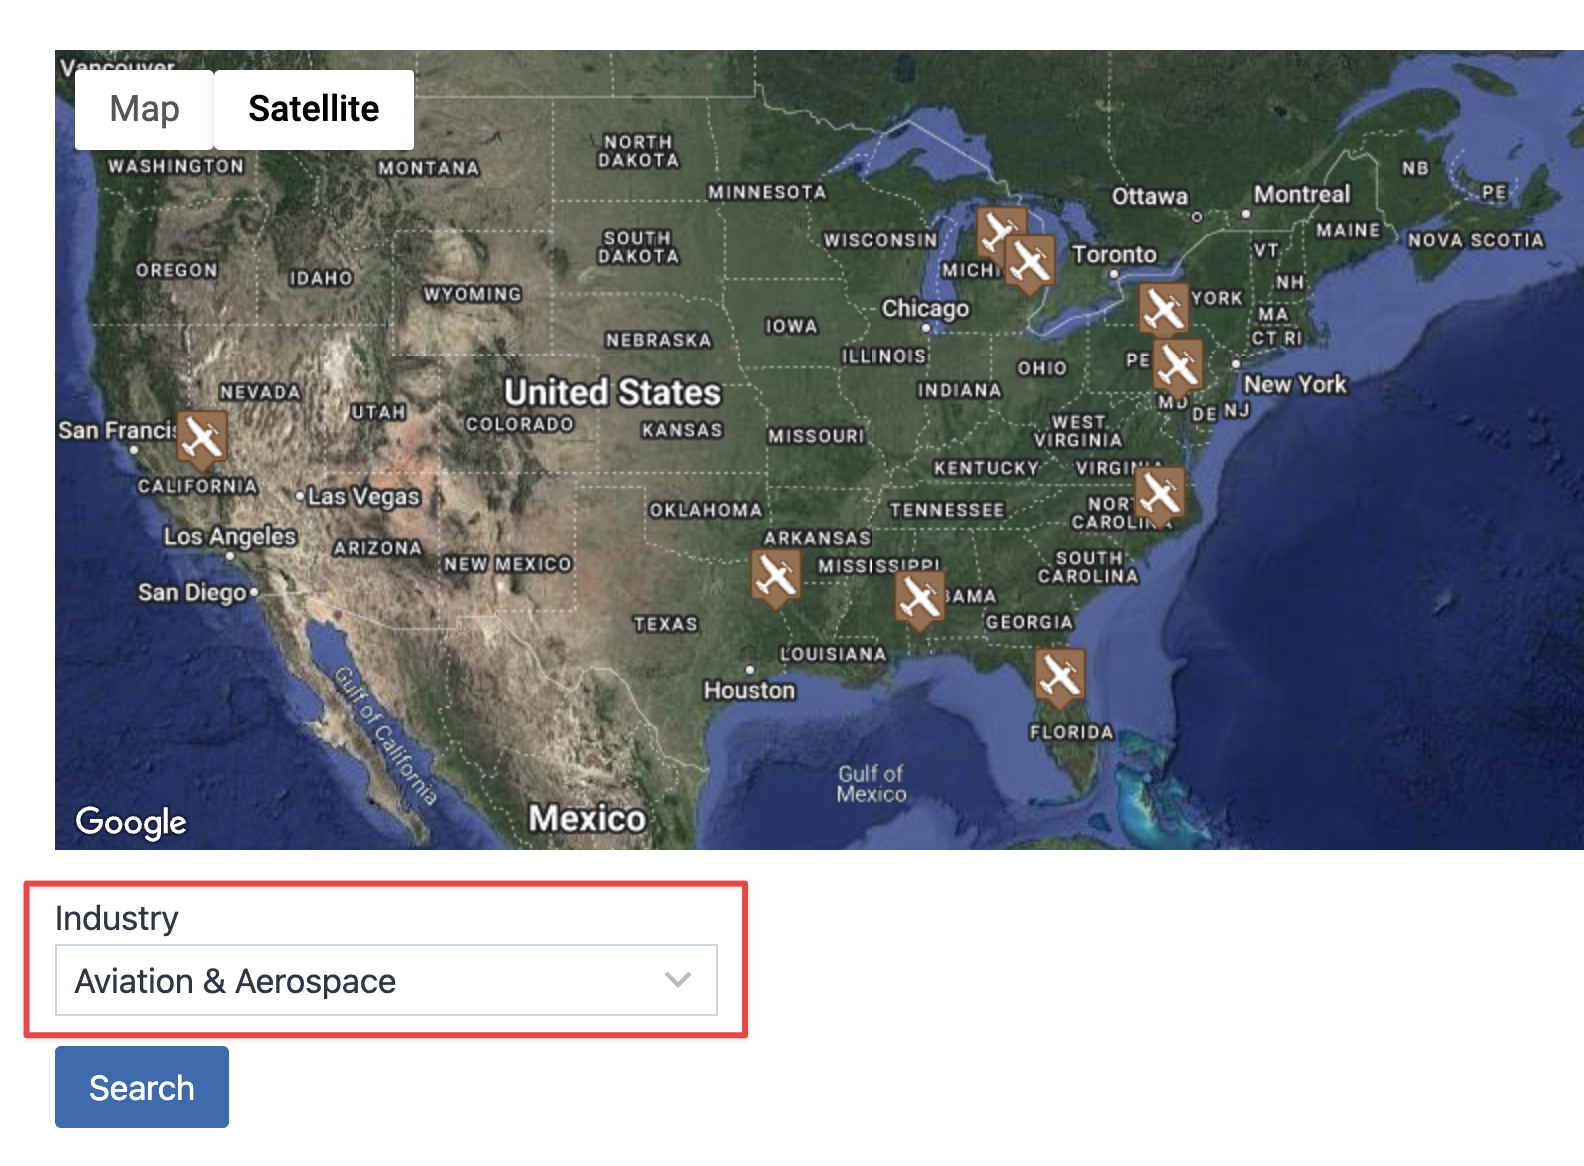
 That's it. Now, depending on the value of the Select field, entries will show up on the map with the custom marker that you set.

Note: The GravityView Maps layout already comes with hundreds of icon images that can be used. You can find them all inside the following directory structure on your website: https://your-website.com/wp-content/plugins/gravityview-maps/assets/img/. Alternatively, you can view and download all custom map markers here.
_1@2x.png)