WPML and GravityView
If you want to have a View that is available in multiple languages, here's how to do it using the popular translation plugin WPML.
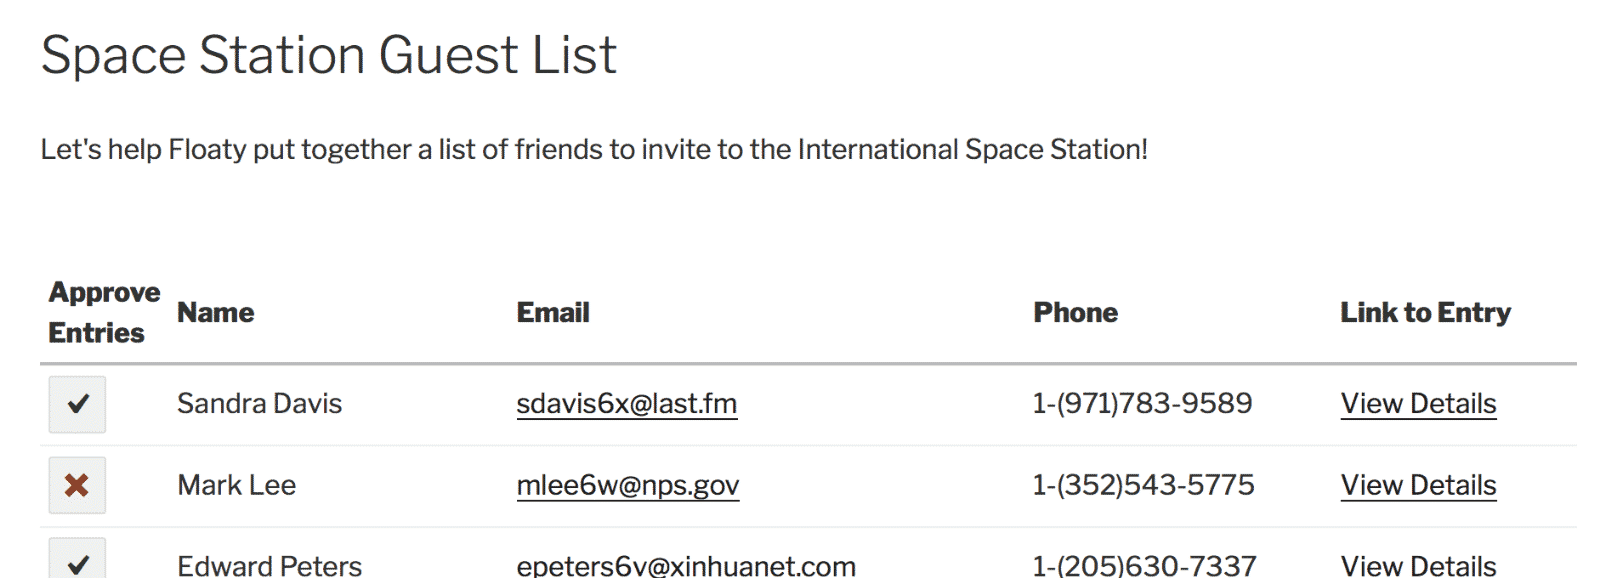
Floaty has a View that he wants to translate
It's an international guest list, so he wants to provide it in multiple languages.

First, ensure you have WPML Multilingual CMS installed and activated.
This requires the Multilingual CMS WPML package.

In the Dashboard, under the "WPML" menu, click on "Settings":

Click on the "Multilingual Content Setup" tab and then on "Post Types Translation"

Set the "Views" custom post types to "Translate"
This tells WPML you want to translate Views.

In the Custom Field Translation settings, click the "Show system fields" link
The GravityView custom fields are hidden, so they don't show up without a fuss!

Search for "_gravityview"
For every "Custom Field" item that starts with "_gravityview," choose "Copy once."
Note: If you don't see any GravityView custom fields yet, you may not have created any Views. Create a View first, then return here.


You will now see the translation column(s)
Click the ✏️ icon to translate the View in the language of your choice.

If the pencil icon doesn't show up, try disabling GravityView's No-Conflict mode.
Update Custom Content widgets and fields
As well as field labels
Once the View configuration is translated…
…save the View, and check out how it looks!

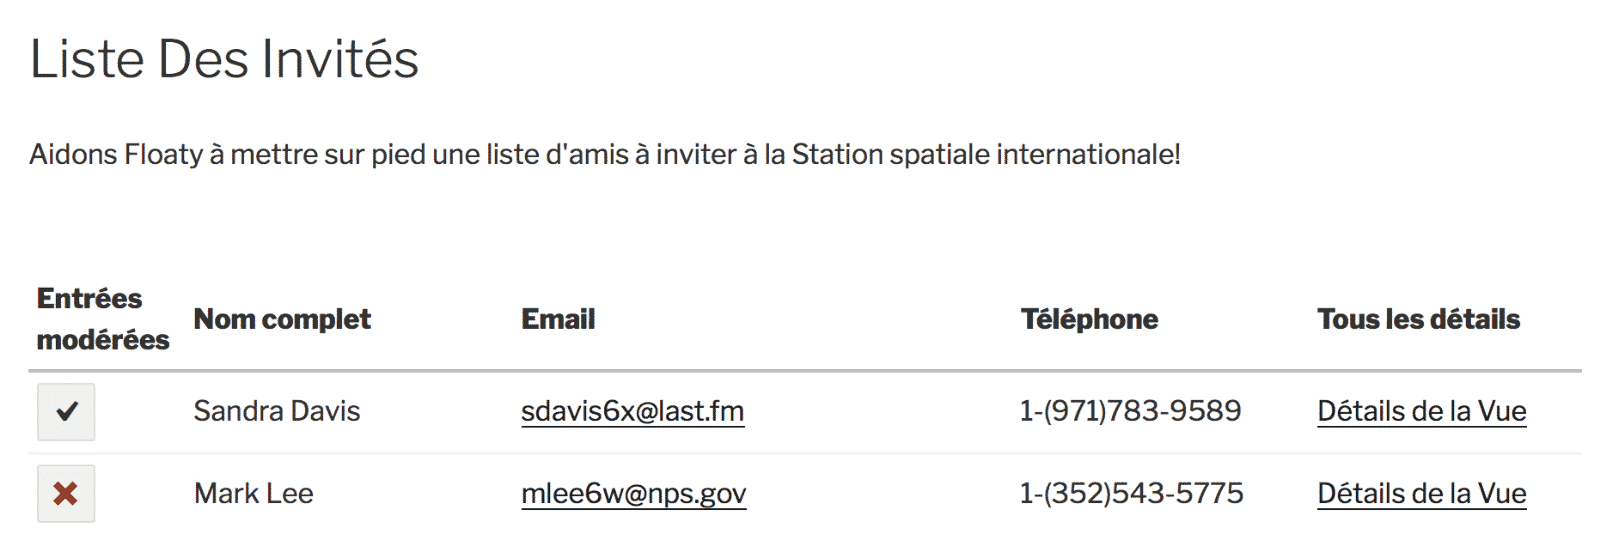
The translated View has translated labels and Custom Content widget
But the entry content is not translated; it remains the same.

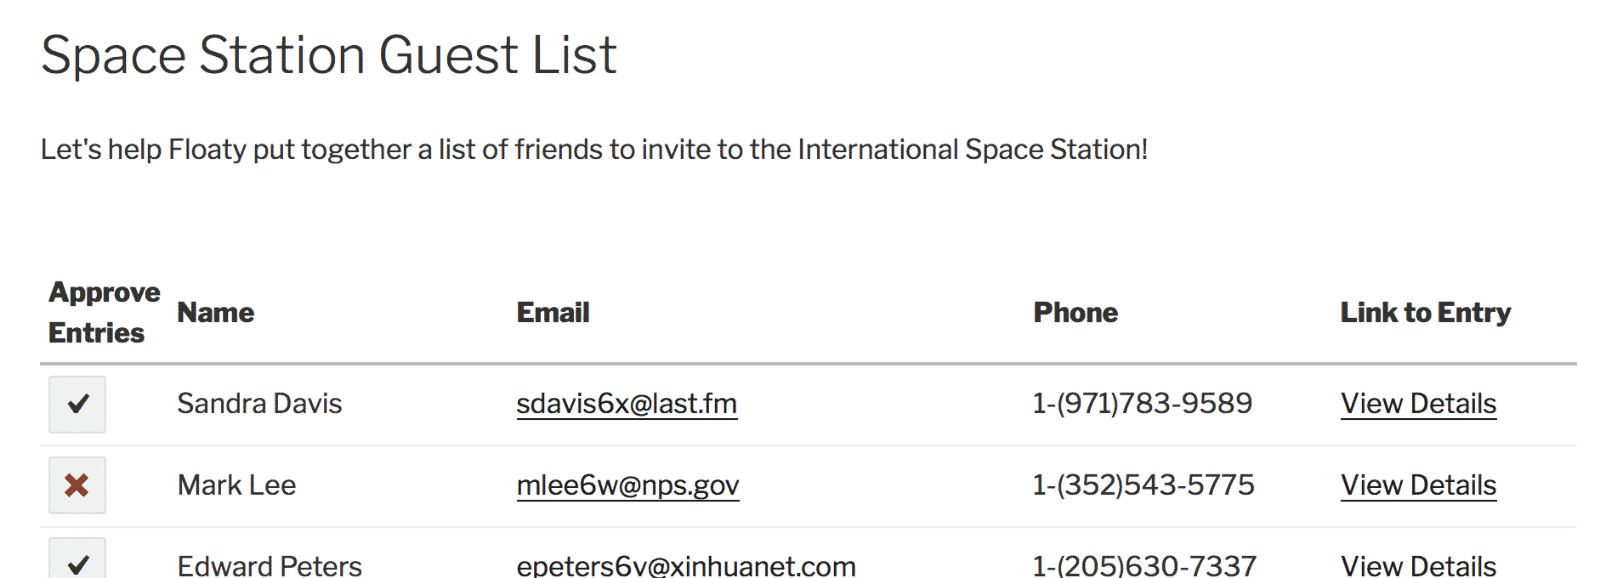
Let's check out the English version again…

…and it's still the original translation.
Hey, look at that: you have a translated View!

If you have further questions, please get in touch with our support.
_1@2x.png)