Setting up sharing buttons with JetPack
Go to the Plugins page and click the Add New button, and type "Jetpack" on the search. Click the Install Now button.

Enable Jetpack's "Sharing" module
In the menu bar, you will see a new menu for "Jetpack". Click on "Settings", then click on the "Sharing" tab. You will see a toggle inside the "Sharing buttons" box, click to enable it.

Once Sharing is enabled, click on the "Configure your sharing buttons link"

You will be redirected to a page on WordPress.com called "Marketing"
On this page, you can configure which sharing buttons to display and what they will look like. Please make sure to check "Pages" and "Views" in the Options panel:

If you are embedding your View on a Page using the [gravityview] shortcode, ensure both "Pages" and "Views" are checked. If "Pages" is not checked, the Sharing Buttons won't display on the embedded View.
The same goes for Posts; if you're embedding it in a Post, check the "Posts" checkbox.
Edit the View you would like to add Sharing buttons to
- Click the "Add Field" button where you want to add the sharing links
- Click the "Sharing" field at the bottom of the field picker

Now open up the sharing settings by clicking on the gear icon next to the Sharing field.

Configure the Sharing field
- You can choose which plugin you will use between JetPack or your WordPress website itself under the "Sharing Plugin" dropdown
- Uncheck the "Show Label" box to hide the label displayed next to the Sharing buttons. (The default label is "Sharing")
- Or customize the label (optionally) using Merge Tags to include data from the entry itself

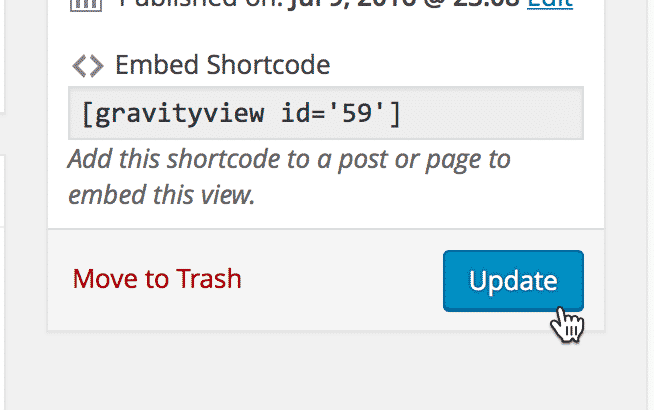
Update your View
Or "Publish" it, if it's not already live.

Voilà! Your sharing buttons will be visible where you placed them in the View

_1@2x.png)