_1@2x.png)
Configuring info boxes in GravityView Maps
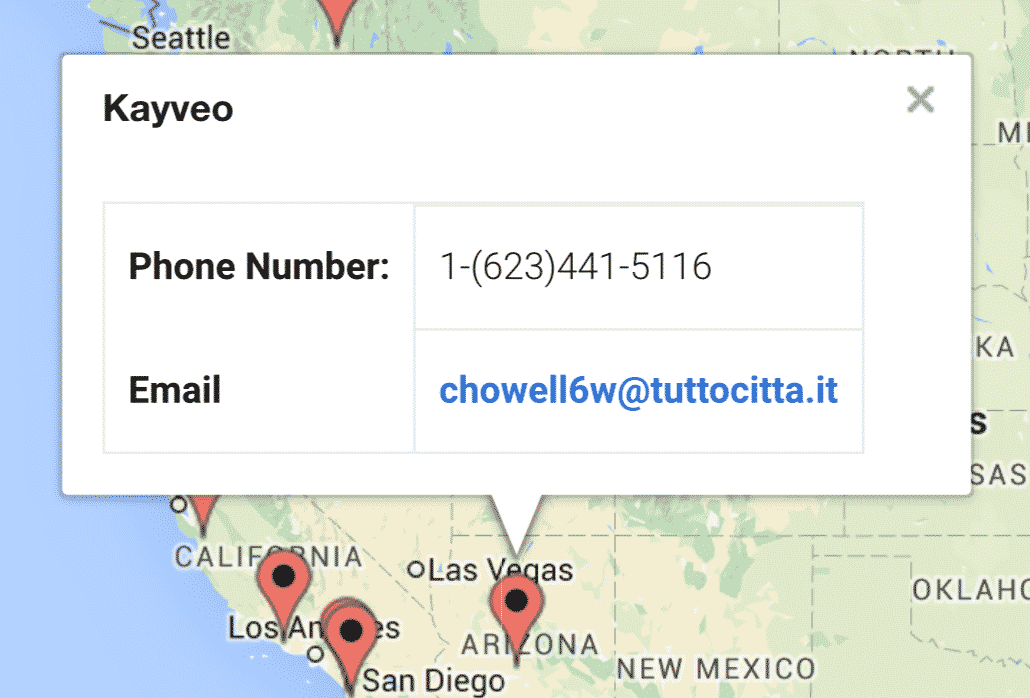
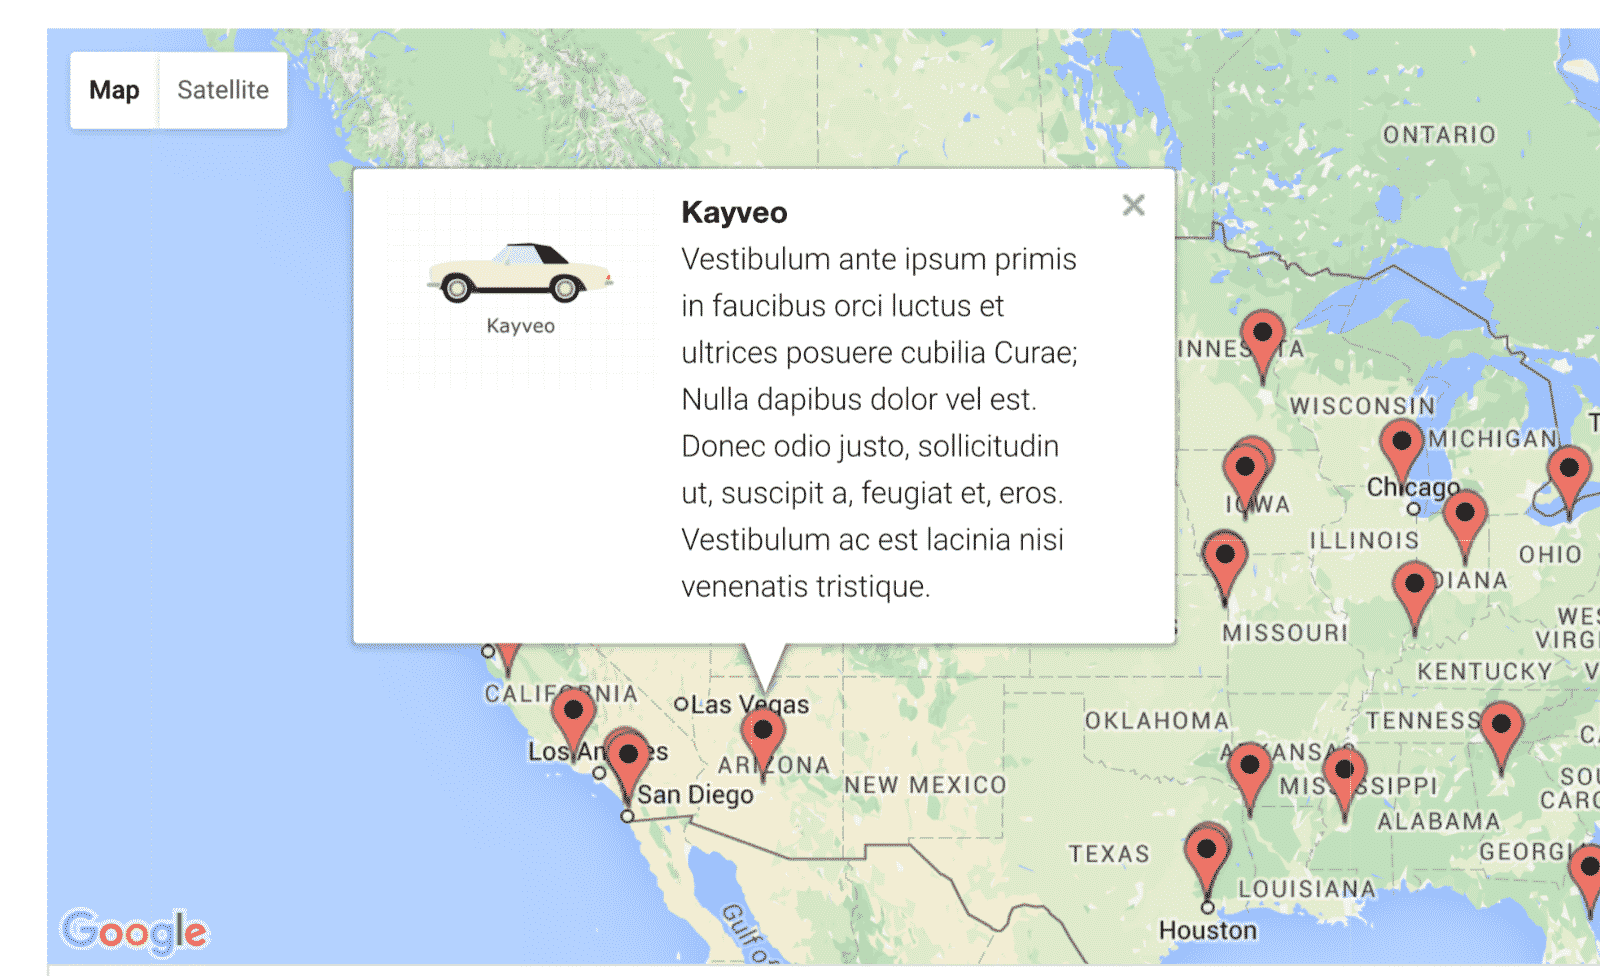
Info boxes allow you to display additional information about an entry on a map by clicking the marker. When you click the marker, a box appears with content about that entry. This article will show you how to configure them using GravityView Maps. Info box functionality was added in Version 1.4.
In View Settings, click on the Maps tab
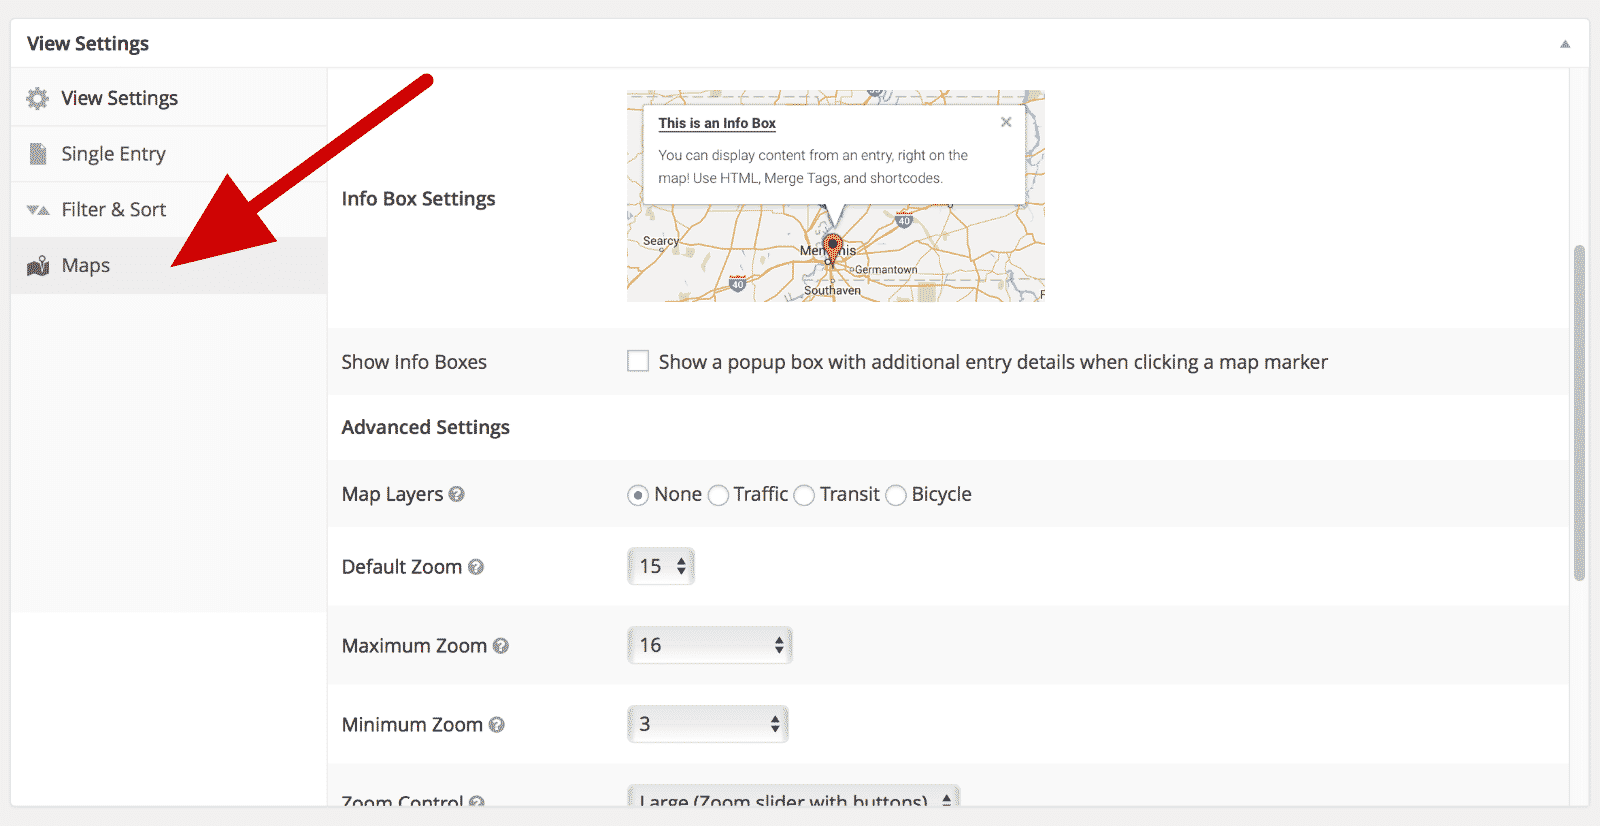
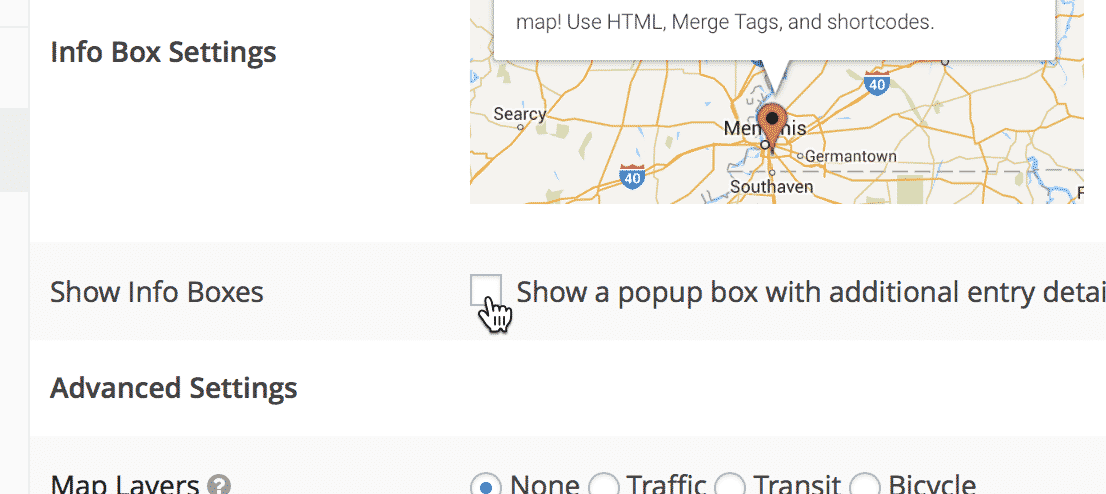
Check the "Show Info Boxes" checkbox
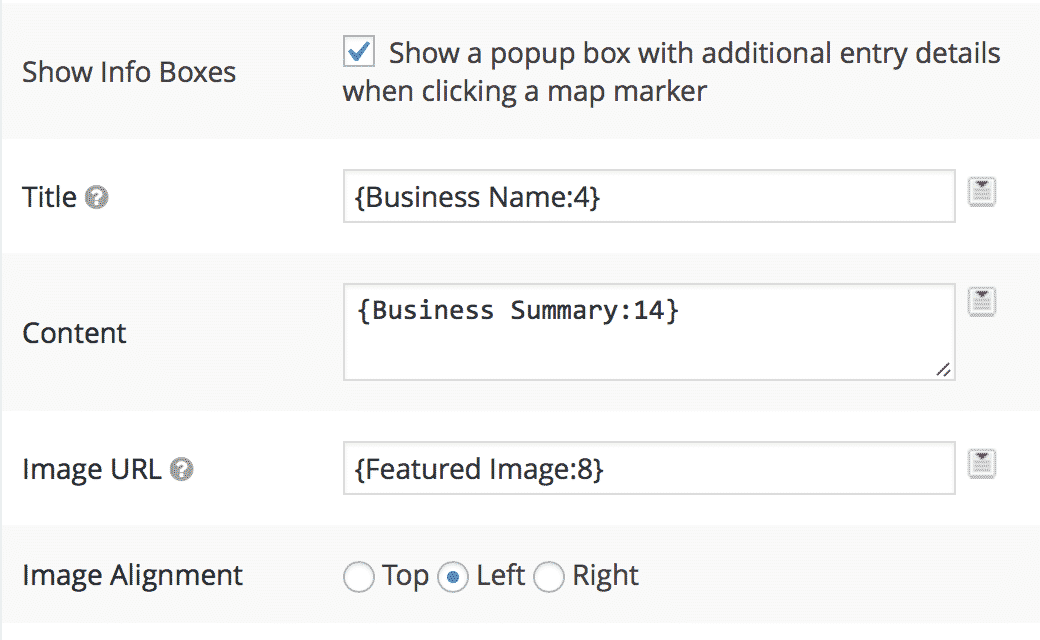
Configure the Info Box settings
Title: This text will be used as a link to the single entry. If left blank, the default link text will be "View Details".
Content: You can use Merge Tags, shortcodes, and HTML in the Info Box content. Works well with [gv_entry_link] and [gvlogic] shortcodes.
Image URL must be the full URL of an image. Use with Merge Tags from File Upload fields.
Image Alignment changes the placement of the image in the Info Box.
Info Box Examples
You can do a lot with Info Boxes! Below are just a few examples:
With an image
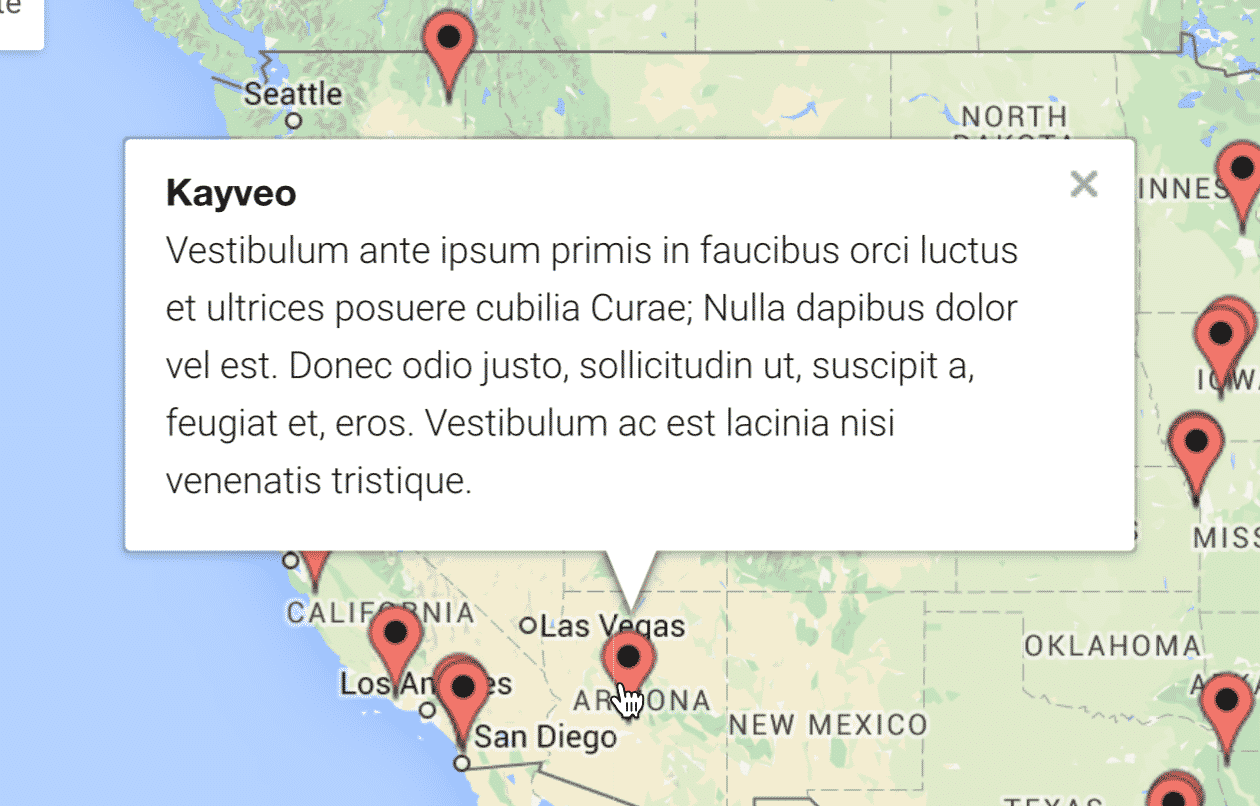
Without an image
With custom HTML formatting