_1@2x.png)
Adding Disqus comments to Entries
GravityView allows you to add Disqus comment forms to your entries. You don't even need the Ratings & Reviews plugin to do this!
1. Log in to your Disqus account
If you don't have a Disqus account, go to https://disqus.com and sign up.
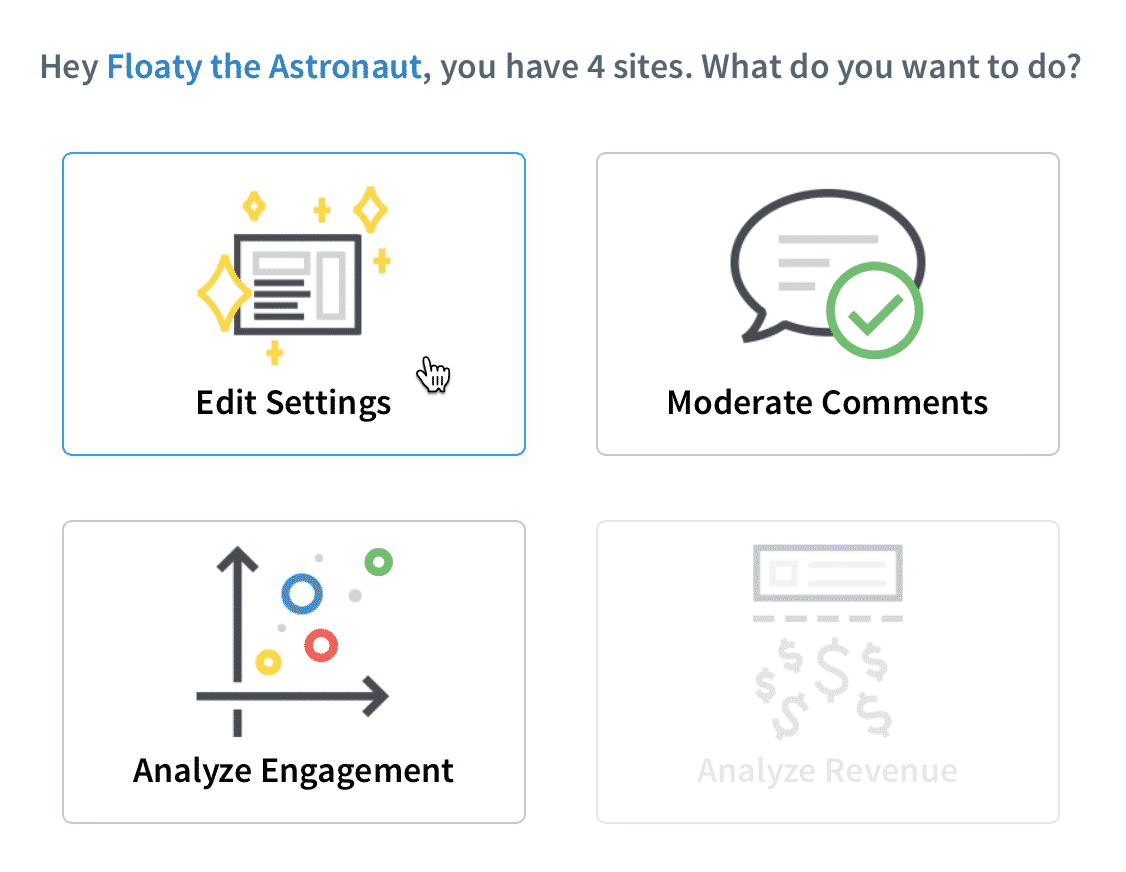
Once logged-in, click "Edit Settings".
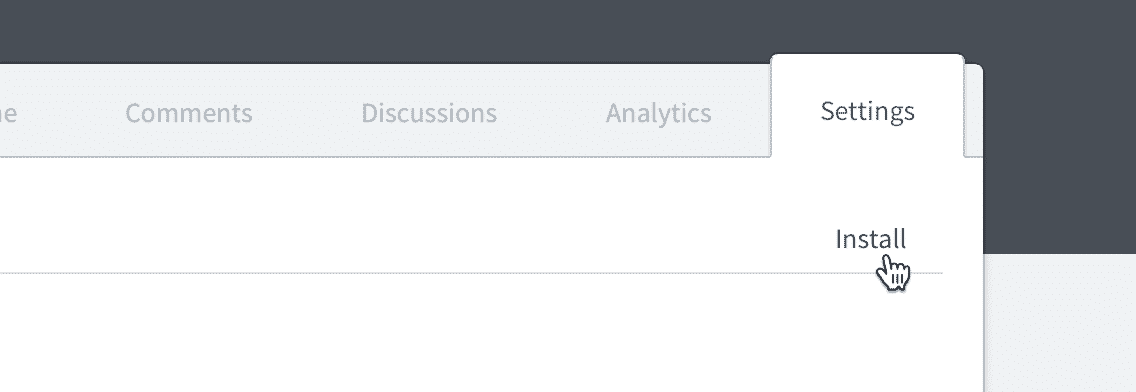
2. Then click the "Install" link
3. Click the "Universal Code" option
Don't click WordPress, even though it seems to make sense!

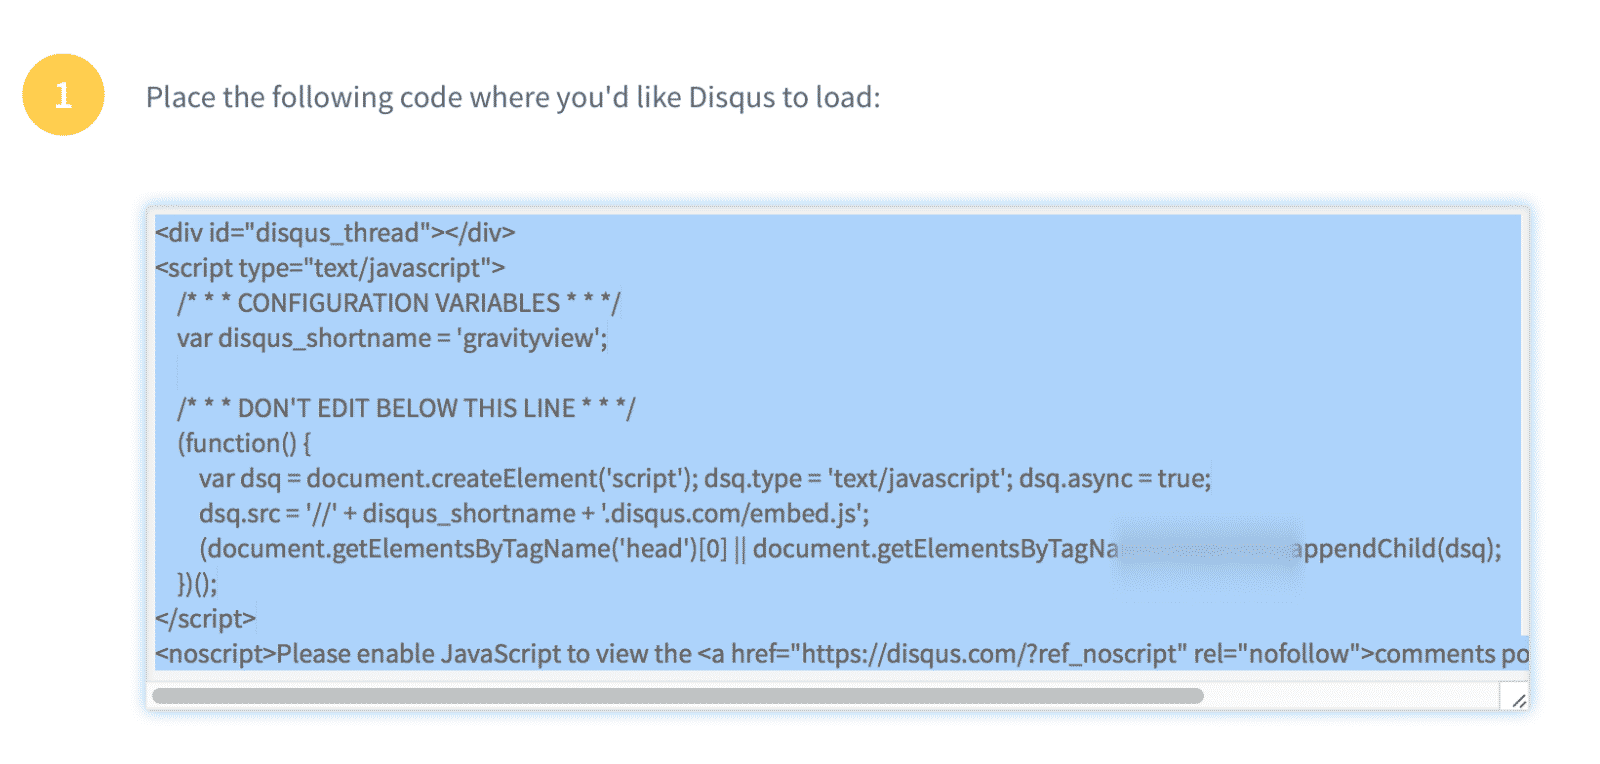
4. Copy the contents of the code sample
Make sure to select all of the code in the box, then copy the text.
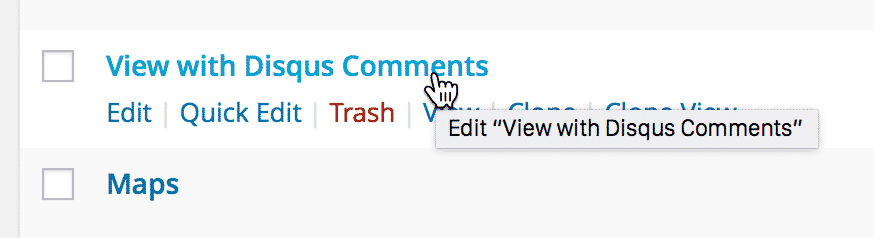
5. Go to your site and edit a View
Under Views > All Views, click the View you want to add comments to.
6. Click the "Single Entry" tab to configure it
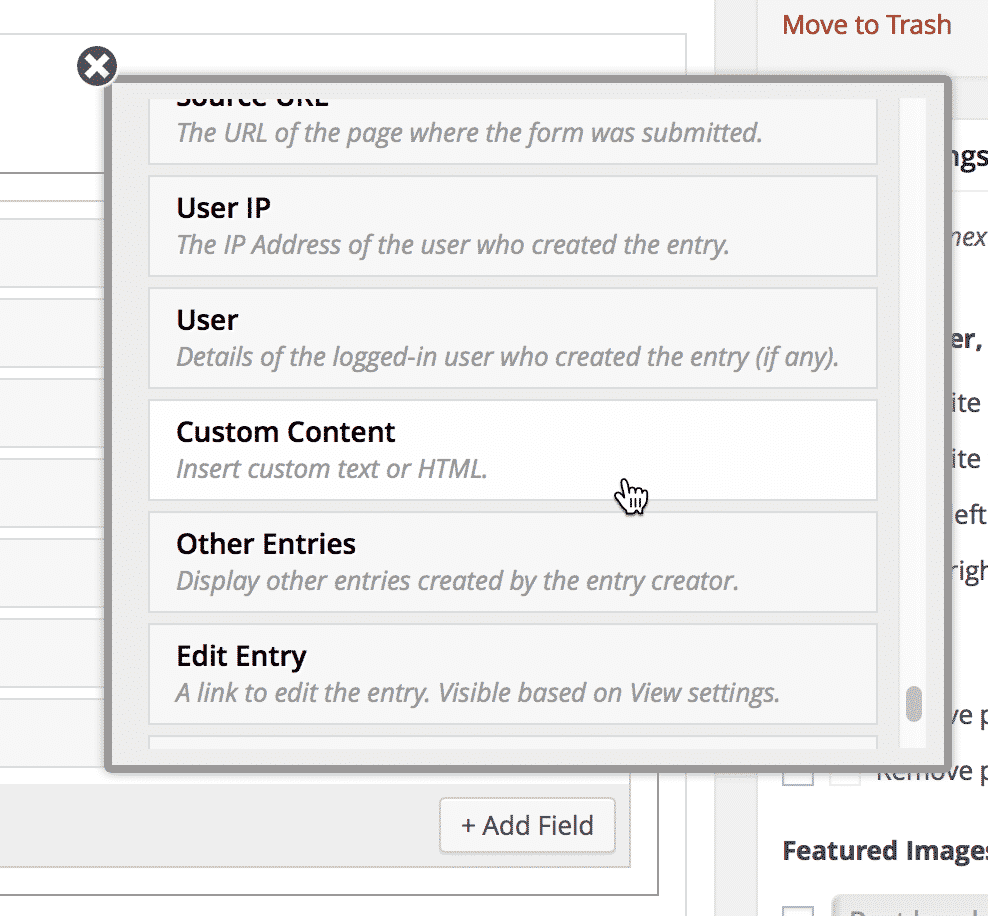
7. Click "Add Field", then "Custom Content"
This will add a Custom Content field.
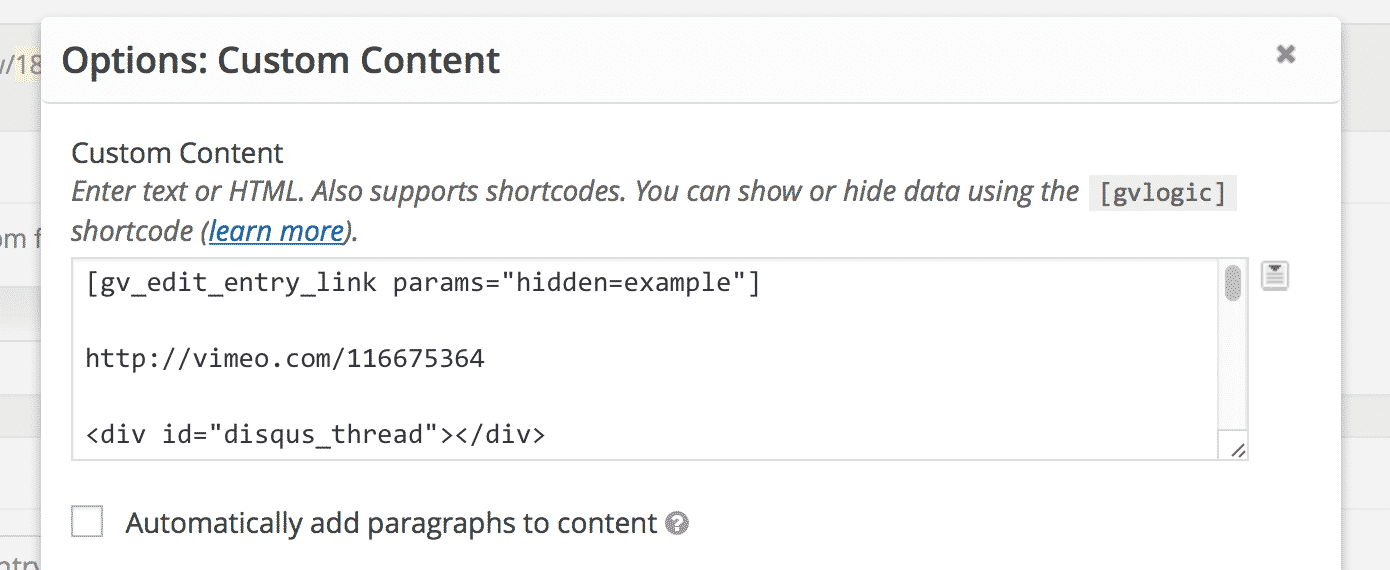
8. Click the gear icon to configure the Custom Content field
9. Paste the Disqus code you previously copied in the Custom Content text area
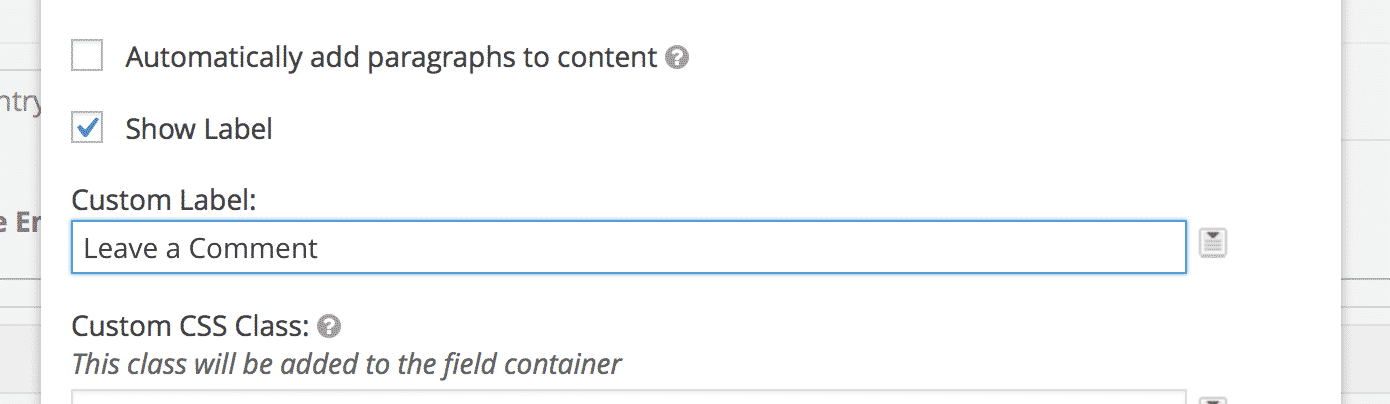
10. …and make sure to customize the label
11. Close the Custom Content field

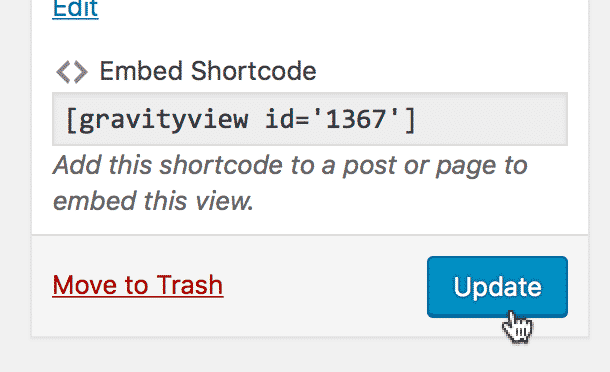
12. Update the View
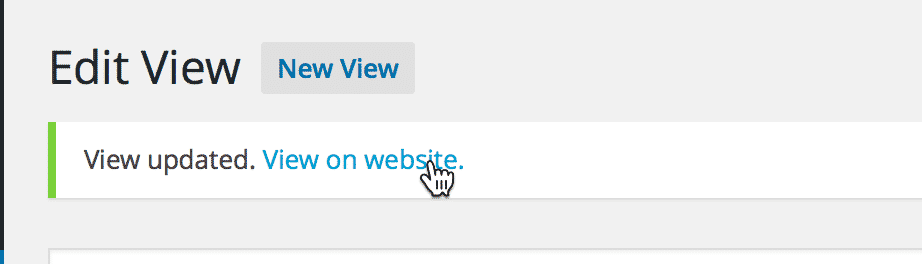
13. Click "View on website" to see your changes
14. You now have a Disqus comment form on each entry!