_1@2x.png)
The Layout Builder (how and when to use it)
The Layout Builder in GravityView takes customizing your Views to the next level. Think of it as a page builder—but designed specifically for displaying Gravity Forms data. With the Layout Builder, you can create precision layouts using rows and columns, all from the View editor.
This guide will explain when and how to use the Layout Builder, along with tips to help you get the most out of this powerful tool.

Benefits of the Layout Builder
The Layout Builder provides a streamlined editing experience, saving you time and giving you greater control over how your data is displayed. It moves beyond GravityView’s preset templates, enabling you to create fully customized layouts tailored to the specific needs of your project.
- Custom layouts: Build unique Views using rows and columns with varying structures.
- Drag-and-drop simplicity: Easily reposition rows or fields with a simple drag-and-drop interface.
- Precision control: Display your Gravity Forms data exactly how you want, with minimal effort and no coding required.
- Flexible design: Combine multiple rows and column configurations to create complex layouts.
When should you use the Layout Builder?
The Layout Builder is ideal for projects where you need more customization than the preset layouts offer. Here are a few examples of use cases:
- Real estate listings: Display property details with images, descriptions, and features in a grid or multi-column format.
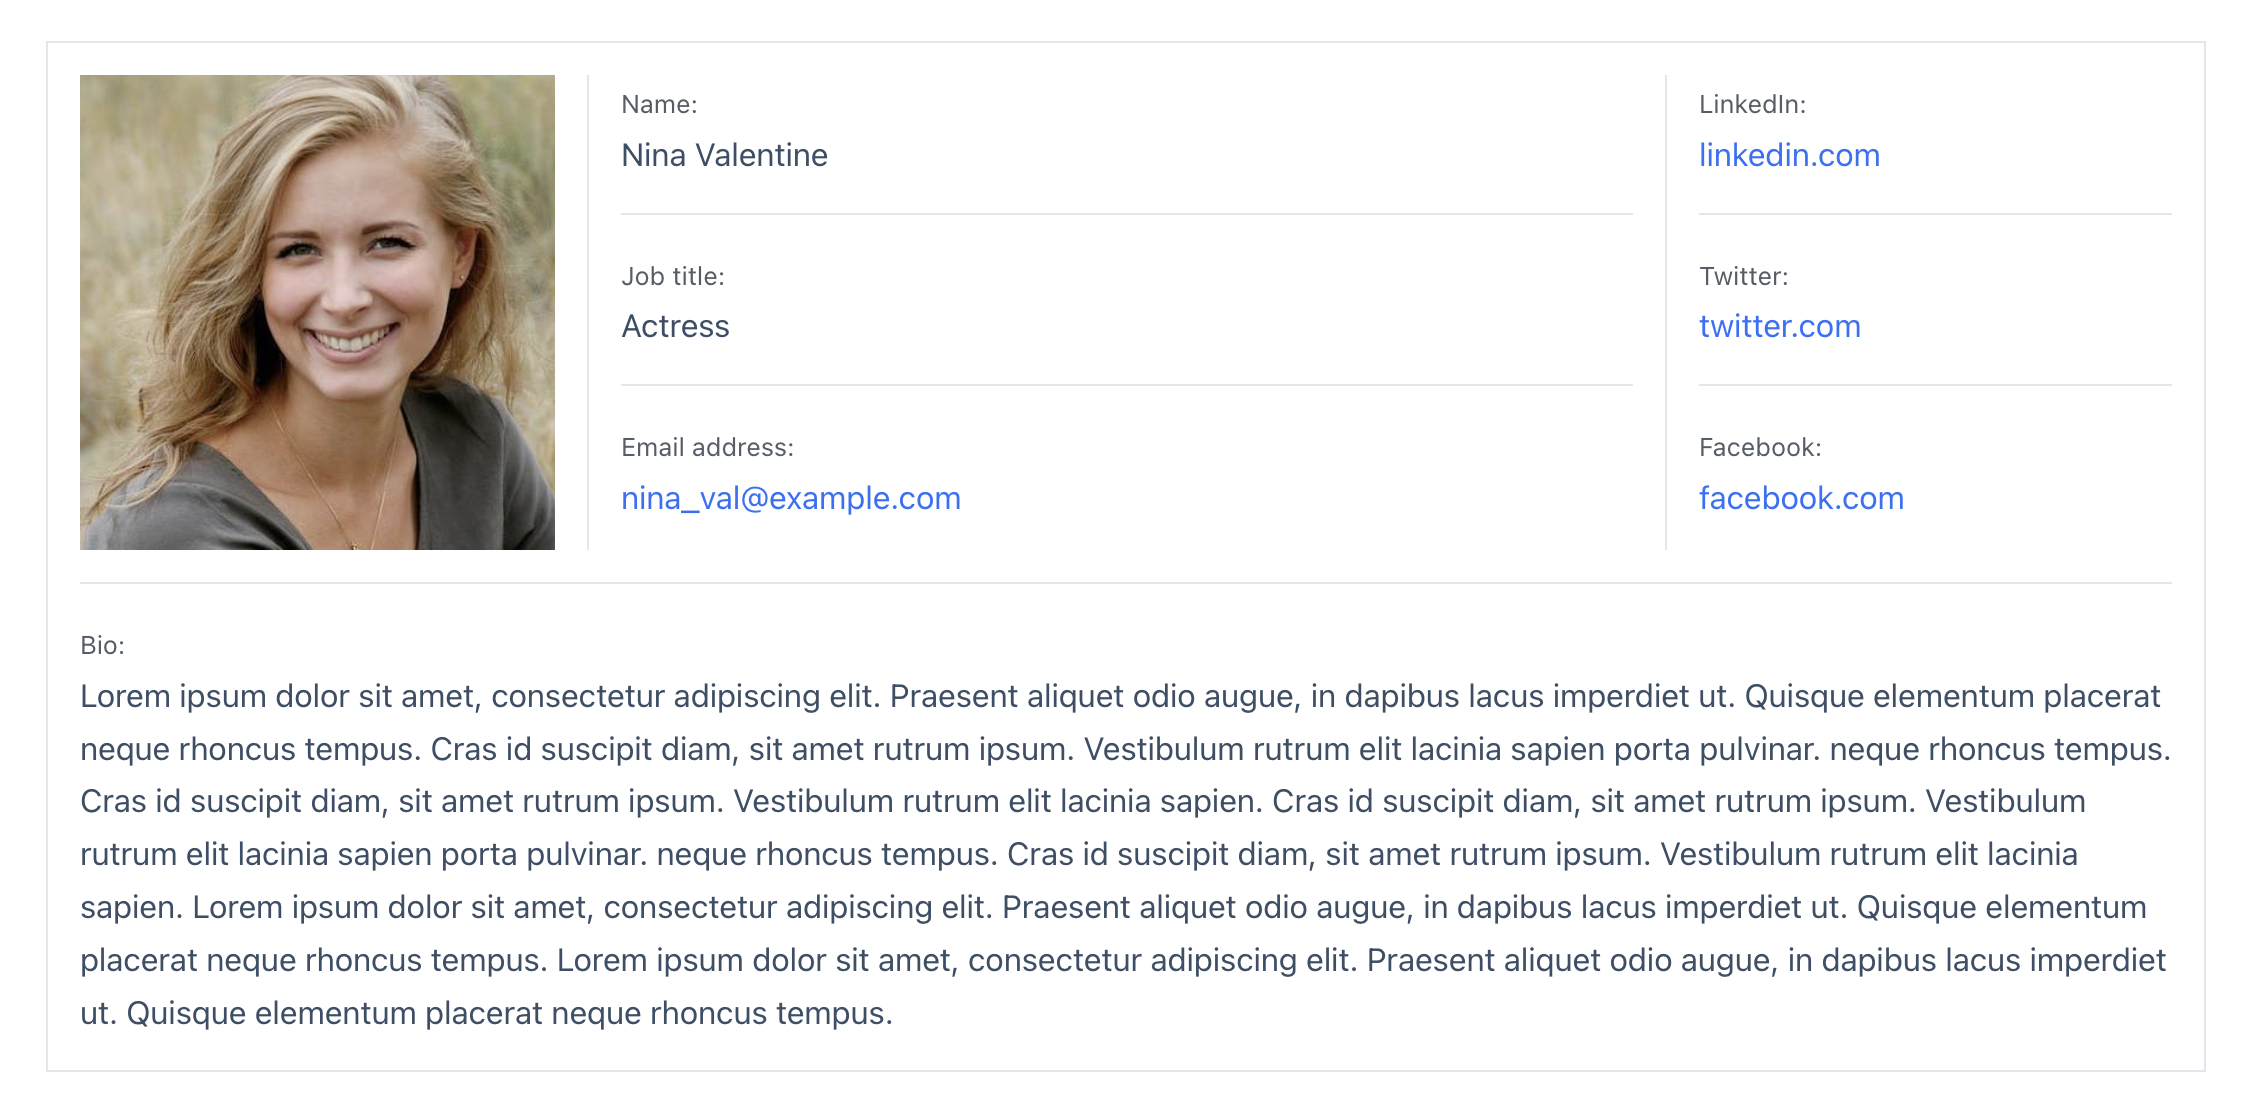
- User directories: Create visually appealing member profiles with photos and key details arranged in rows and columns.
- Product listings: Showcase products with images, pricing, and descriptions in a dynamic layout.
- Custom dashboards: Build tailored Views for admin or client dashboards with widgets and summary data.
If your project demands a unique structure or a polished, professional design, the Layout Builder is the tool for the job.
How to use the Layout Builder
The Layout Builder is a View Type included in the core GravityView plugin. Here’s a step-by-step guide to help you get started:
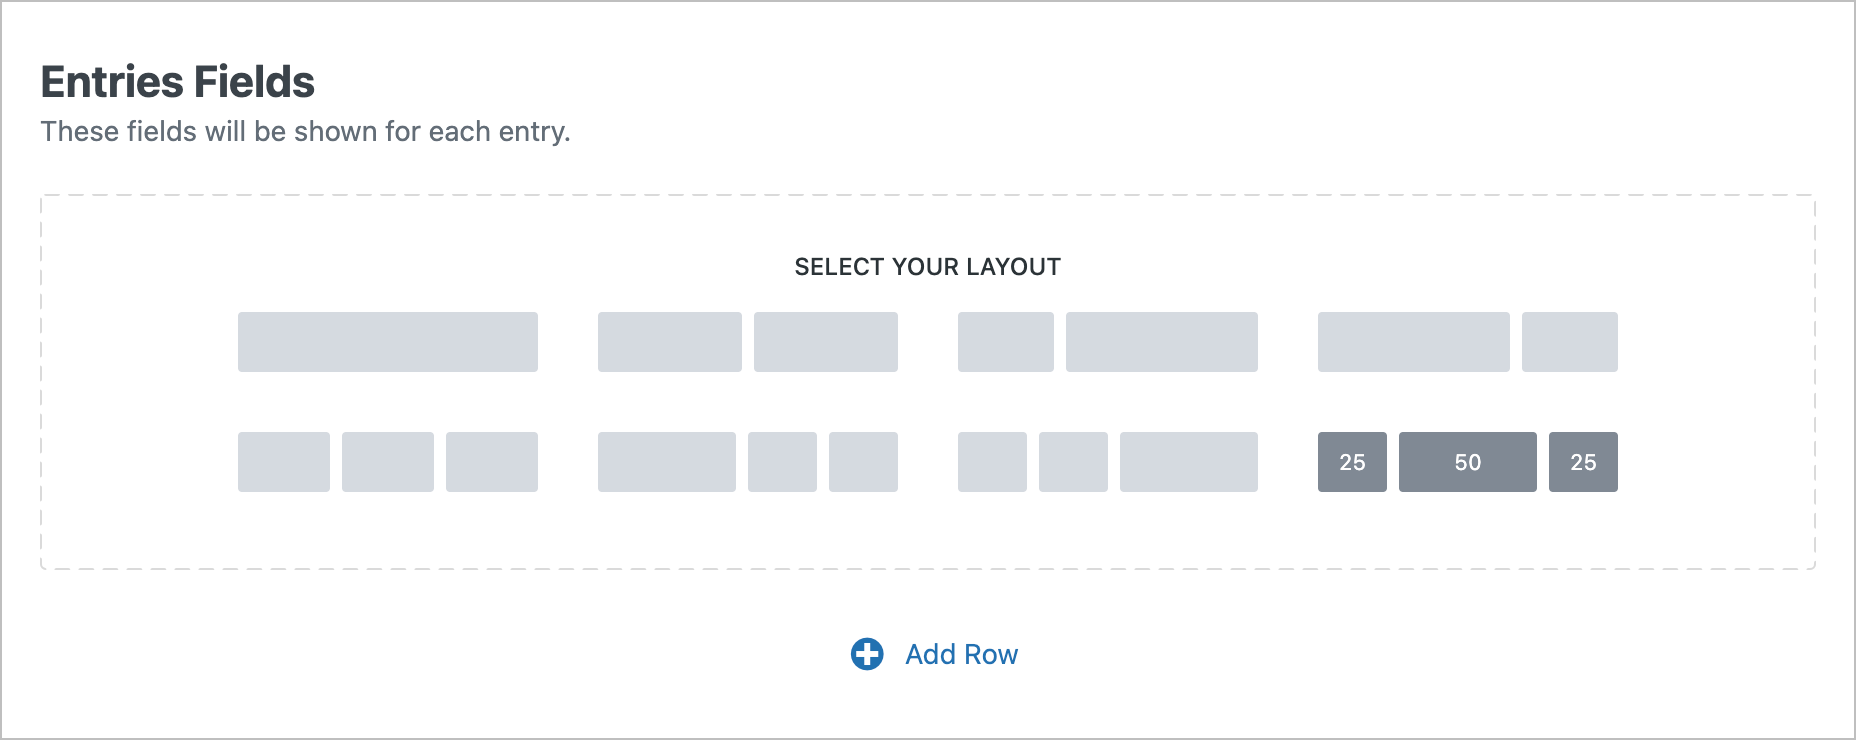
1. Select the Layout Builder View Type
When creating a new View, you’ll be prompted to select a View Type. Choose “Layout Builder” from the available options.
2. Add Rows
Click the “Add Row” button to start building your layout. For each row, you’ll select a column structure from the available options, such as single, two-column, or three-column layouts.
3. Customize your View
After adding a row, you can:
- Drag and drop fields or widgets into each column.
- Add additional rows with different column structures
- Reposition fields and rows using drag and drop.
When you're done, preview your layout on the front end!
Layout builder vs List layout
You may be wondering when to use the Layout Builder and when to stick with the List layout. In our opinion, the Layout Builder is the go-to option in most cases because of its flexibility and control.
The List layout, on the other hand, is a preset layout with a predefined structure. While it’s quick and easy to use, it lacks the customization options that the Layout Builder offers. If you like the simplicity of the List layout but want the freedom to tweak the structure to better suit your needs, you can easily recreate the List layout using the Layout Builder—and then adjust it as much as you like.
In short, use the List layout when speed and simplicity are key, and choose the Layout Builder when you need more control over the design and layout of your data.